ご挨拶

ツキシマ
こんにちは、ツキシマです。
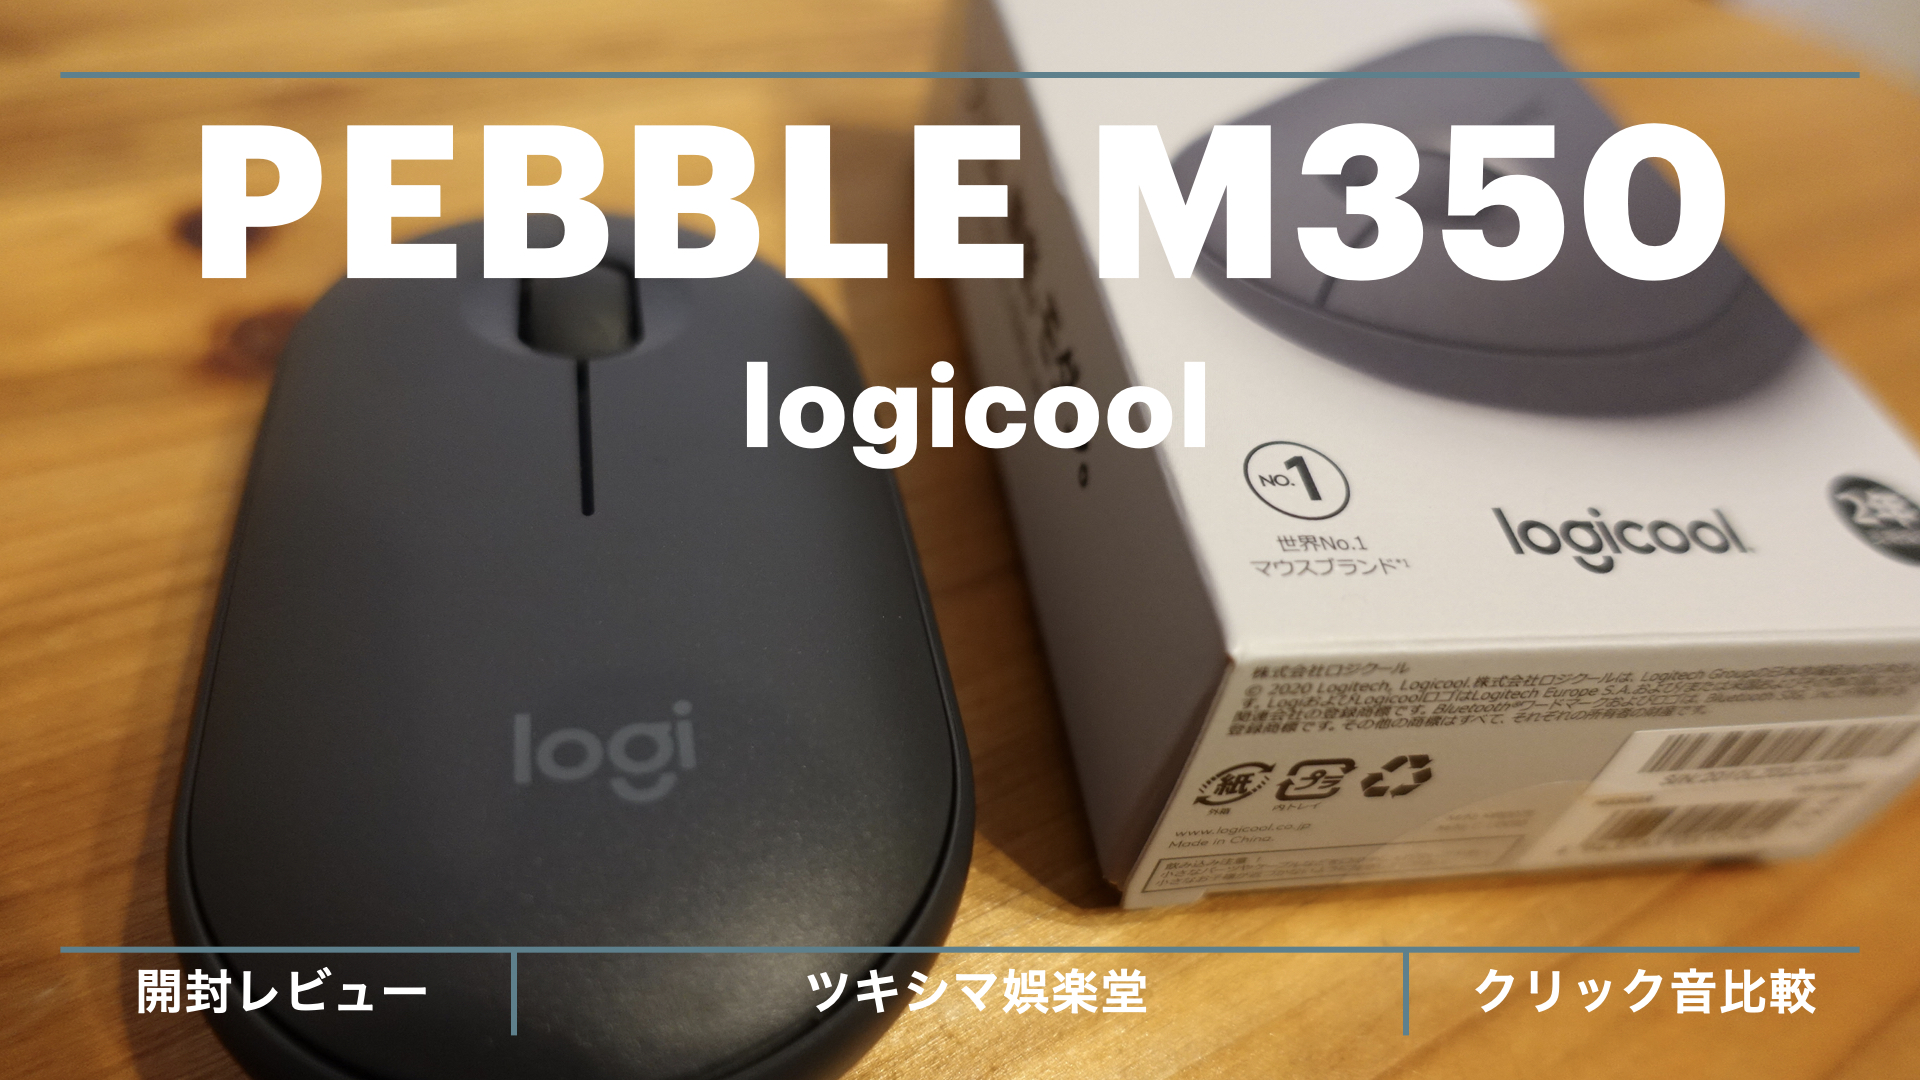
今回は、ロジクールの静音マウス「PEBBLE M350」を購入しました。開封して機能の確認や、クリック音の比較をしてみました。参考にして頂けましたら幸いです。
ツキシマ
それでは、購入した理由からみていきたいと思います。
購入した理由
今回、新しいマウスを購入するにあたり、条件は以下の「3つ」で考えました。
- 静音のマウスである事
- Bluetoothで接続できる事
- 私が左利きな為、左右対称なデザインである事
以上の条件で探したところ「M350」に辿り着きました。また特徴として「従来よりもクリック音を90%削減した」とありますので、そんなところにも期待です。
ツキシマ
次は、パッケージと特徴を確認していきたいと思います。
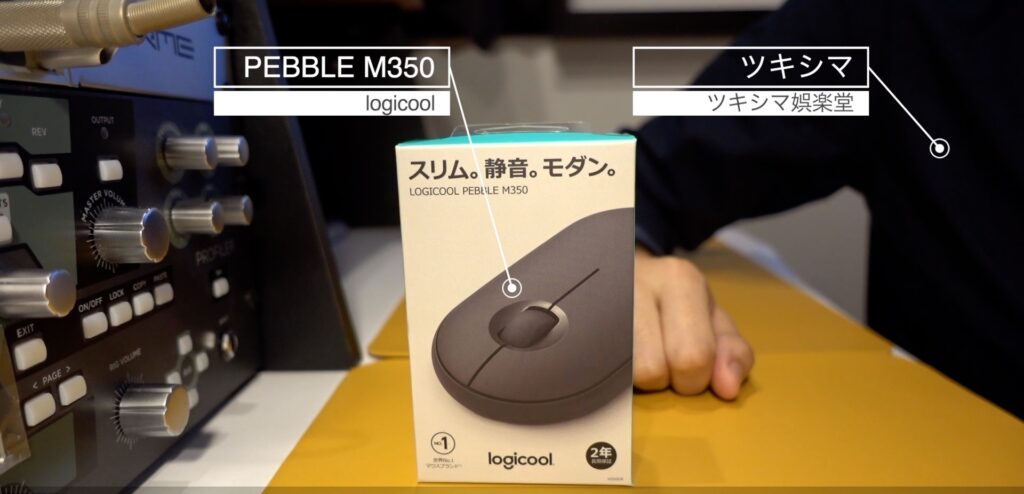
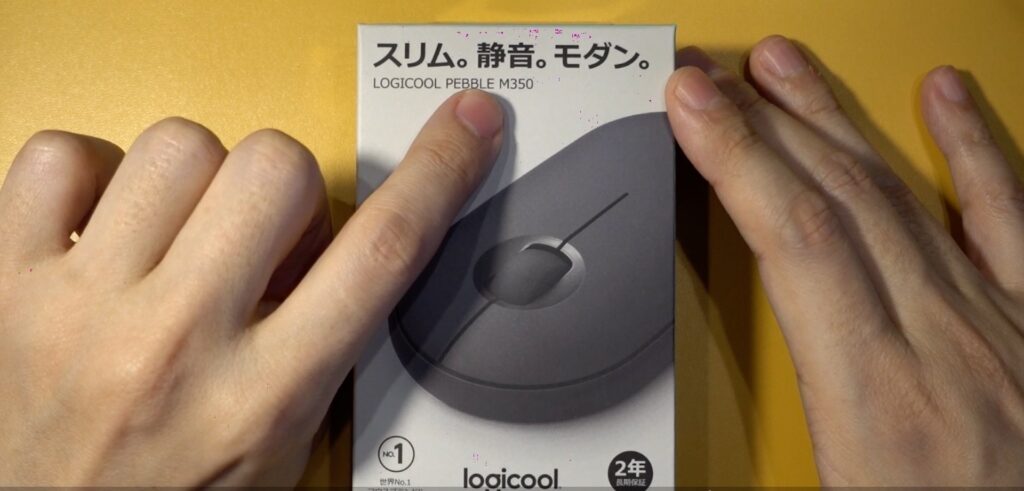
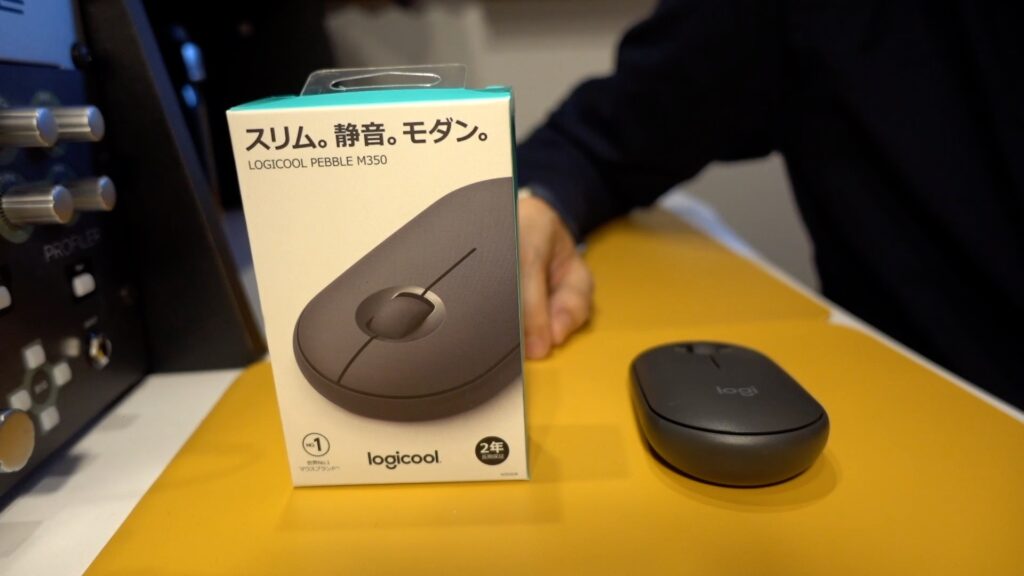
パッケージの確認と主な特徴
箱正面
- スリム。静音。モダン。
- 2年の長期保証
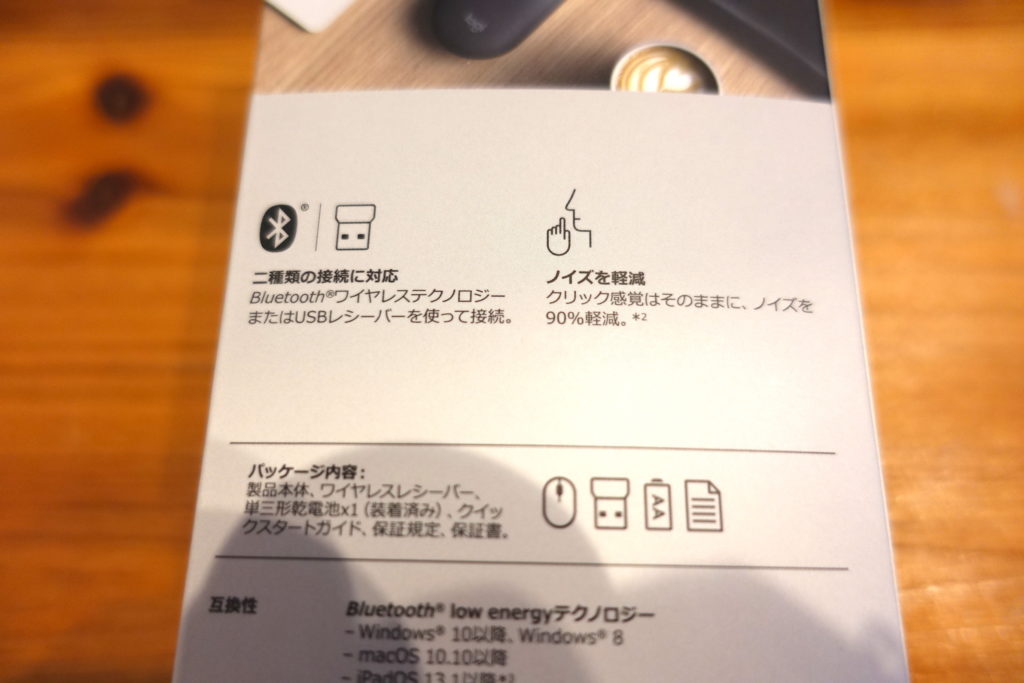
箱裏面
- 2種類の接続に対応(USBとbluetooth)
- ノイズを軽減(約90%)
ツキシマ
それでは、開封していきたいと思います。
開封と内容物の確認
開封
パッケージの下面から開けました。

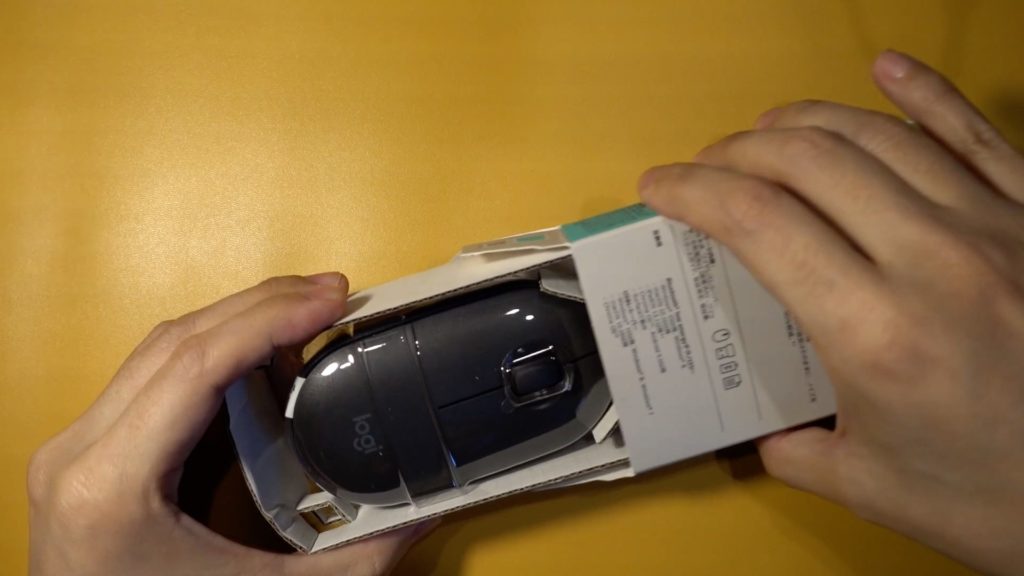
中身を引き抜きます。
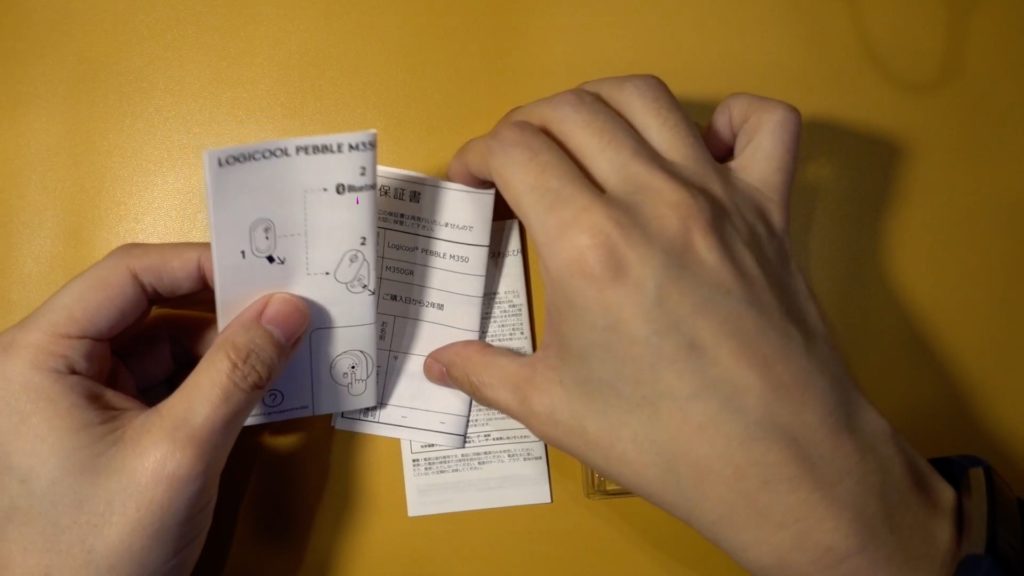
取扱説明書や保証書です。
ブリスターを開けて、本体を取り出します。
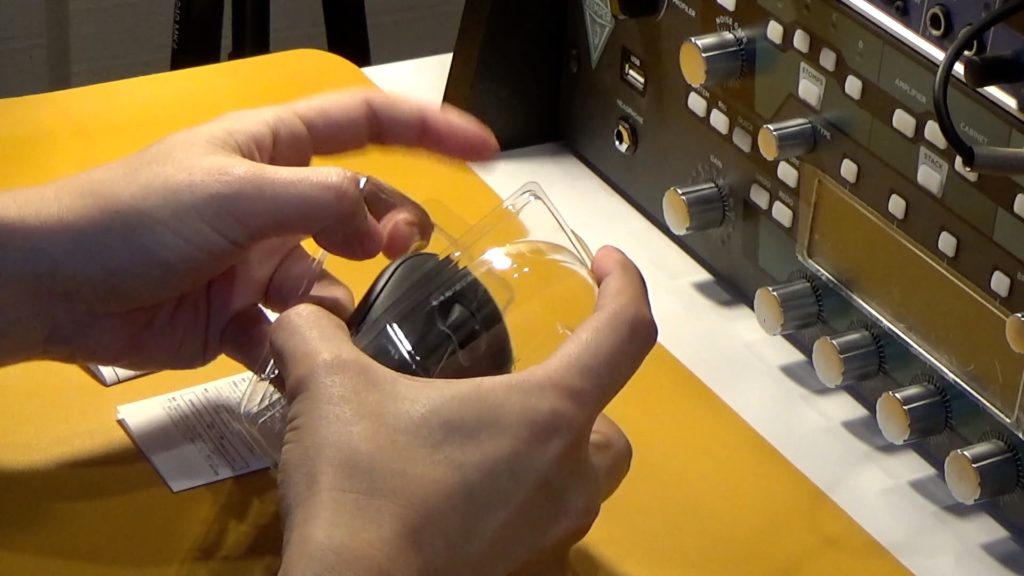
全部取り出せました。
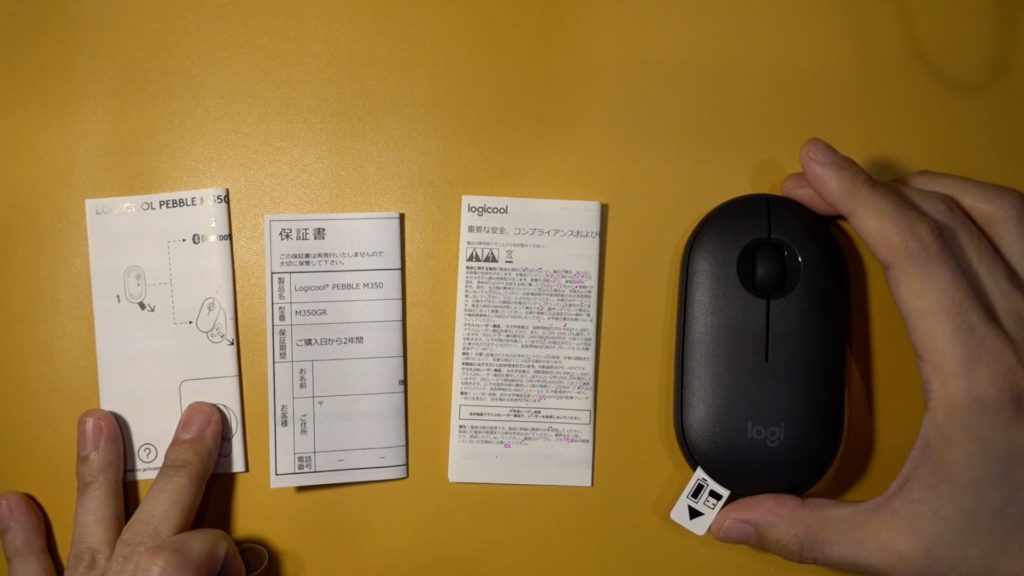
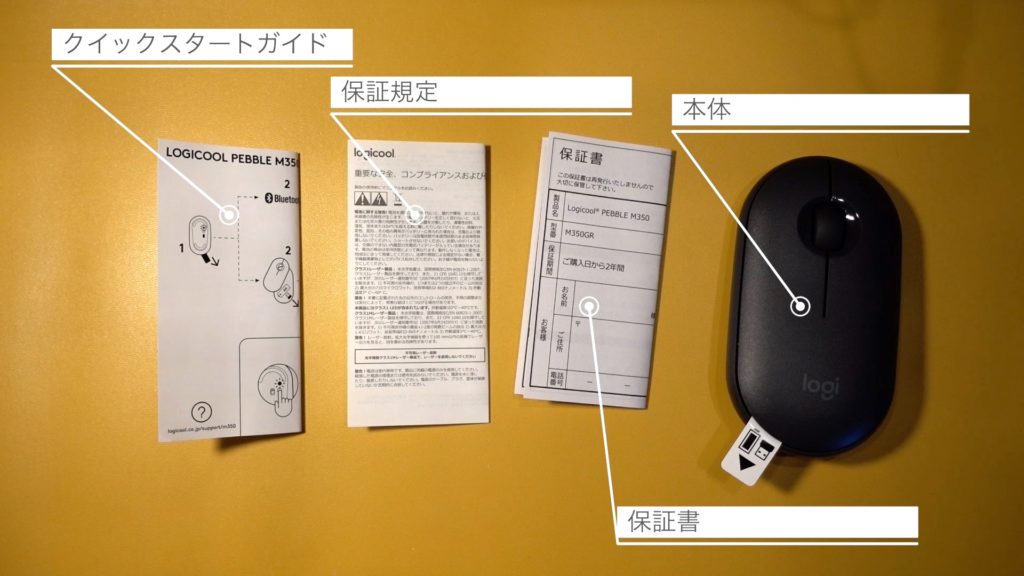
内容物の確認
- クイックスタートガイド
- 保証規定
- 保証書
- M350本体
ツキシマ
次は、マウスの各部を確認していきたいと思います。
マウス各部の確認
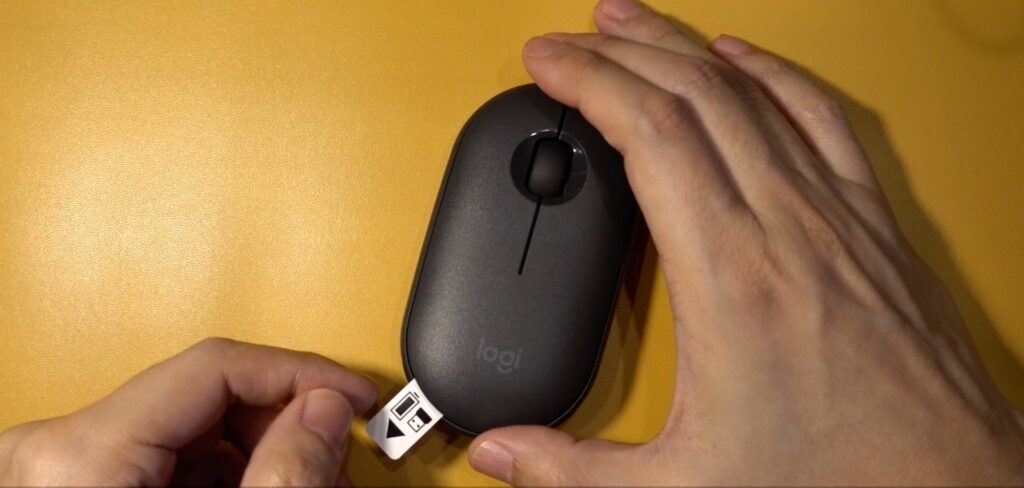
マウスを使用するためには、まず「絶縁シート」を外します。
マウス上部の蓋は、下の画像の「2点」のマグネットで張り付いています。マグネット式ですので、電池交換時の取り外しは簡単です。
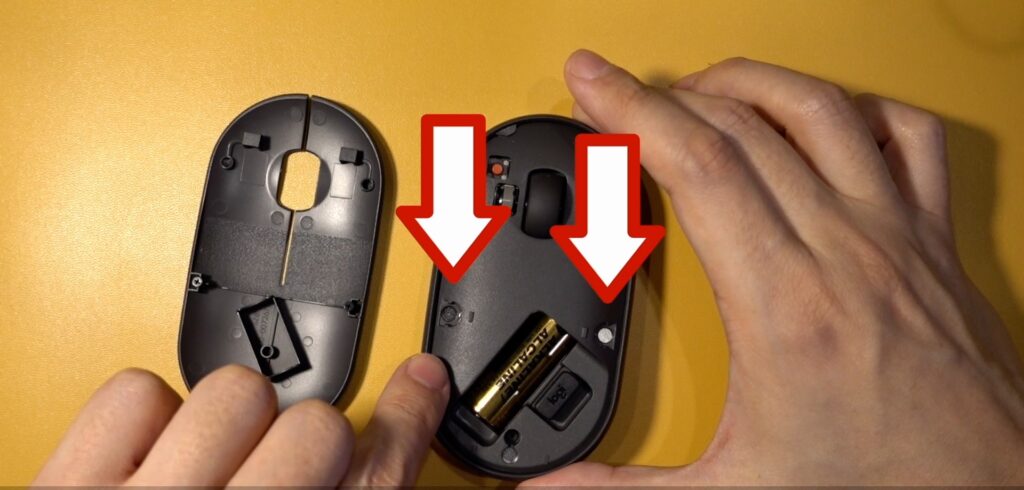
電池は既にお試し用がセットされています。
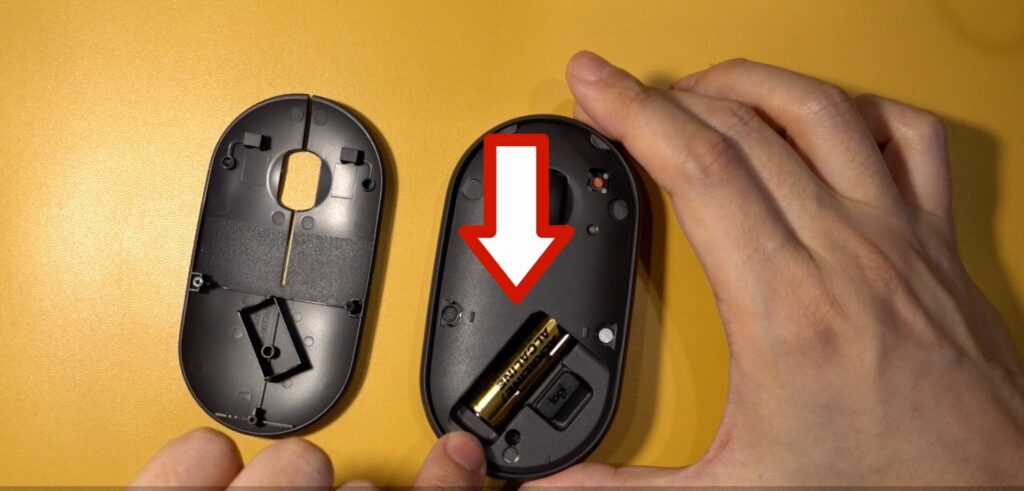
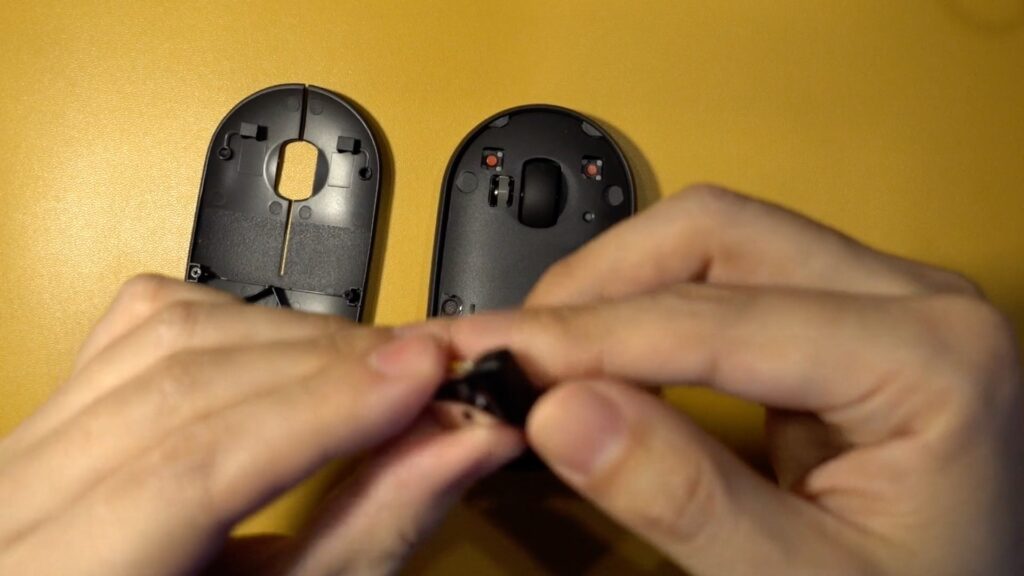
電池の隣には「USBレシーバー」が入っています。レシーバーを使用しない場合は、そのままこの場所に収納しておけます。
マウス裏面には、「電源スイッチ」と「ペアリング用のボタン」があります。

ツキシマ
次は、クリック音の比較をしていきたいと思います。
クリック音比較
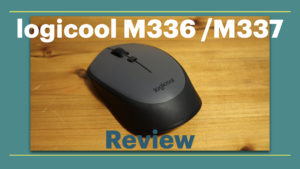
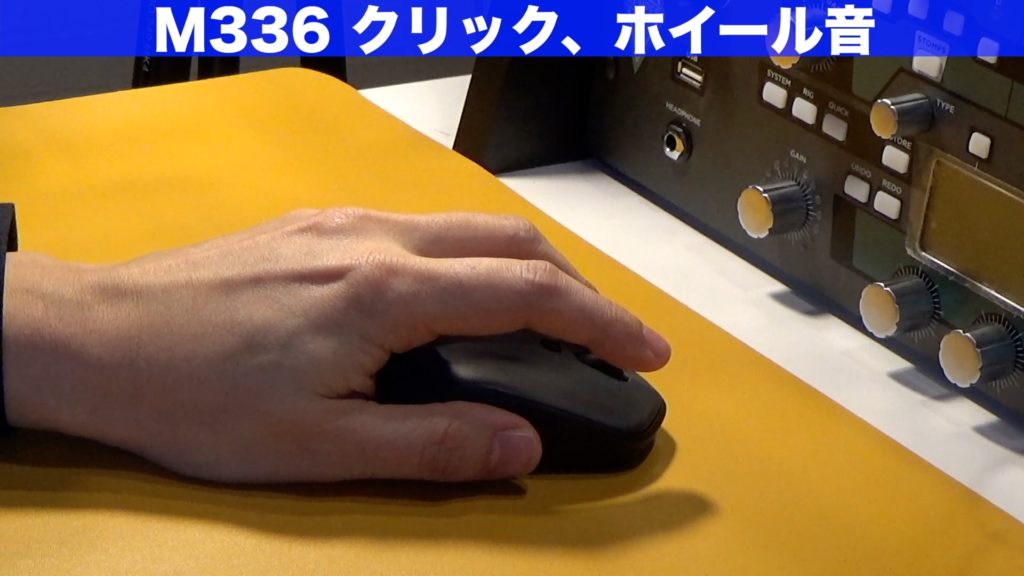
私は今まで、ロジクールの「M336」というBluetoothマウスを使用していましたが、ある時から甲高いクリック音の大きさがかなり気なって来ていました。それが「M350」購入のきっかけでもあります。
M336レビュー記事↓
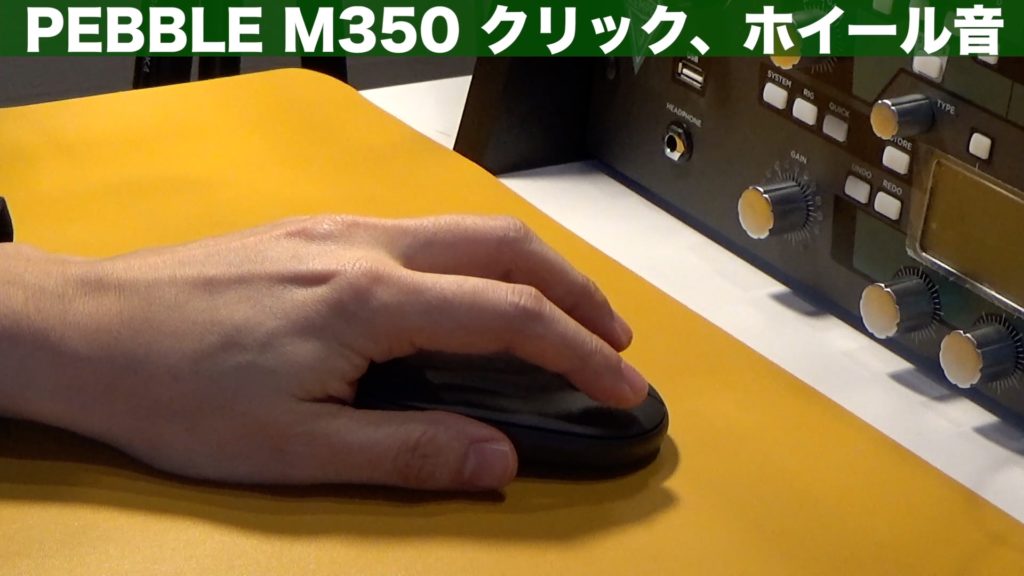
クリック音の比較は、YouTube動画にてご覧ください。
動画内のチャプター「03:37 クリック音比較」よりクリック音の確認ができます。
ツキシマ
次は、まとめです。
さいごに
「PEBBLE M350」は、「右クリック・左クリック・ホイール」の3つのボタンのみで、シンプルなマウスです。「シンプルで静かなマウス」を探している方には、お勧めだと思います。
「薄くコンパクトで、軽いために持ち運びし易く、BluetoothとUSBのどちらでも接続可能」なのも良いポイントです。
ツキシマ
それでは、最後までご覧頂きありがとうございました。