ご挨拶

ツキシマ
こんにちは、ツキシマです。
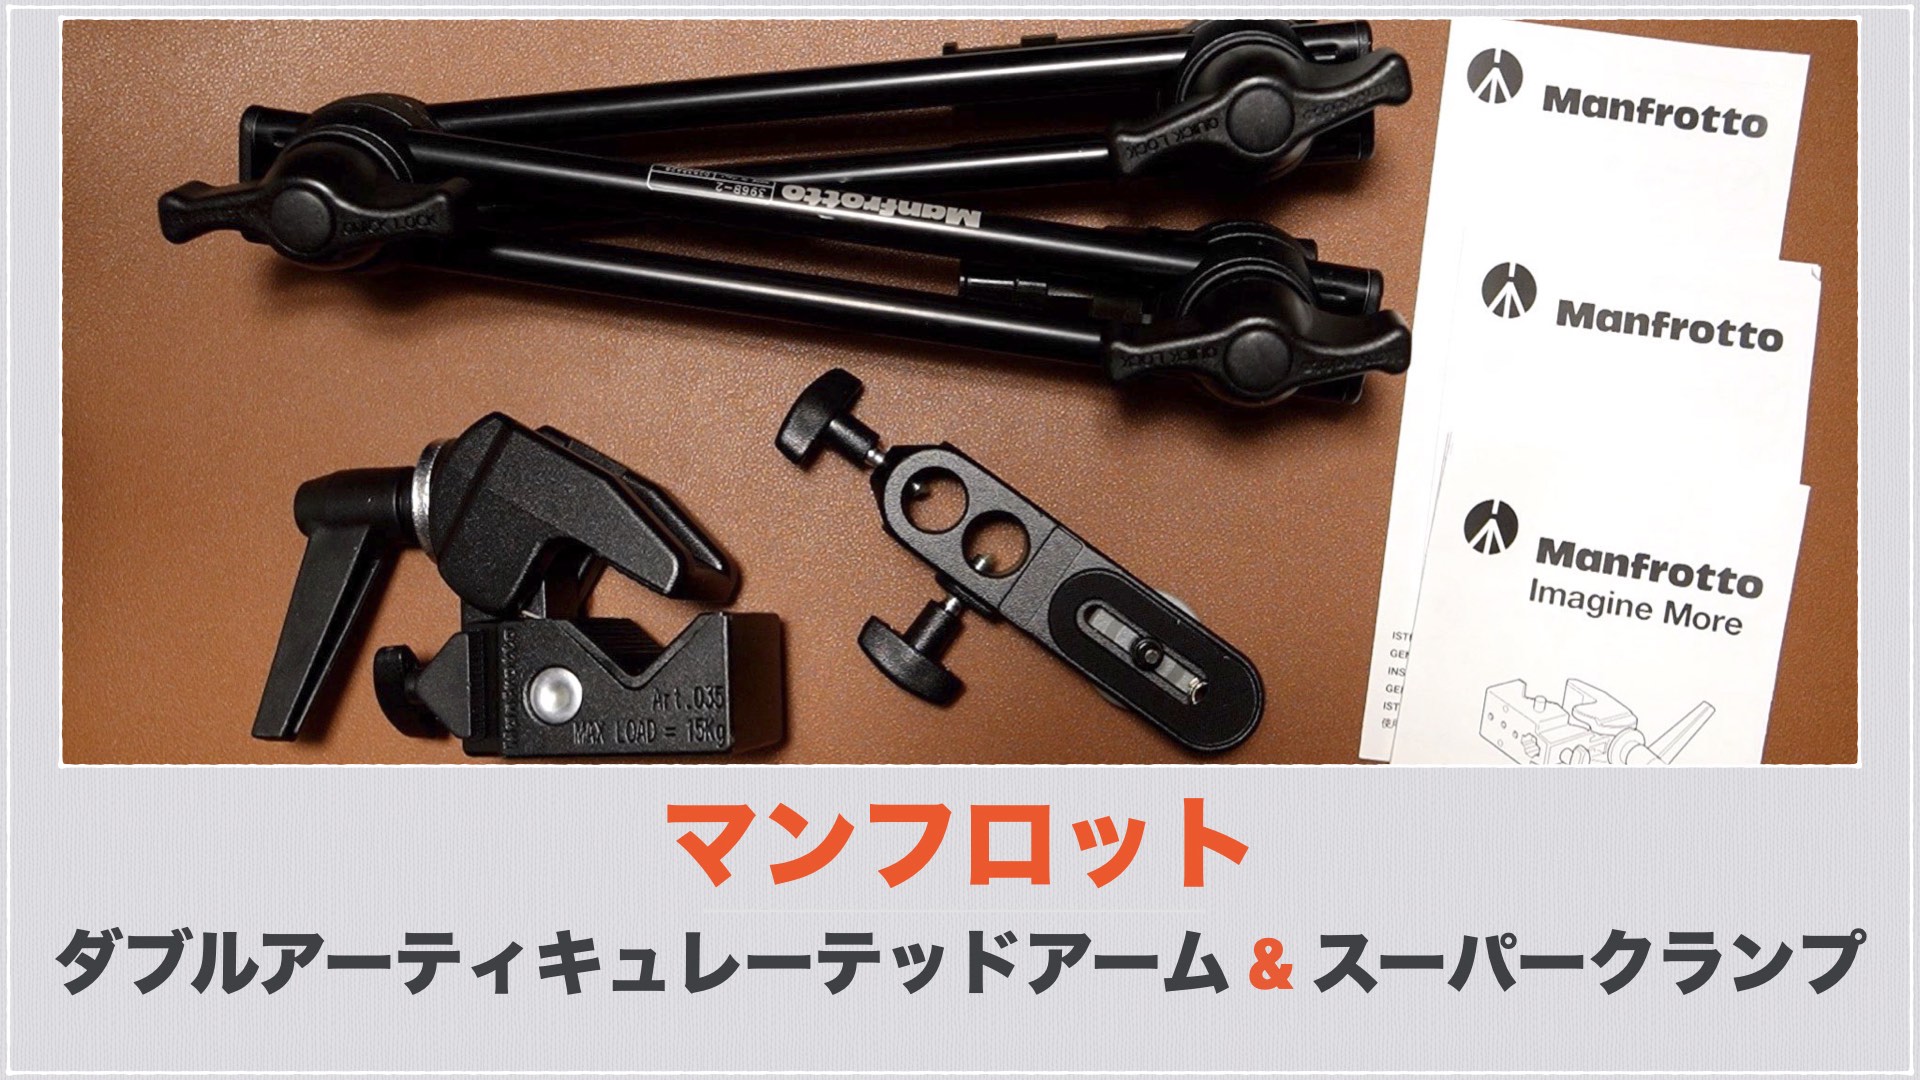
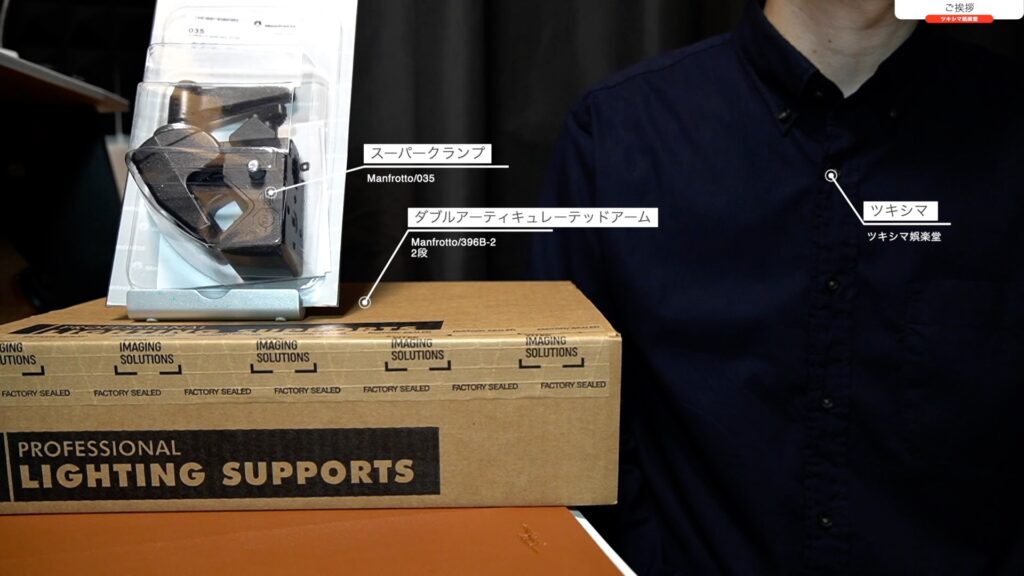
今回は「マンフロット」の「ダブルアーティキュレーテッドアーム」と、台座となる「スーパークランプ」を購入しましたので、開封レビューをしていきたいと思います。これらは、基本的にカメラや照明用のアームとクランプですが、私はマイク用として使用したいと考えています。
ツキシマ
それでは、開封していきたいと思います。
開封と内容物の確認
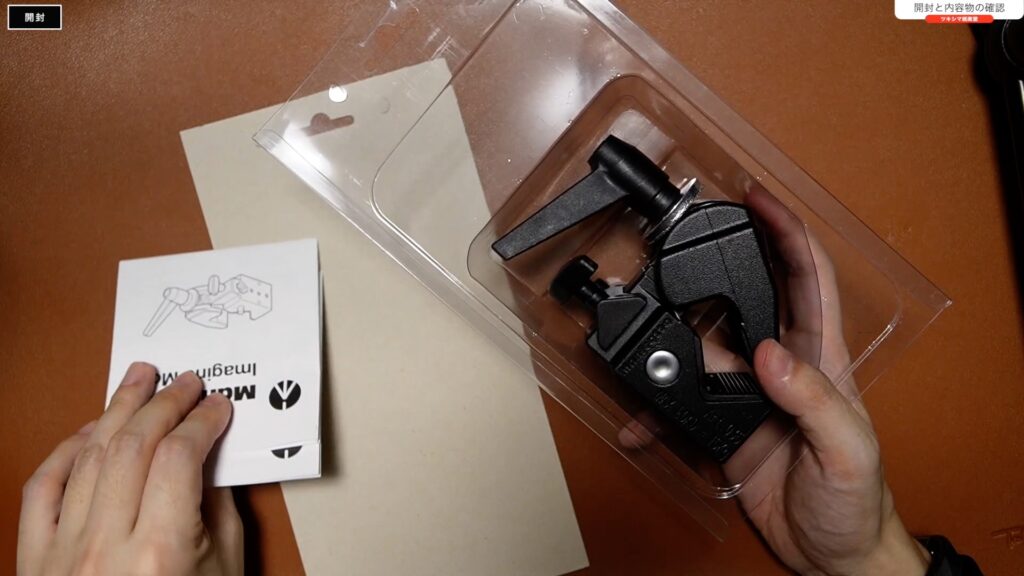
開封
アームの方から開封します。蓋を開けると下画像のような感じに入っていました。緩衝材などは無いようです、、、(汗)
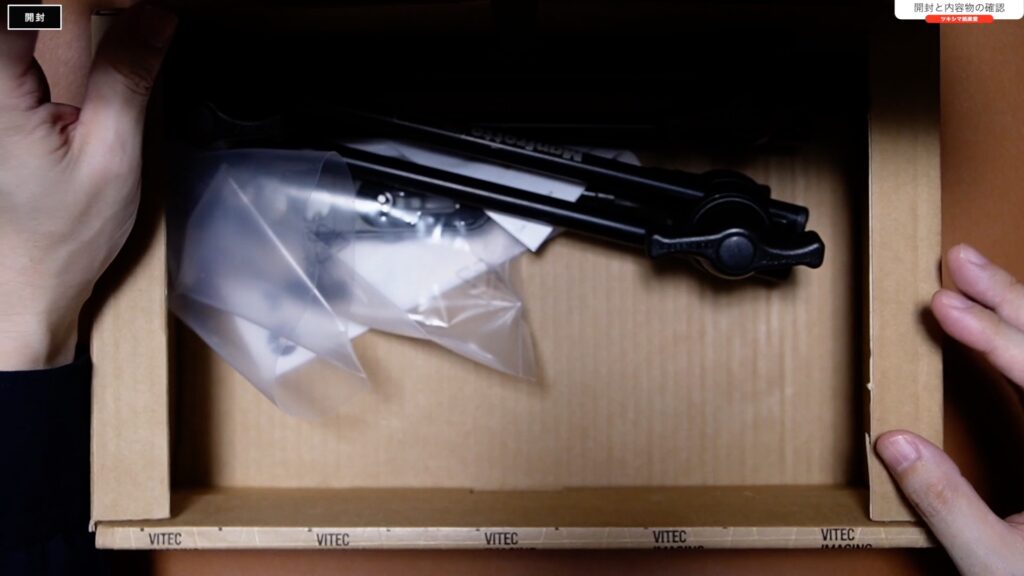
アームを取り出します。
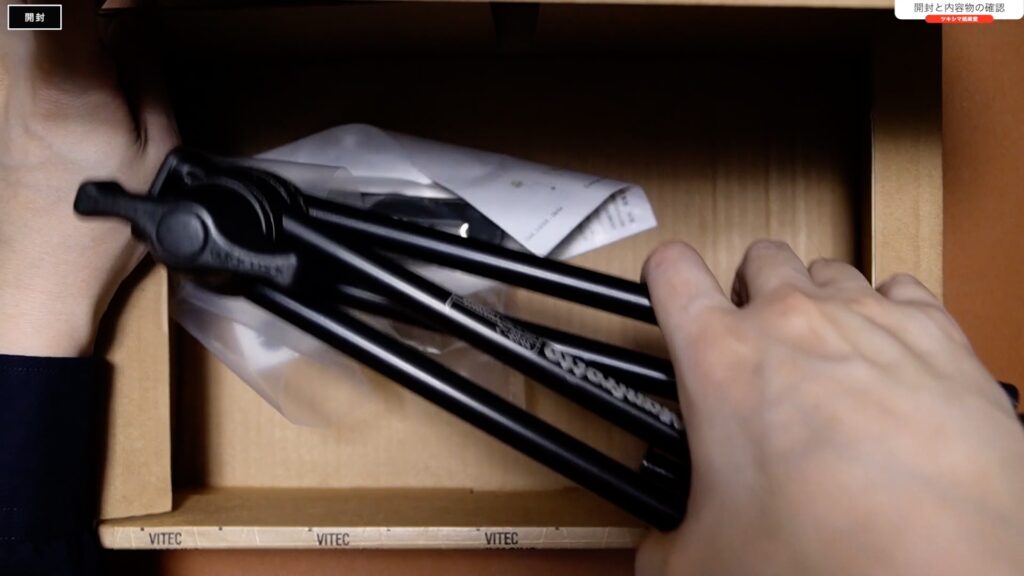
あとは、カメラブラケットと説明書が入っていました。
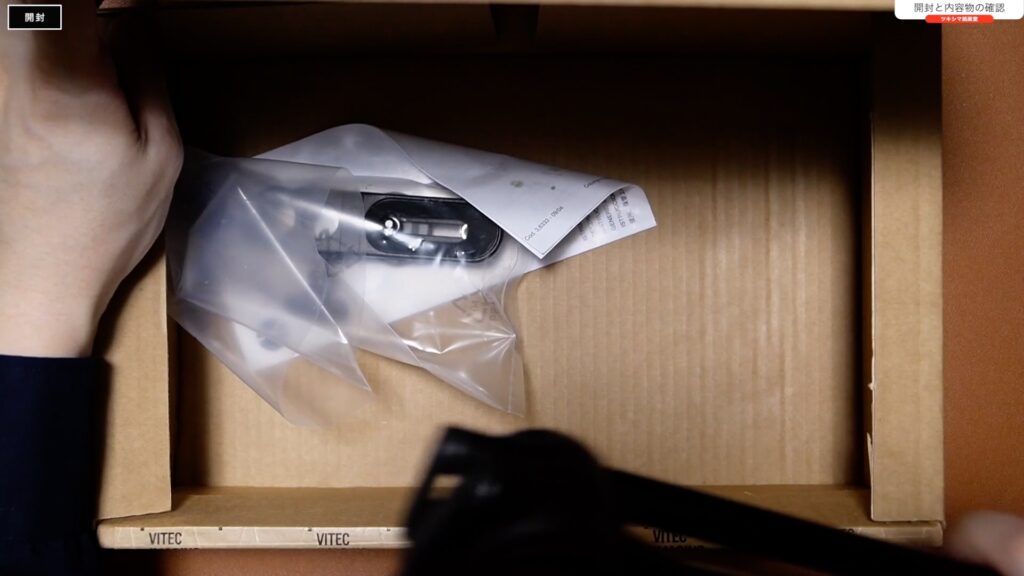
次にスーパークランプを開封します。
クランプ本体と説明書が入っていました。
全て取り出せました。

内容物の確認
- アーム本体
- カメラブラケット
- スーパークランプ
- 説明書と注意書き

ツキシマ
次は、各部の確認と使い方をみていきたいと思います。
各部の確認と使い方
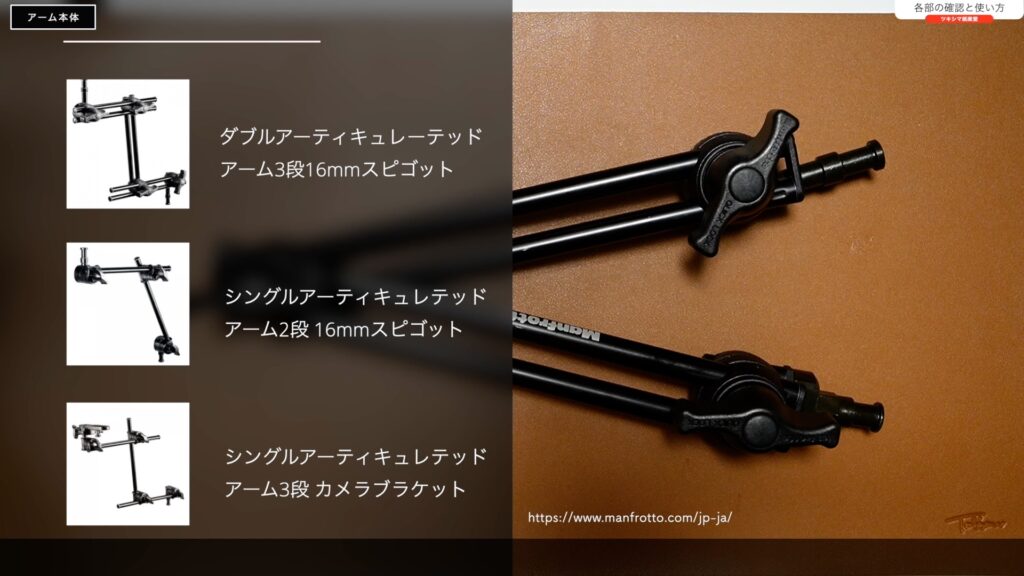
アーム本体
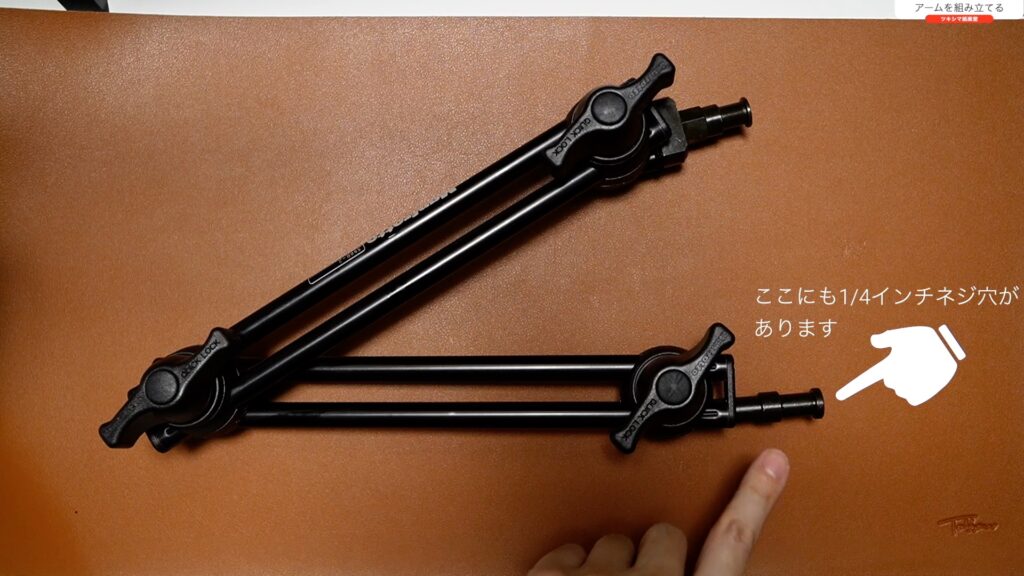
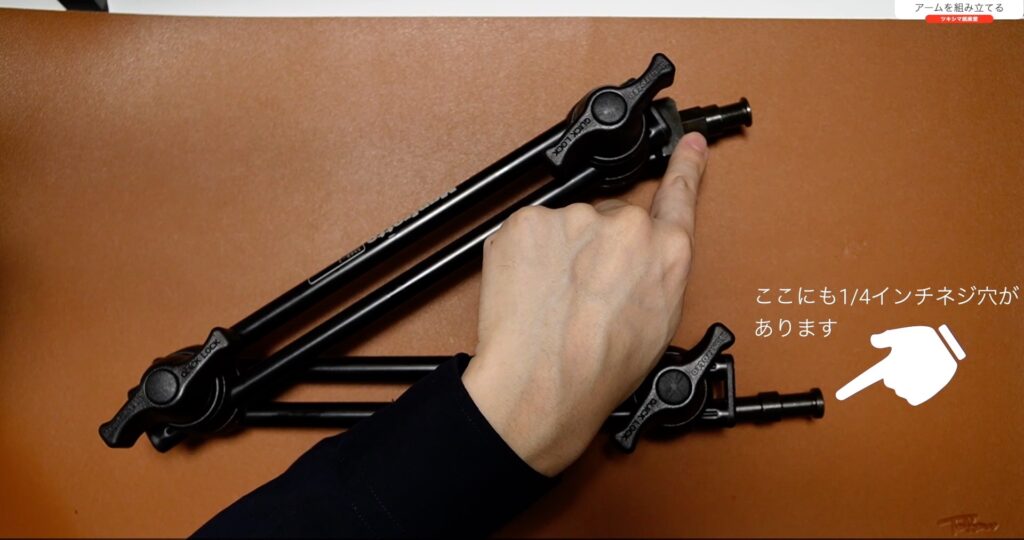
私が購入したのは、アームが2本ついているタイプです。アームが1本(シングル)のモデルや、関節が2つあるタイプもあり、用途に応じて選ぶことができます。
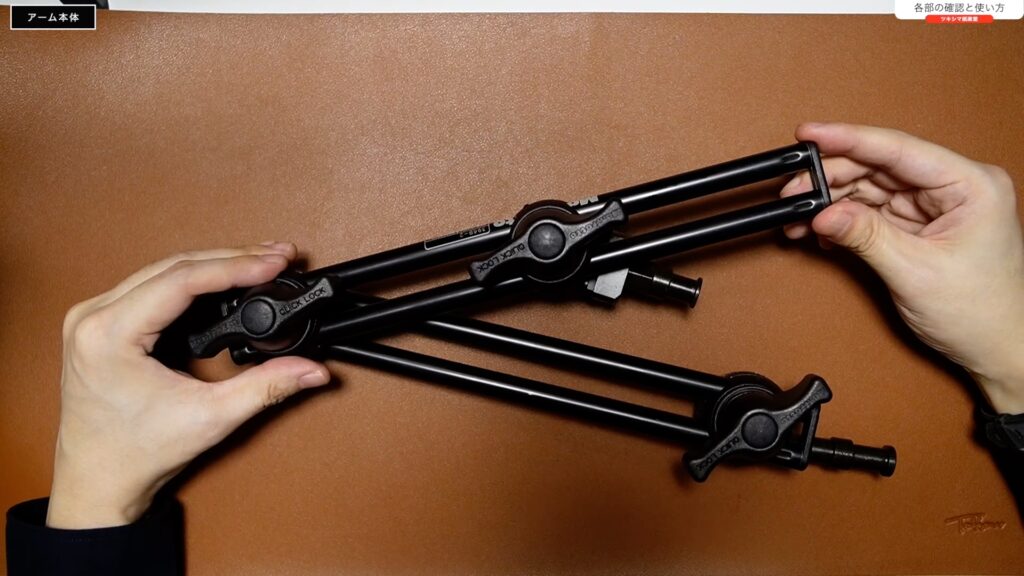
アームは、360度近く回転させることが可能です。

回る部分に「ギザギザ」が刻まれているので、クリック感があります。

アームの先端に付いている2つのロック用のパーツは、スライドをすることが出来て、アーム部分の自由な位置に固定することが可能です。
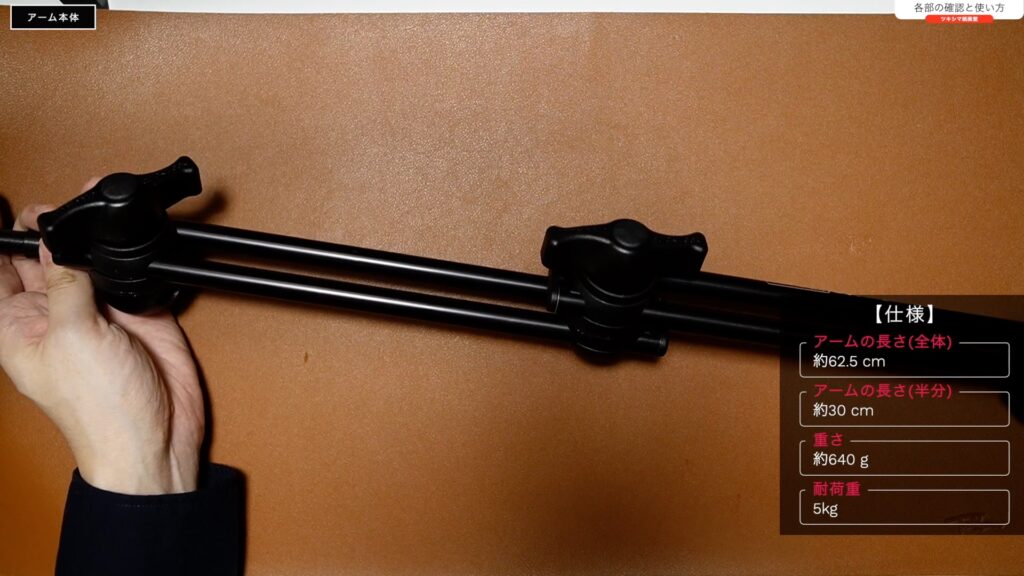
アームはまっすぐ伸ばすと「約62.5cm」で、片側のアーム部分は「約30cm」です。重さは「約640g」で、耐荷重は「5kg」です。
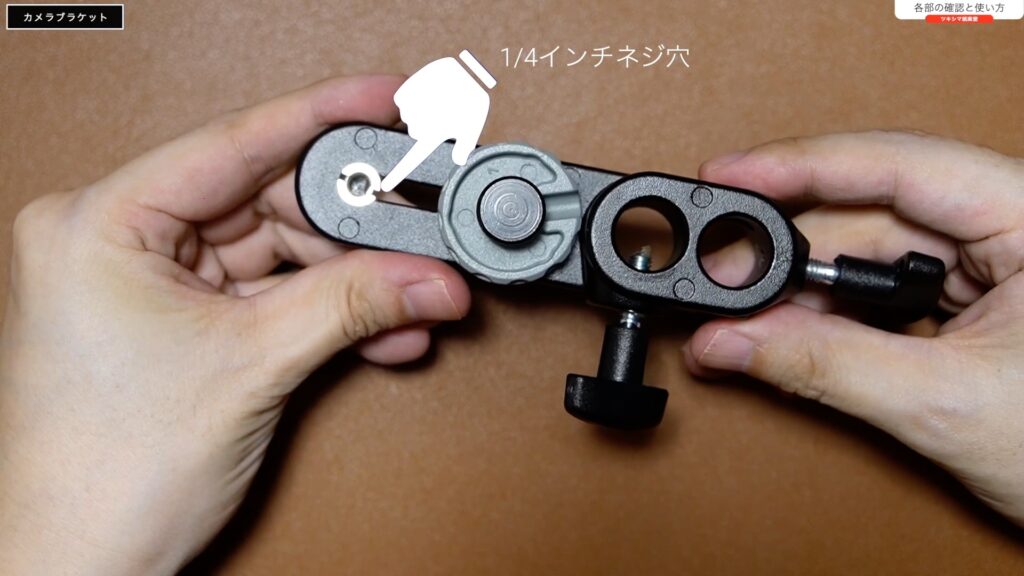
カメラブラケット
下のパーツは、カメラを取り付けられるブラケットです。上部に「1/4インチネジ」が装備されています。

そのままカメラを設置することが出来ます。
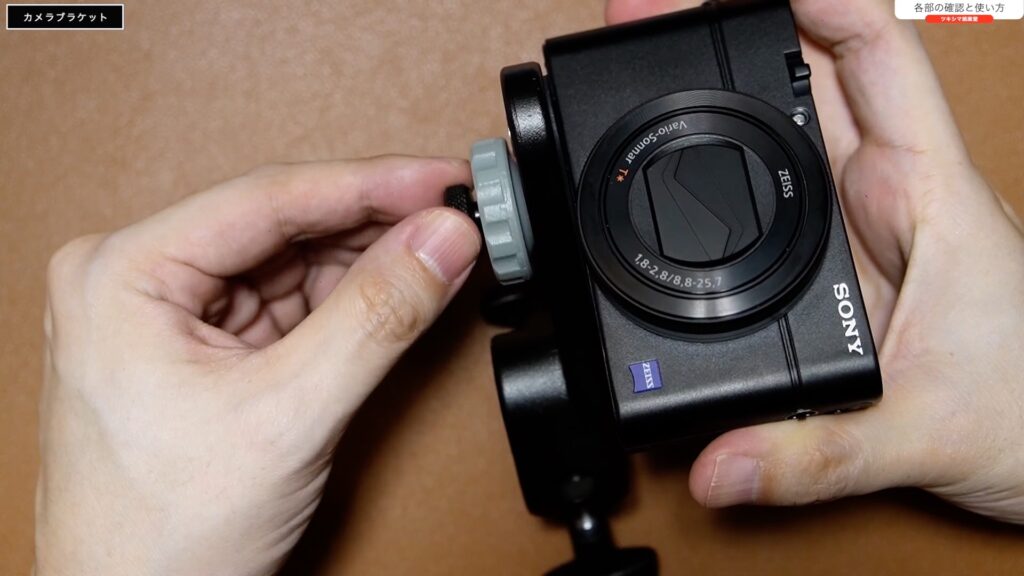
カメラと接触する部分には、ゴムが装備されています。(下画像参照)
ネジ部分には幅が設けられていますので、ある程度はカメラに合わせて位置を決めることが出来そうです。
素材はアルミニウム製で、重さは「約140g」です。
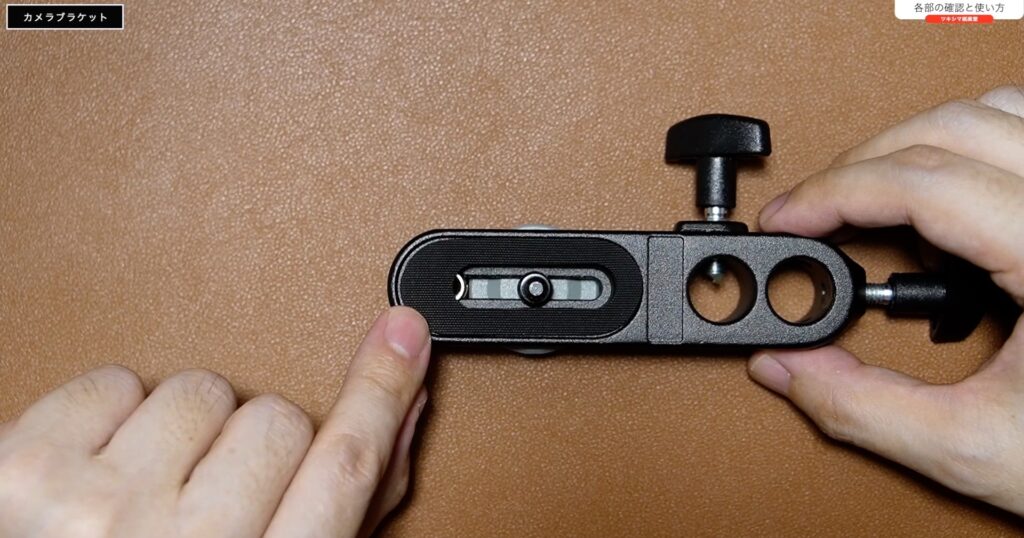
裏側は、下画像のような感じです。裏側にも「1/4インチネジ」が装備されています。
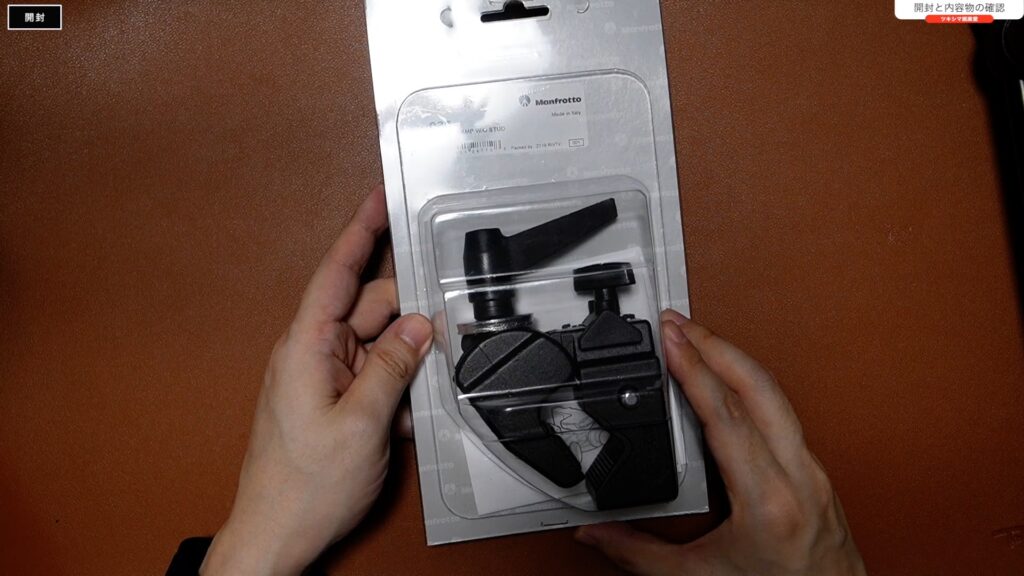
スーパークランプ
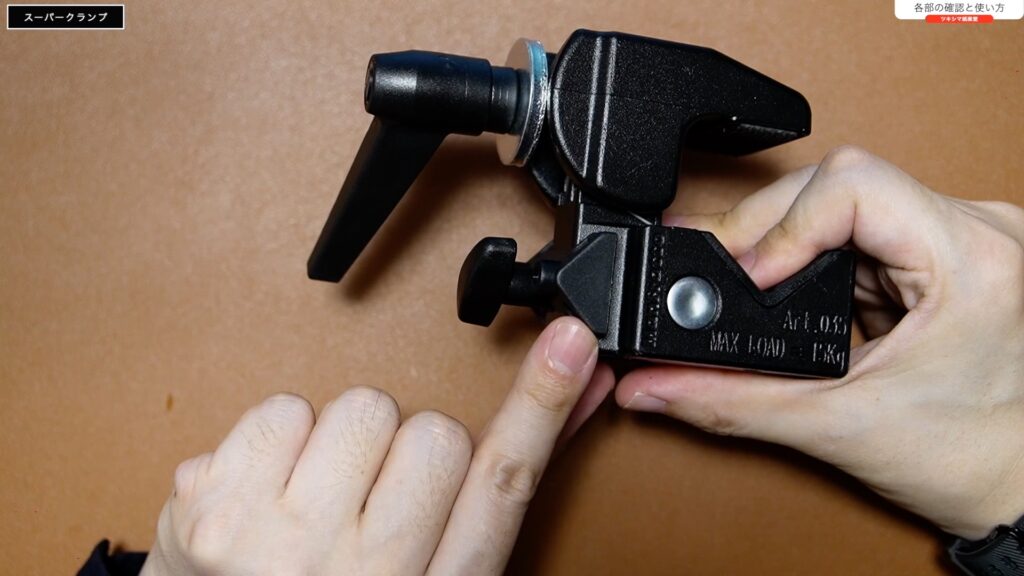
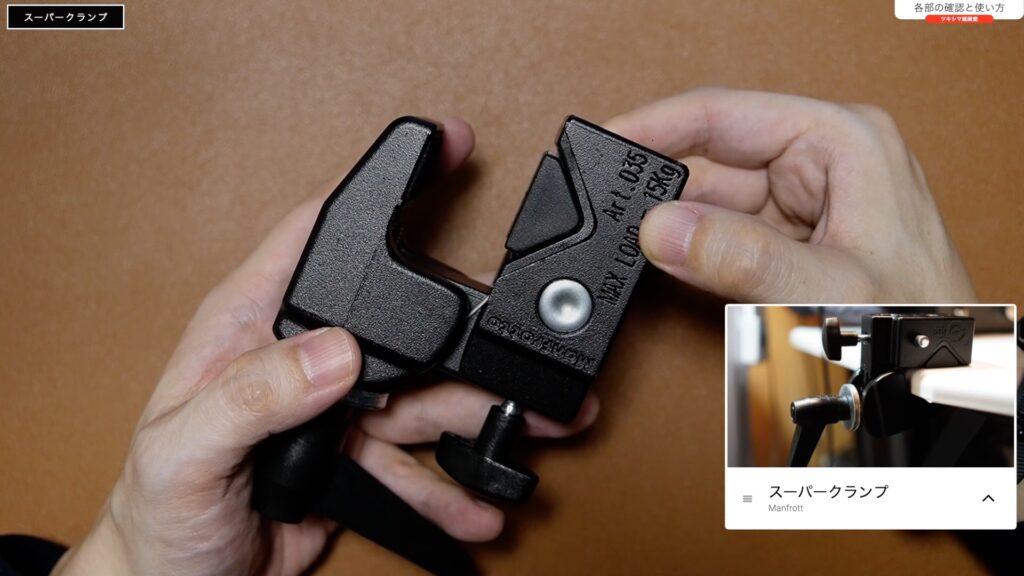
スーパークランプの第一印象は、重いです。仕様では「430g」とありますが、それ以上の重さに感じます。耐荷重が「15kg」とありますので、かなりしっかりした造りをしているのだと思います。
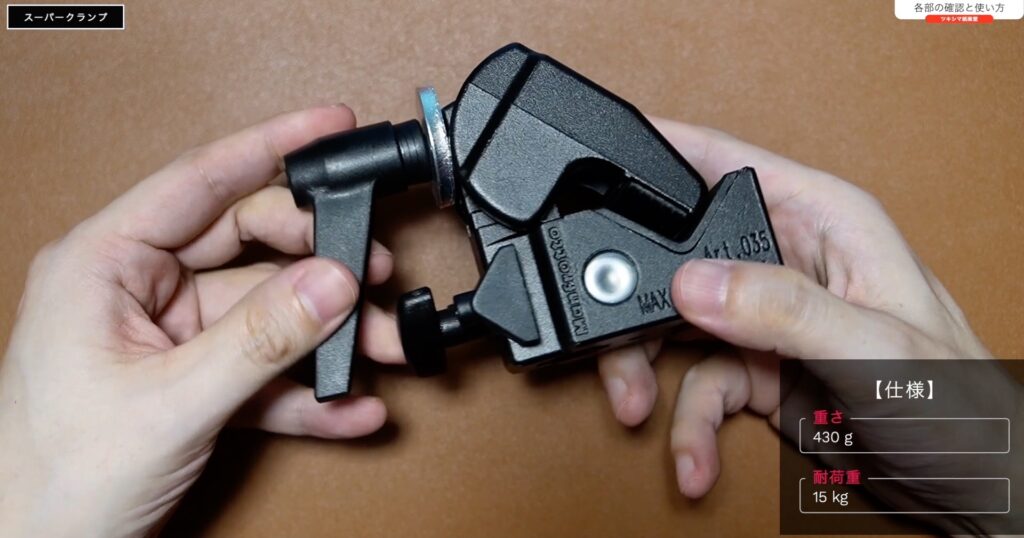
大きなレバーを回すことで、クランプ部分が開きます。この状態だと、ポールに取り付けられるモードです。直径が「13mm~55mm」のポールに対応しています。
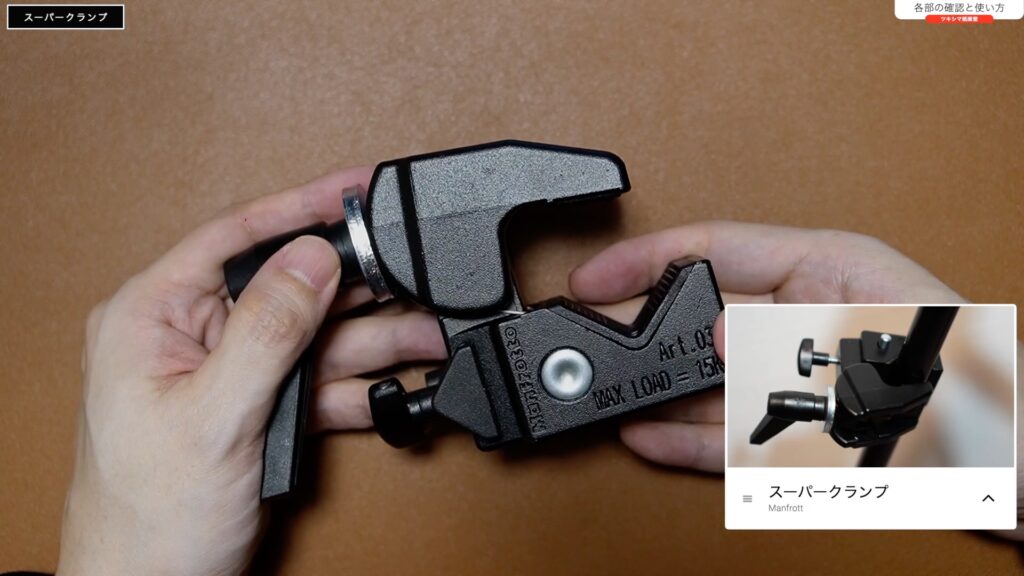
ポールに当たる部分には、ゴムが装備されています。
反対側にもあります。
私は机に固定するつもりですので、モードを切り替えたいと思います。下画像の部分に付属しているパーツを外して、受けの部分に取り付けると、このパーツが平らになりますので、クランプを机に設置することが可能になります。
板に使用する場合、挟み込める厚みは「10mm~30mm」くらいまでのようです。
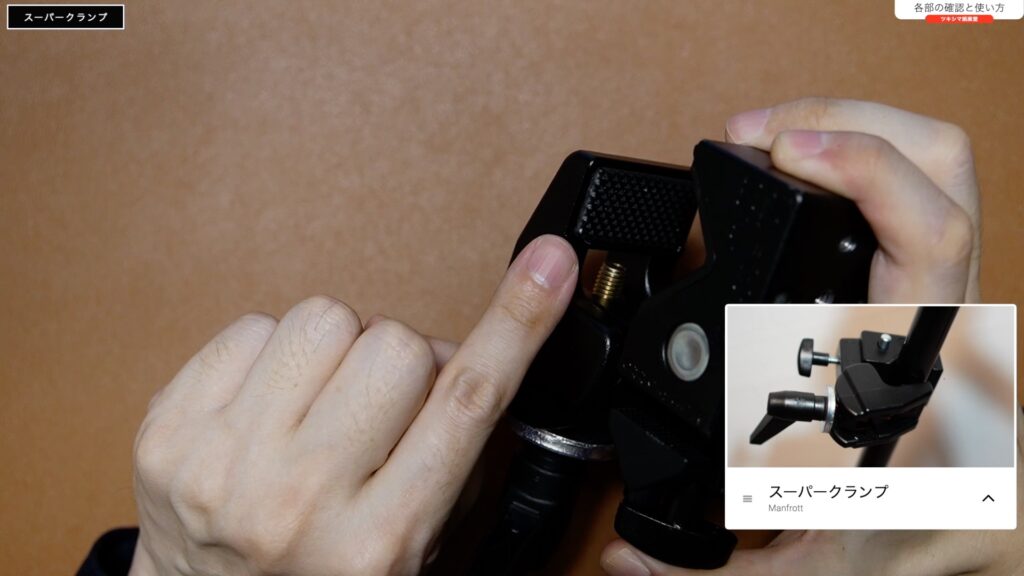
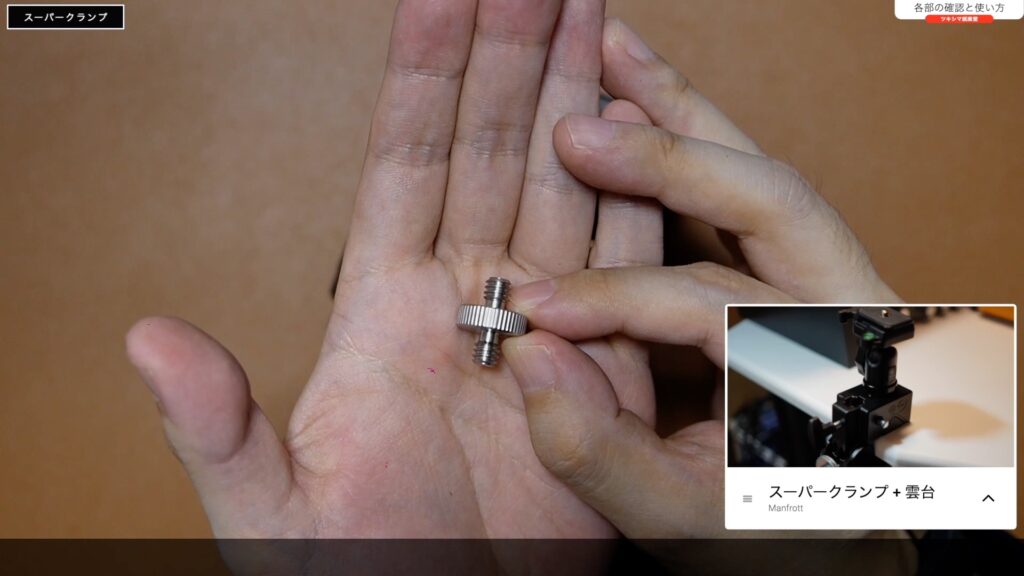
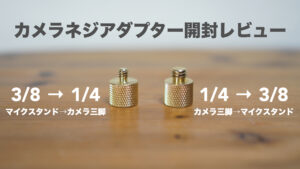
またこのスーパークランプは、「1/4インチネジ」の穴があり、雲台を取り付けることが出来ます。このクランプをポールや板などに固定して、雲台の台座として使用することも可能です。
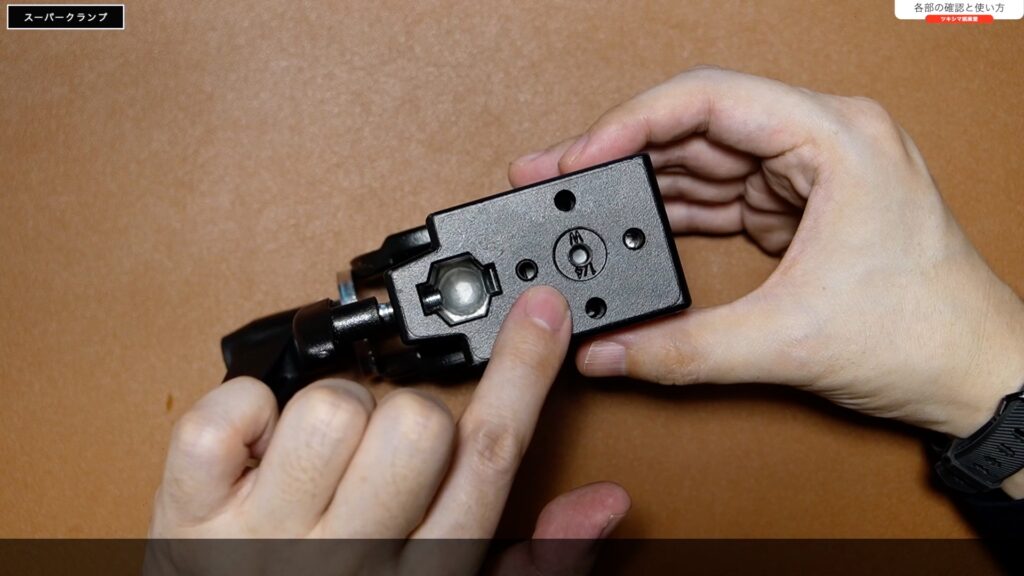
その際には、両側がオスの「1/4インチネジ」を用意する必要があります。
ツキシマ
次は、アームとカメラブラケットとスーパークランプを組み合わせて完成させてみたいと思います。
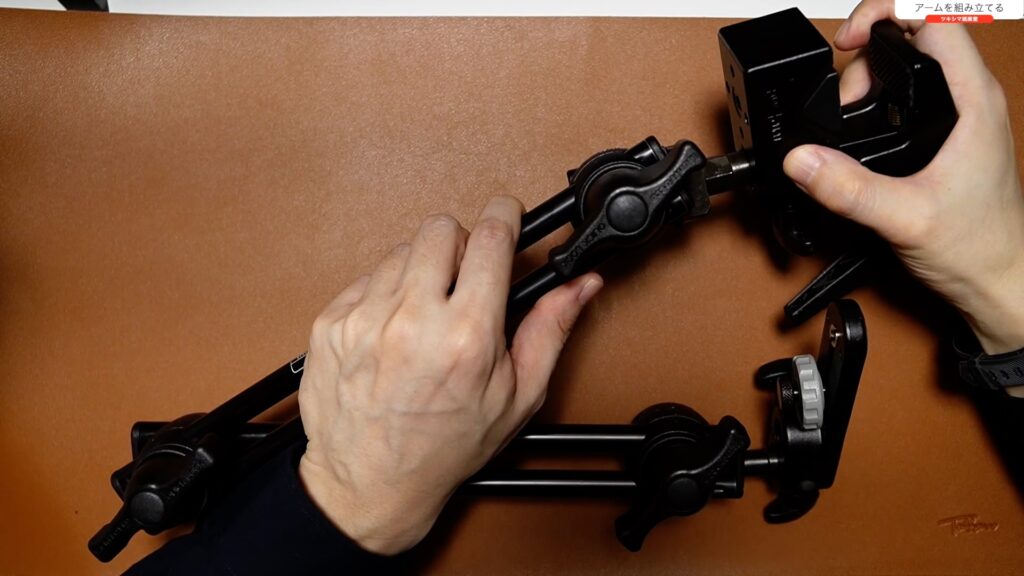
アームを組み立てる
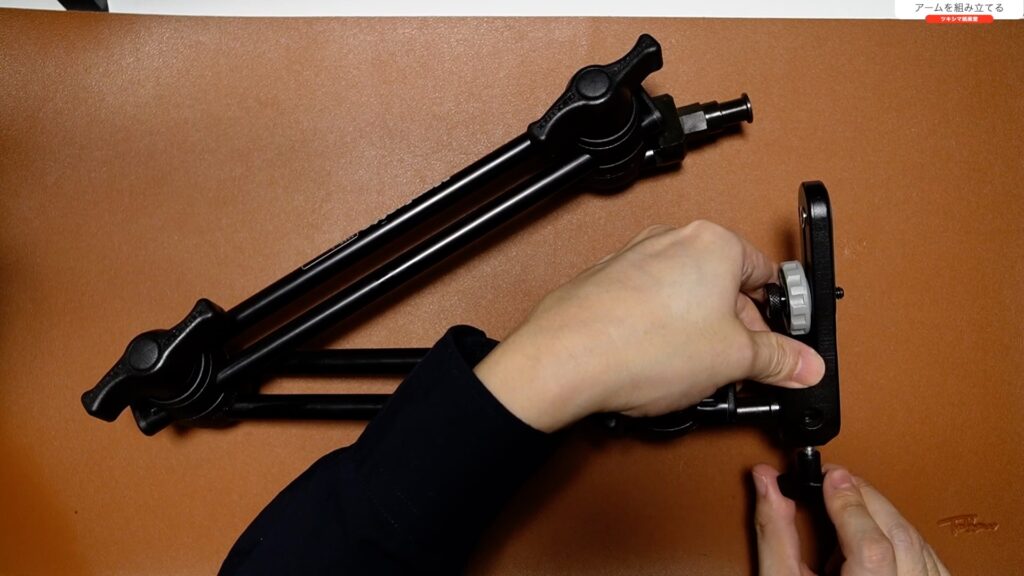
まずアームの先端に、カメラブラケットを取り付けます。細い方がカメラブラケット用です。ちなみにアームの先端にも「1/4インチネジ」のネジ穴があります。
太い方を、スーパークランプに固定する形になっています。
先端にカメラブラケットを取り付けます。
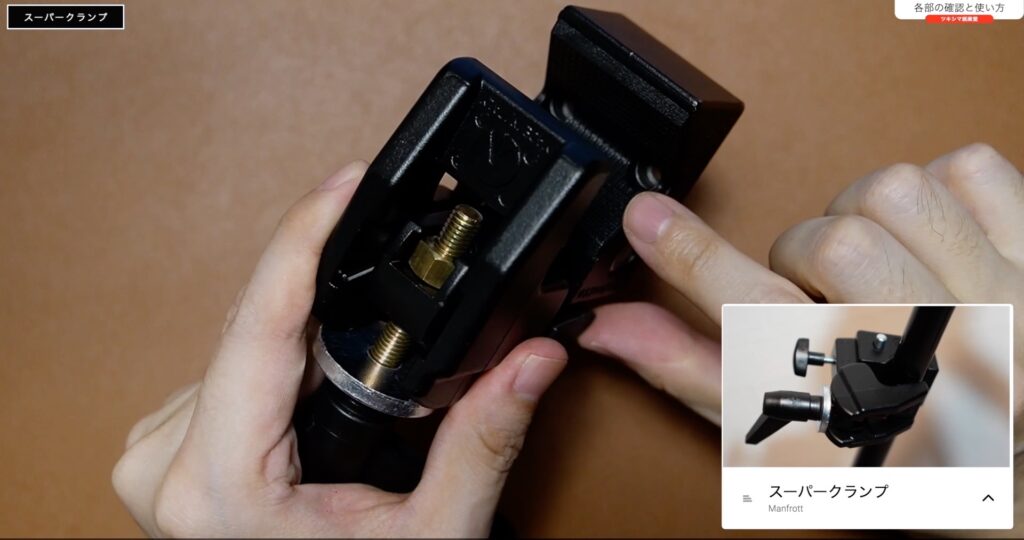
次に、スーパークランプを取り付けたいと思います。組み合わせ方は、銀色のパーツを押し込んで差し込みます。
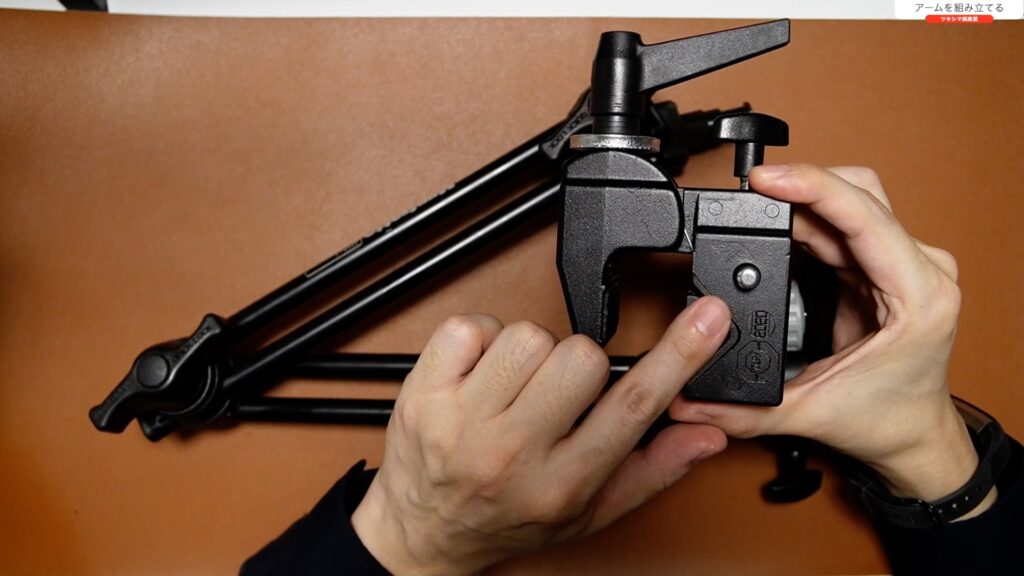
位置を合わせます。
このままだとまだグラグラしていますので、レバーを回して固定します。
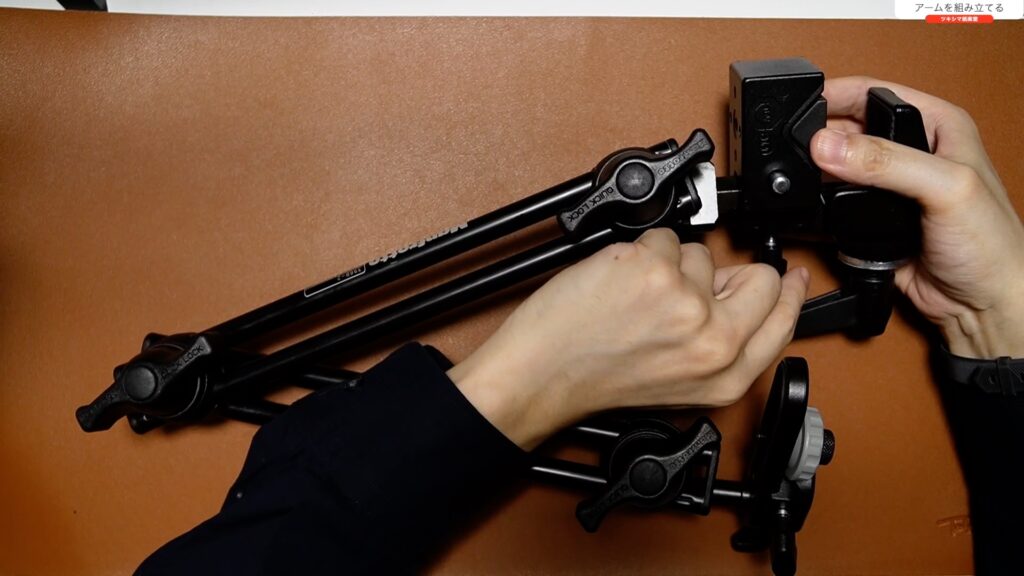
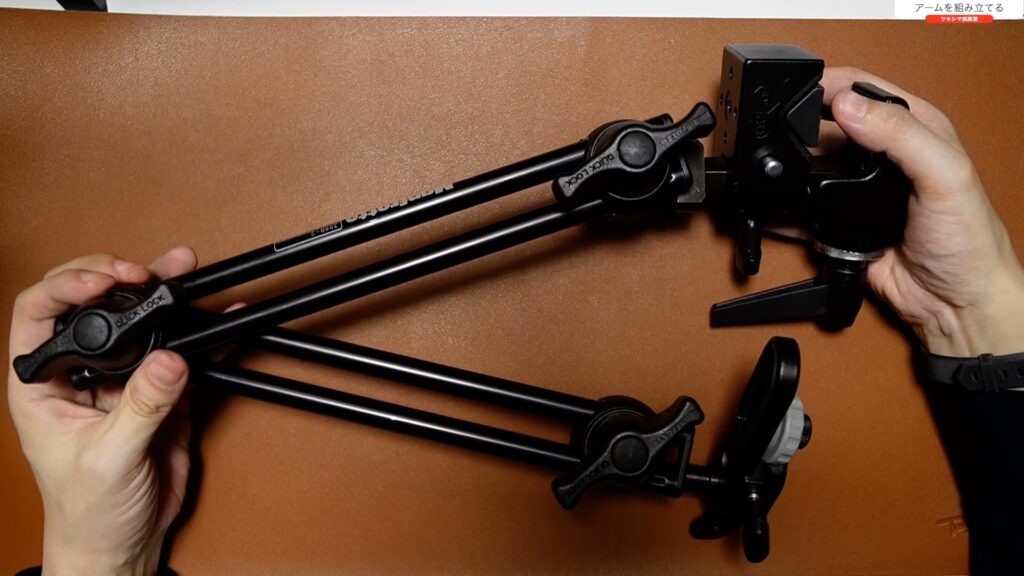
これで取り付けることが出来ました。
ツキシマ
次は、このアームを机に固定して、カメラやマイクを設置してみたいと思います。
カメラとマイクを取り付けてみる
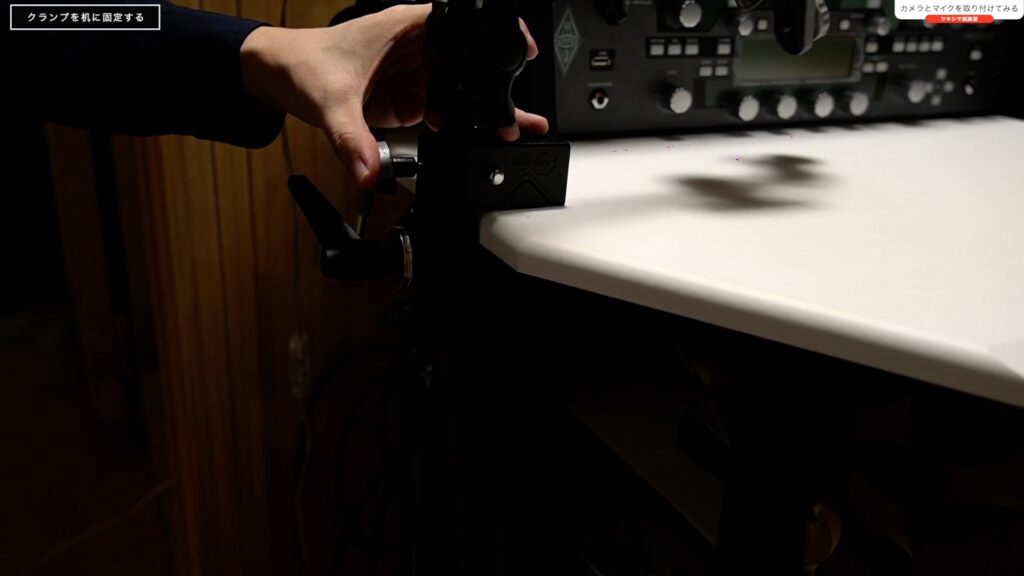
クランプを机に固定する
クランプを机に固定します。
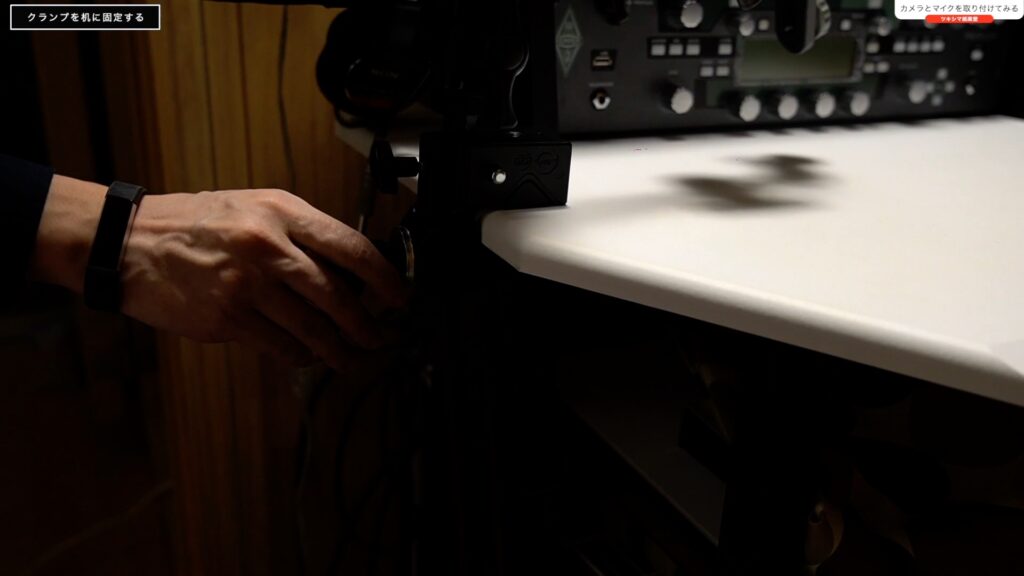
しっかりと固定されました。
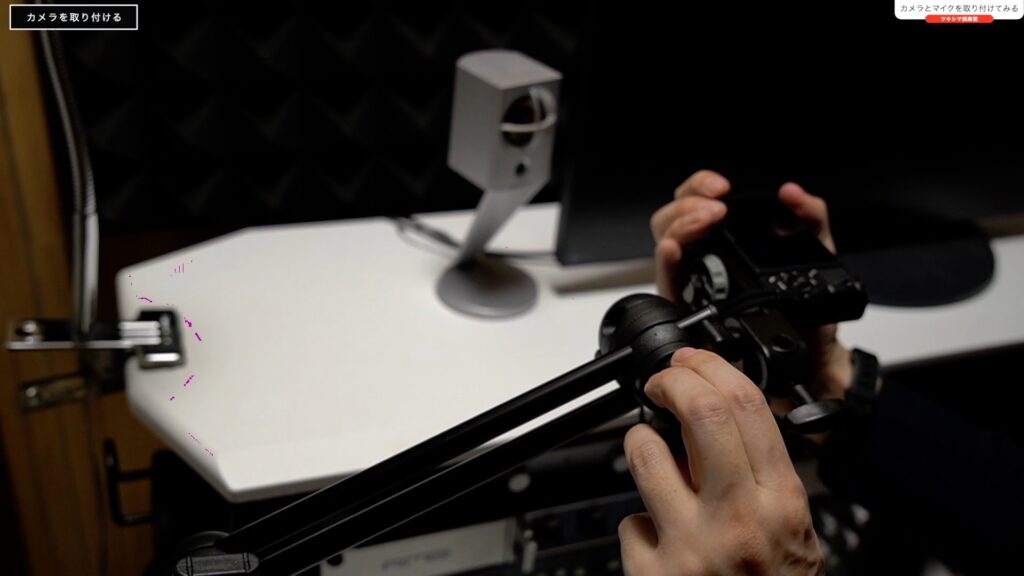
カメラを取り付ける
カメラブラケットにカメラを取り付けます。
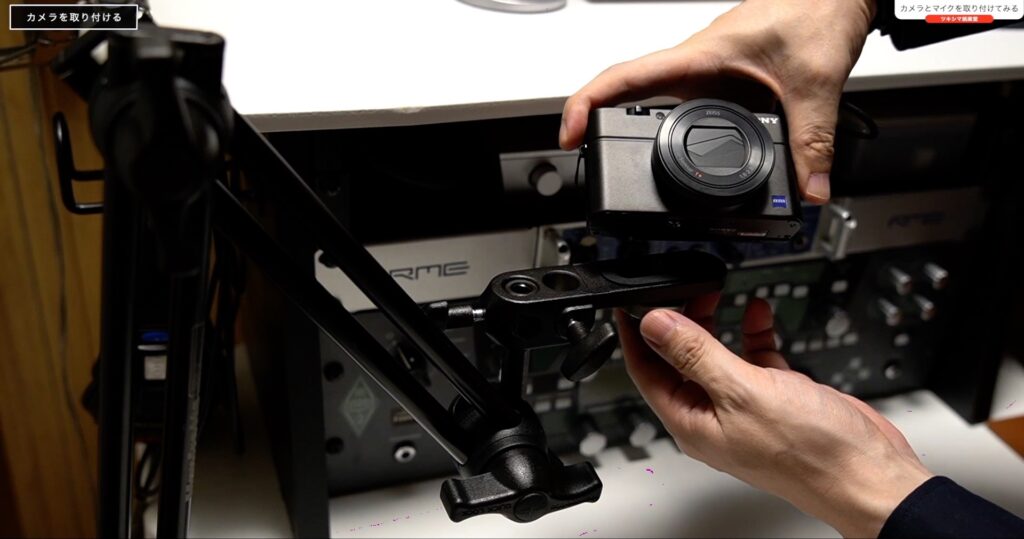
カメラを取り付けると、下画像のような感じになります。
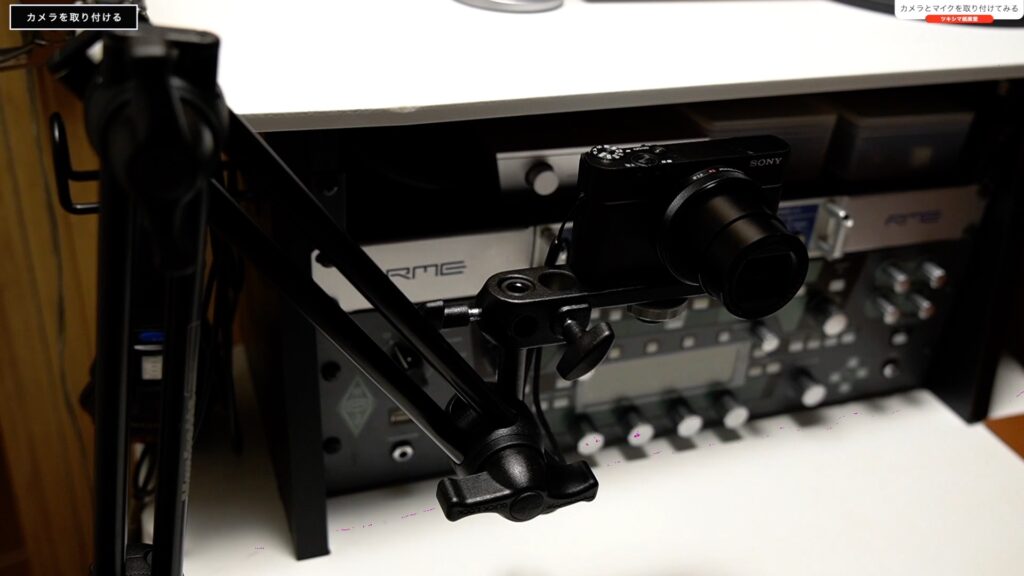
カメラブラケットはかなり自由に動きますので、俯瞰撮影も可能です。
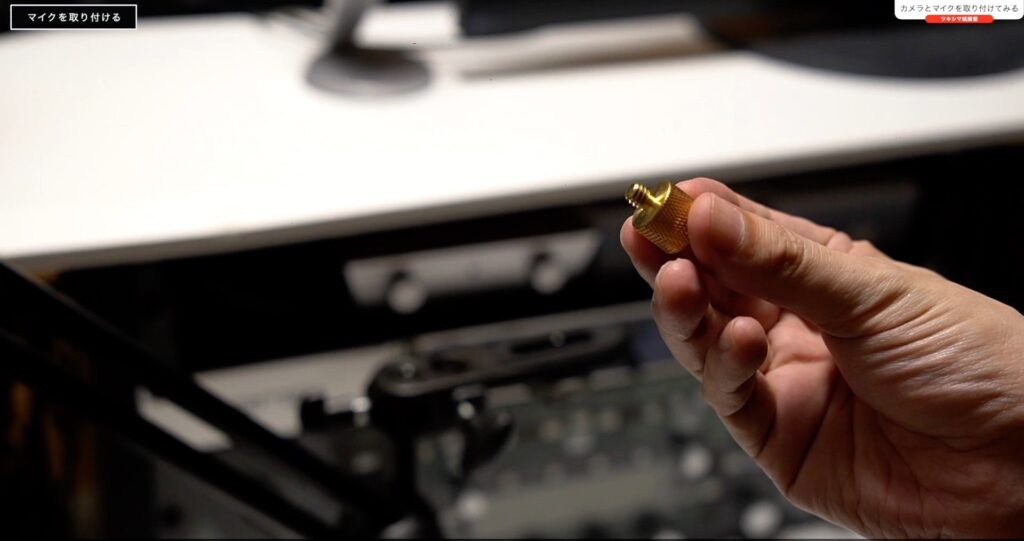
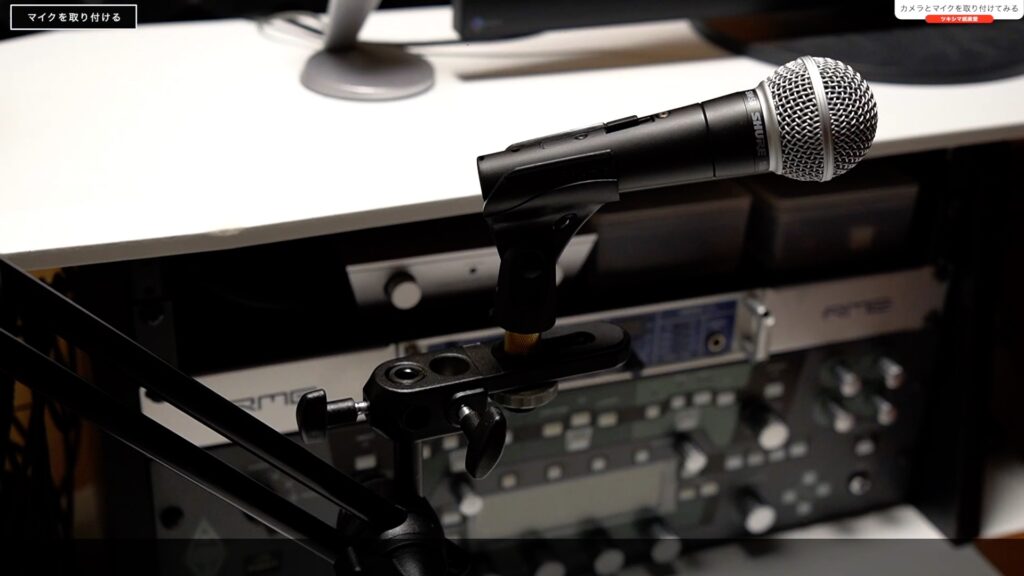
マイクを取り付ける
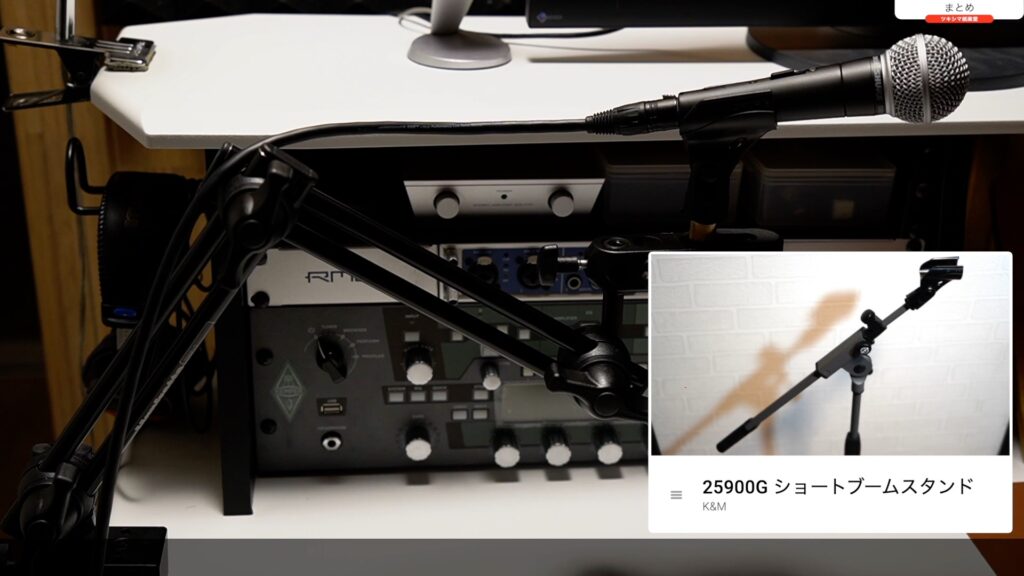
カメラブラケットにネジ変換アダプターを使用して、マイクを取り付けてみます。
レビュー記事↓
マイクはカメラより軽いですので、しっかりと固定されます。
ツキシマ
次は、まとめです。
まとめ
マイクを設置する場合はケーブルに注意しなければなりませんが、ちょっと使用してみた感じは、概ね想定どおりでしたので、これから使用していきたいと思います。
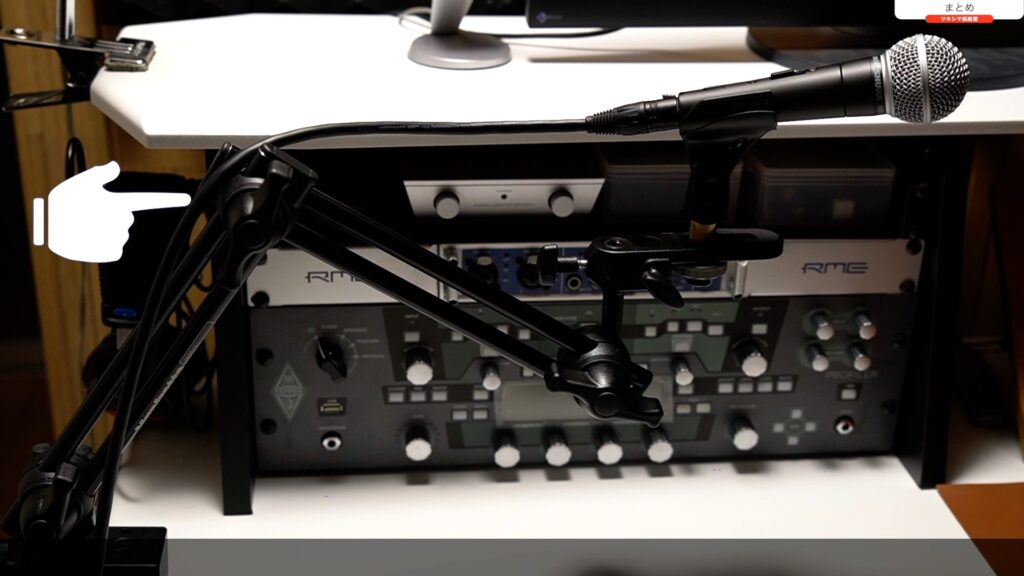
また机にマイクを固定できれば、今まで使用していたマイクスタンドを片付けることが出来ますので、それもメリットだと思います。
ツキシマ
それでは、最後までご視聴ありがとうございました。