ご挨拶

ツキシマ
こんにちは、ツキシマです。
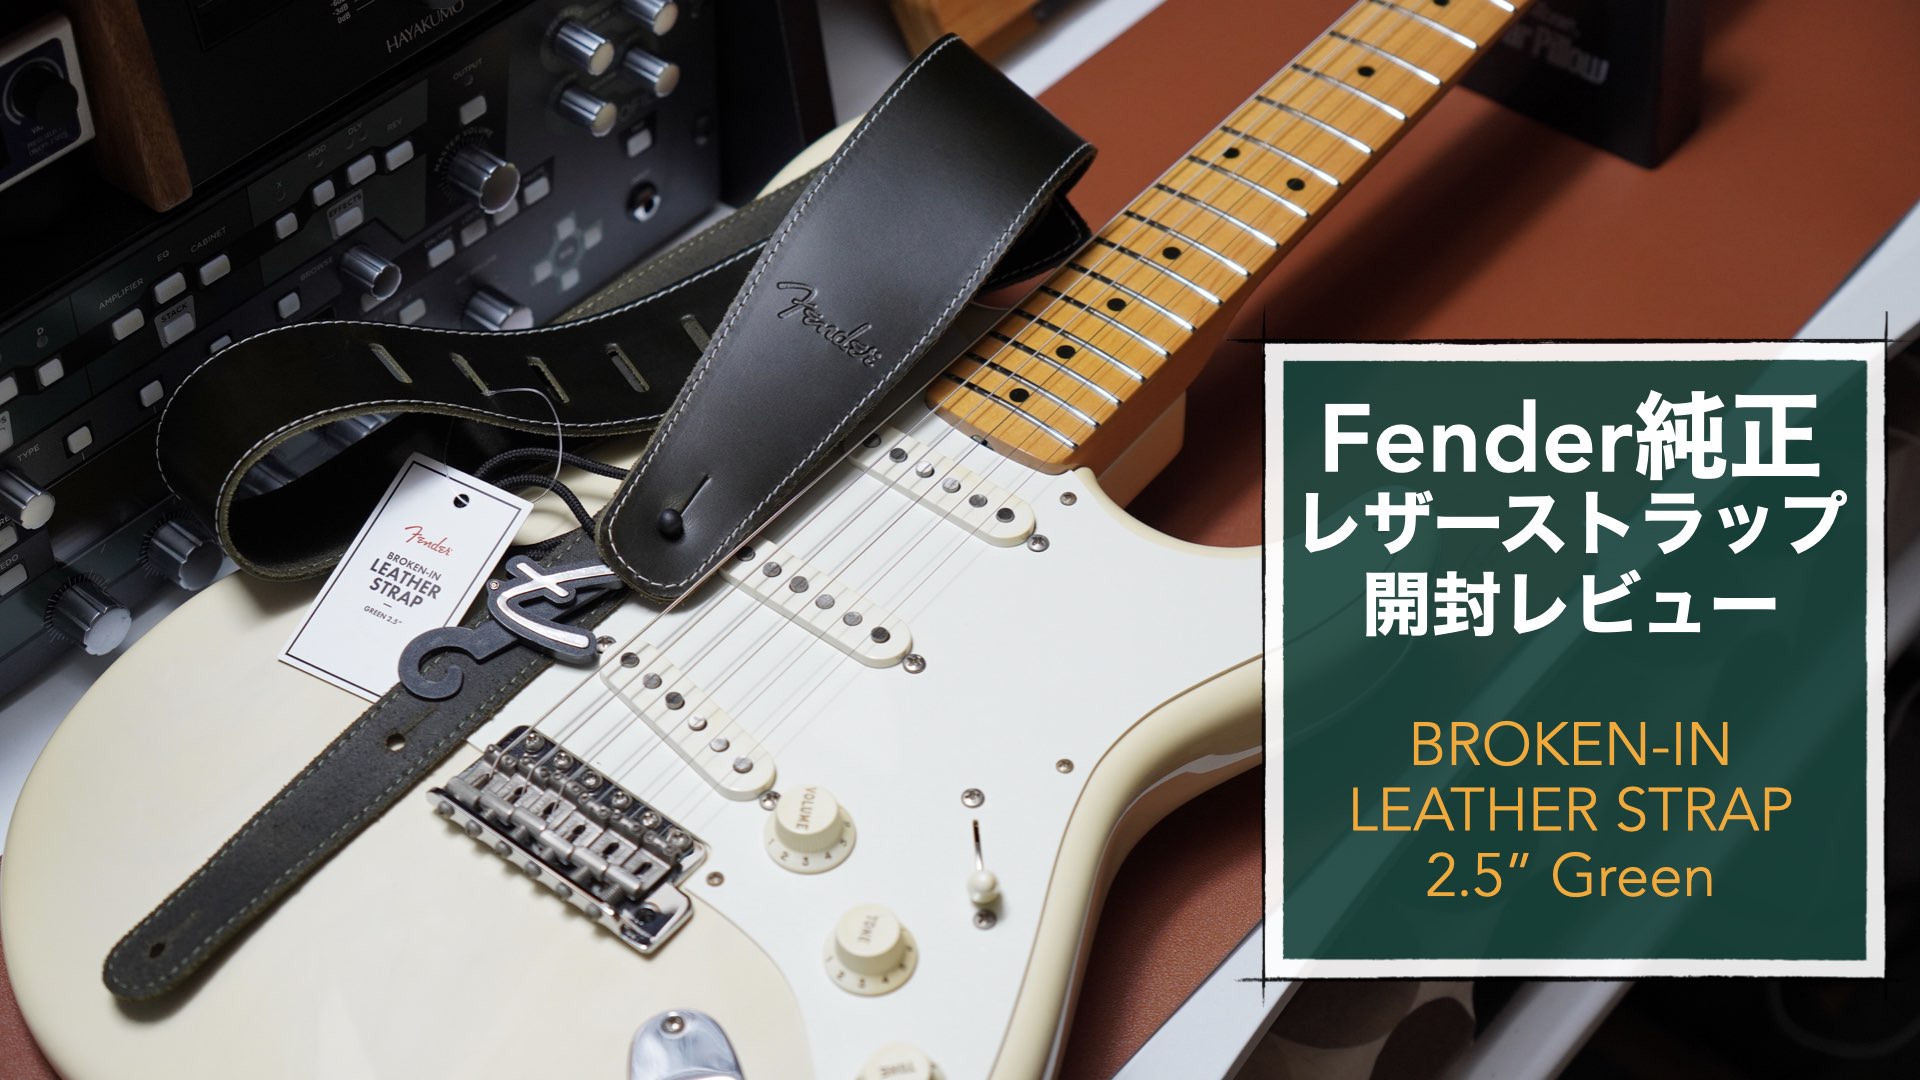
ギター/ベース用にFender純正のレザーストラップを購入しました。
今回はこのストラップの長さを自分用に調整して、シャーラーのロックピンを装着していきたいと思います。
ツキシマ
次は、ストラップの各部と仕様をみていきたいと思います。
レザーストラップ各部の確認
各部の確認
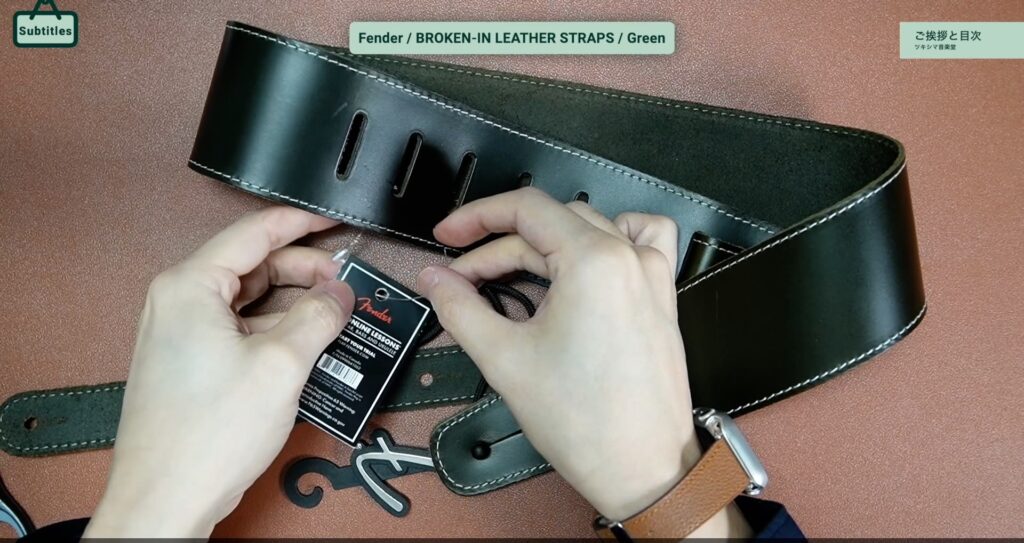
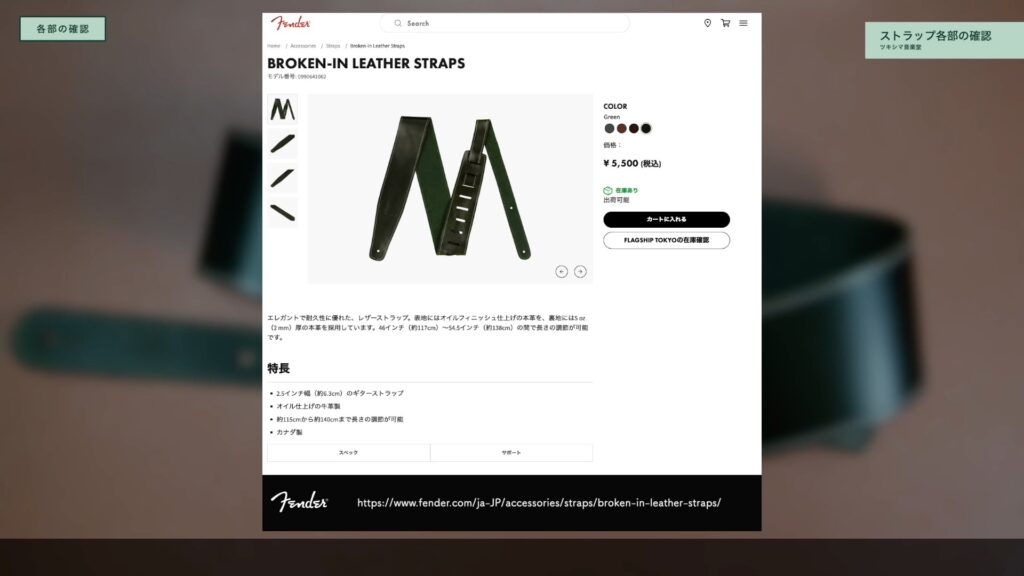
2024年3月現在Fenderの公式サイトでも販売されているストラップで、カラーは「グリーン」を選択しました。他に「ブラック・タン・ブラウン」の3色があります。
ストラップを肉眼で見てみると、白い灯りの下では深いグリーンに見えますが、電球色の下で見るとブラウンのように見える感じです。(下画像参照)


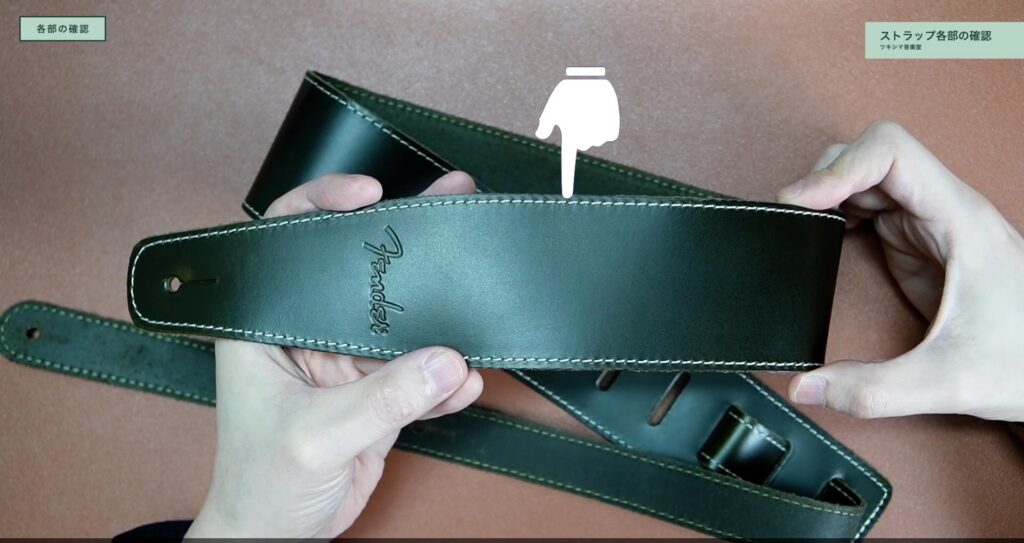
革はとても柔らかく、スベスベして触り心地は良いと思います。素材は「オイル仕上げの牛革製」と公式サイトに記載がありました。
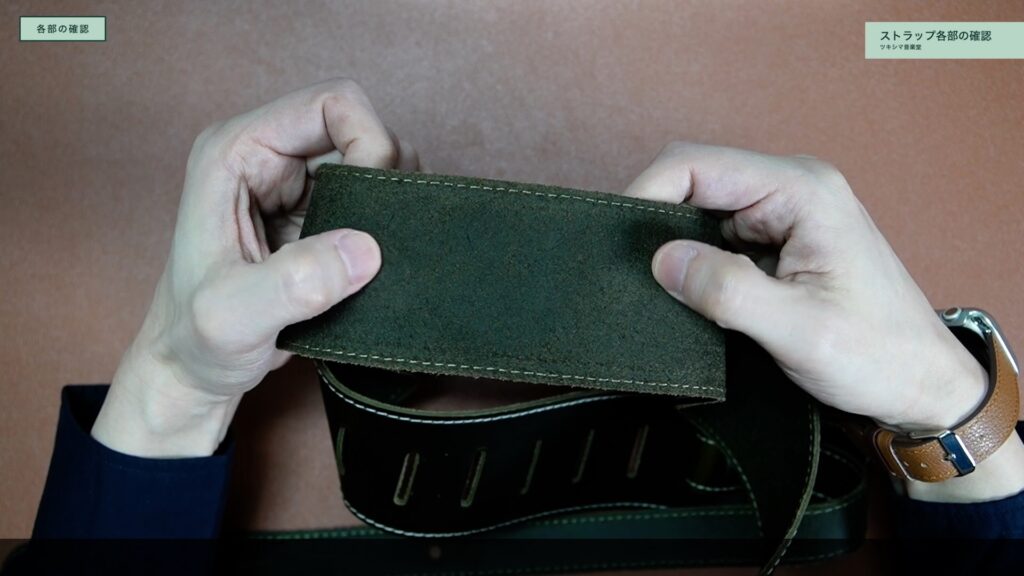
裏地も本革が採用されているようですが、こちらはザラザラとした触り心地です。
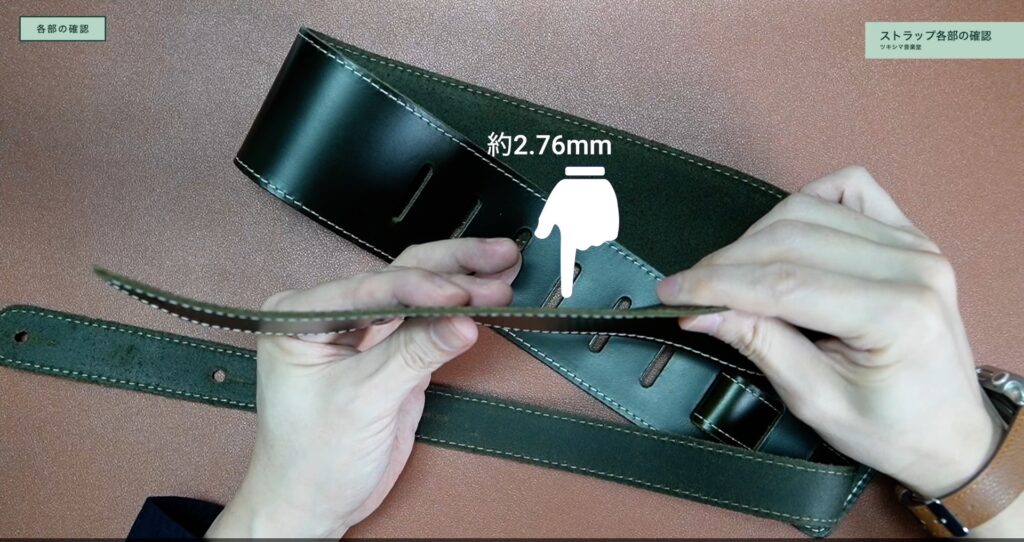
革の厚みは約2.76mmです。
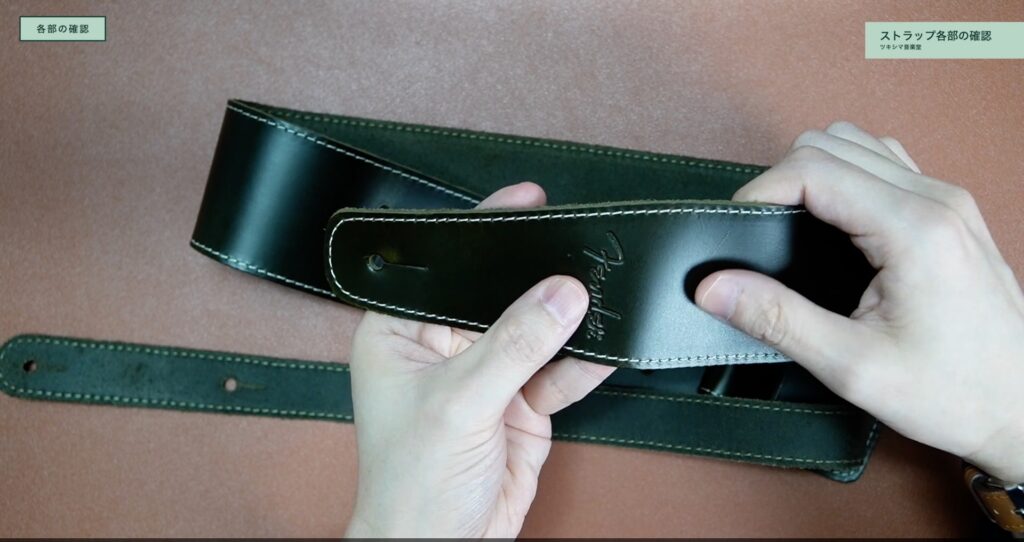
ストラップの先端には、Fenderと刻印されています。私は、さりげなくて良いと思います。またストラップの縁の部分には、白いステッチが入っています。
特長と仕様
- エレガントで耐久性に優れたレザーストラップ。
- オイルフィニッシュ仕上げの本革を採用しています。
- 約117cm(46インチ)から138cm(54.5インチ)の間で長さの調節が可能です。
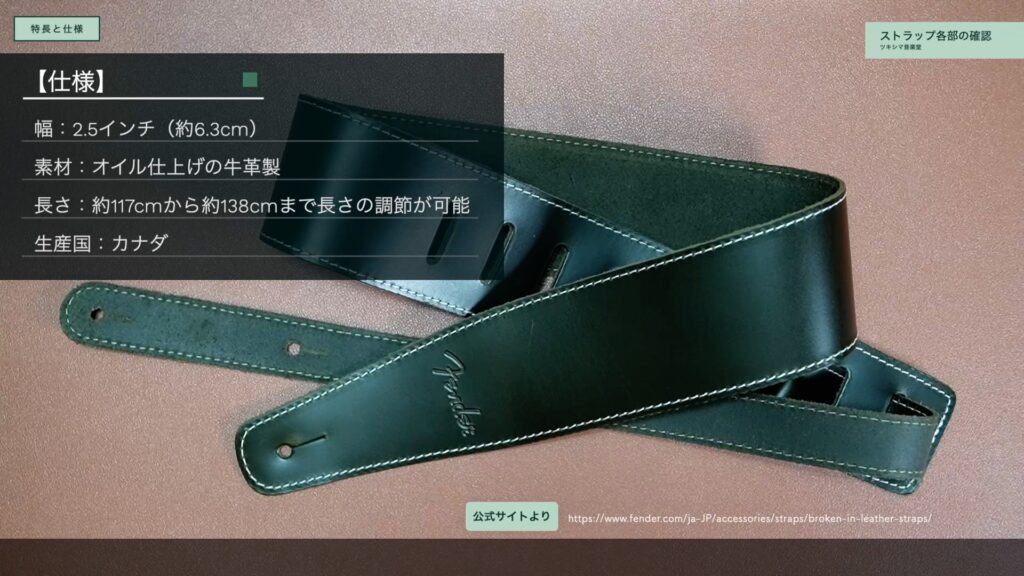
- 幅:2.5インチ(約6.3cm)
- 素材:オイル仕上げの牛革製
- 長さ:約115cmから約140cmまで長さの調節が可能
- 生産国:カナダ
ツキシマ
次は、ストラップの長さを調整していきたいと思います。
長さを調整する
私が既に所有している同じFender社のレザーストラップの長さを参考にして、調整したいと思います。
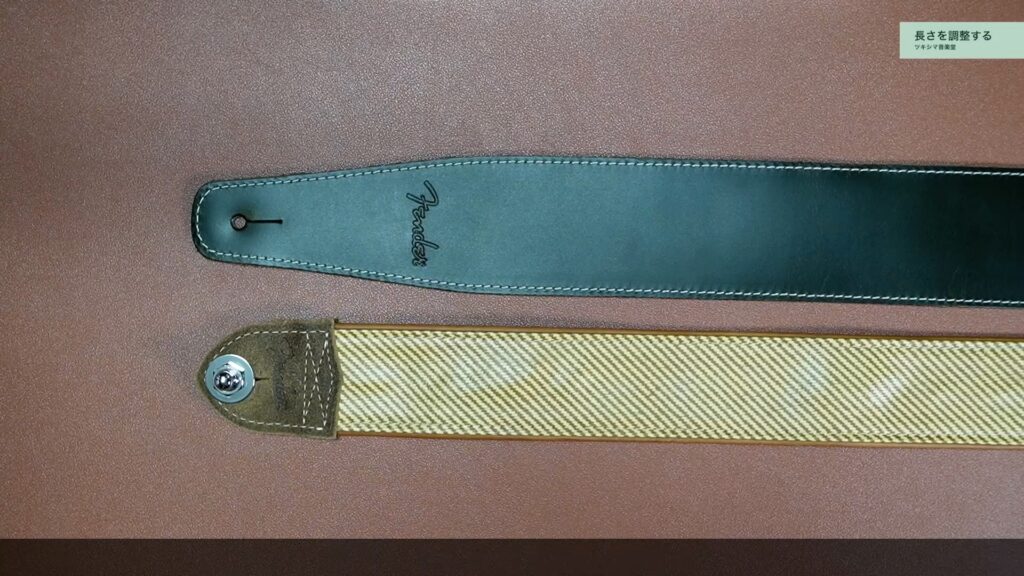
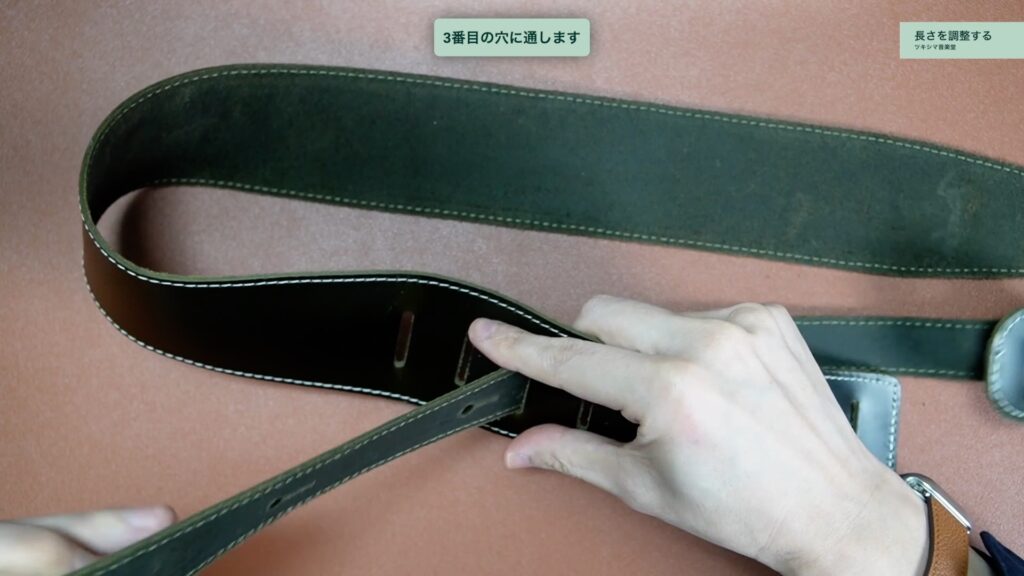
並べて比べてみたところ、上から3番目のところにベルトを通すと、私にとって丁度良い長さになりそうです。
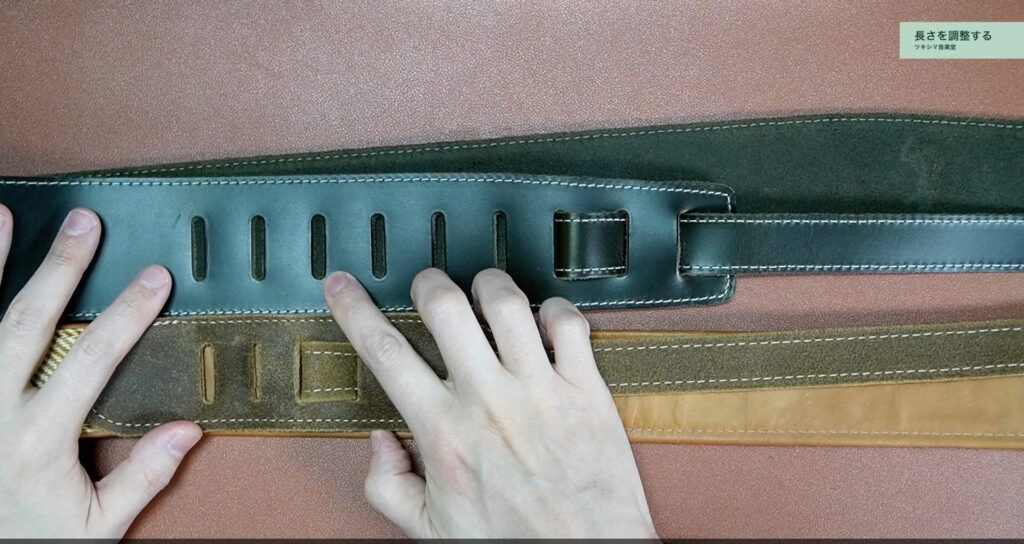
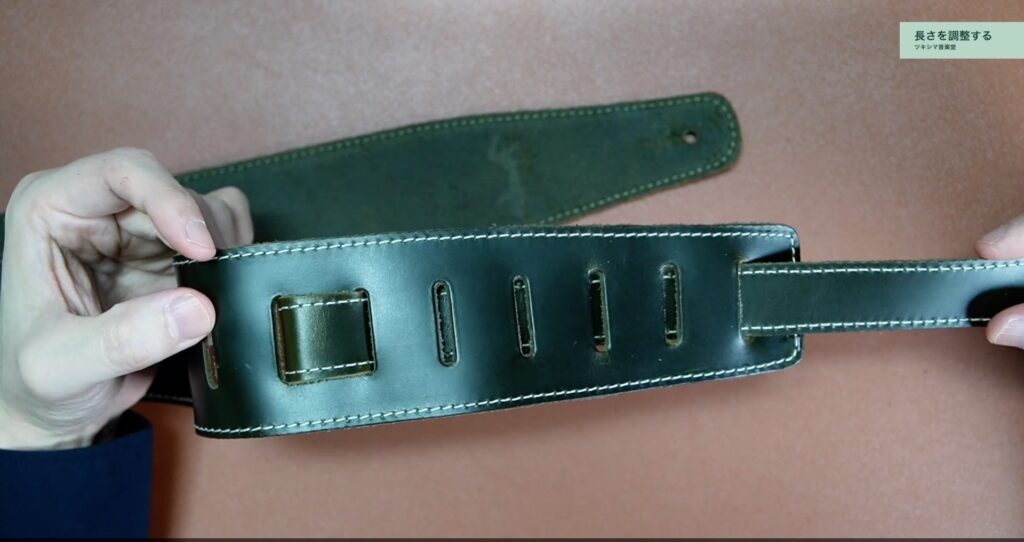
ストラップピンを取り付けるのは、真ん中の穴にしました。
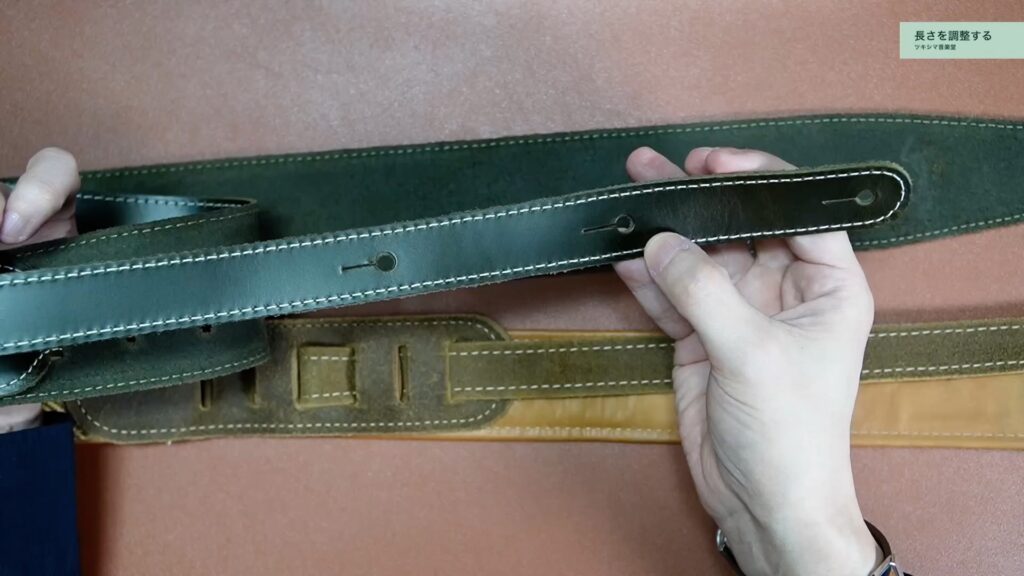
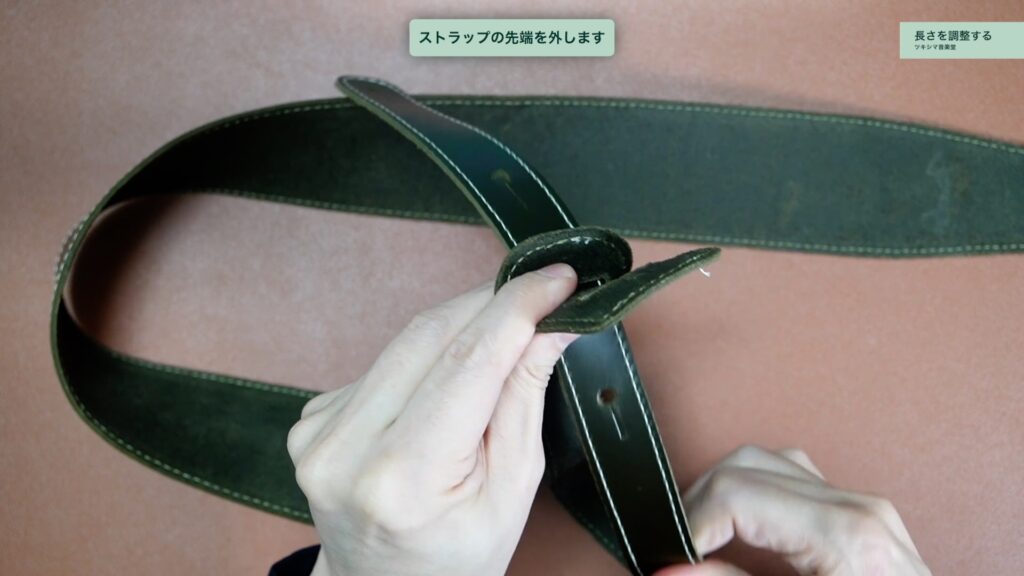
ストラップのベルトを外します。
取れましたら、3番目の穴に通します。
裏側に通します。

先端を通して完成です。
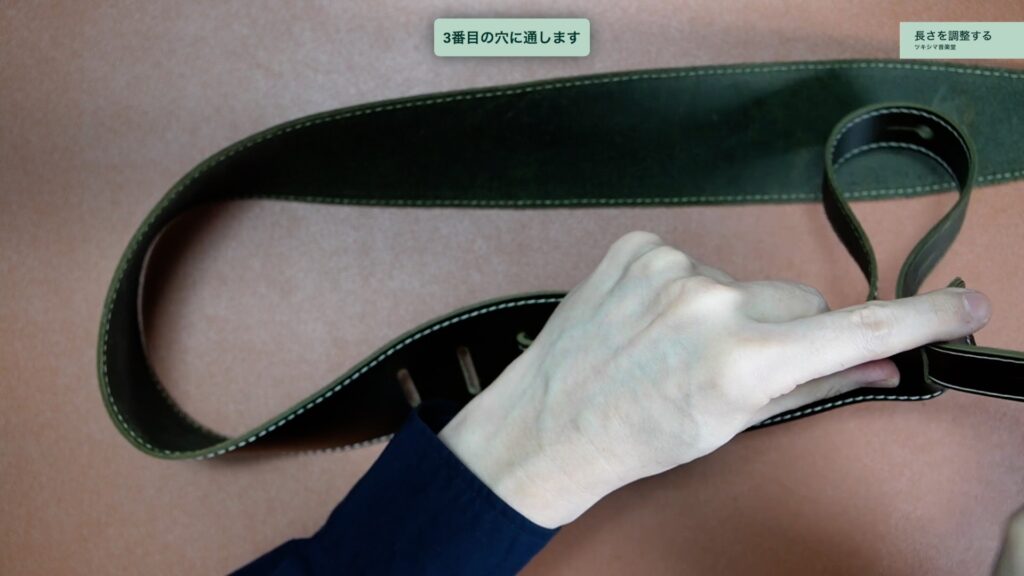
これで長さを調整することが出来ました。
ツキシマ
次は、ロックピンを装着できるように穴を拡張していきたいと思います。
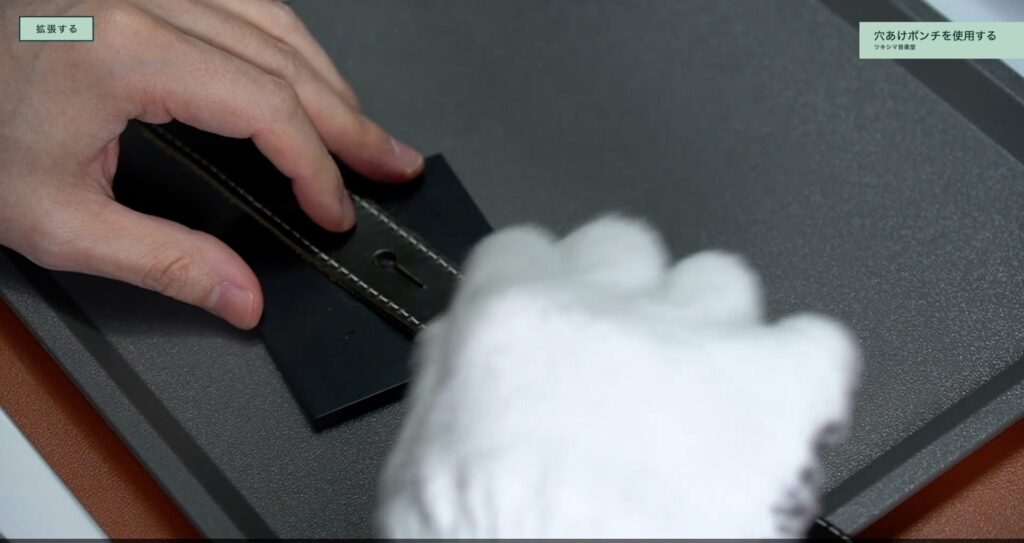
穴あけポンチを使用する
穴あけポンチで拡張する
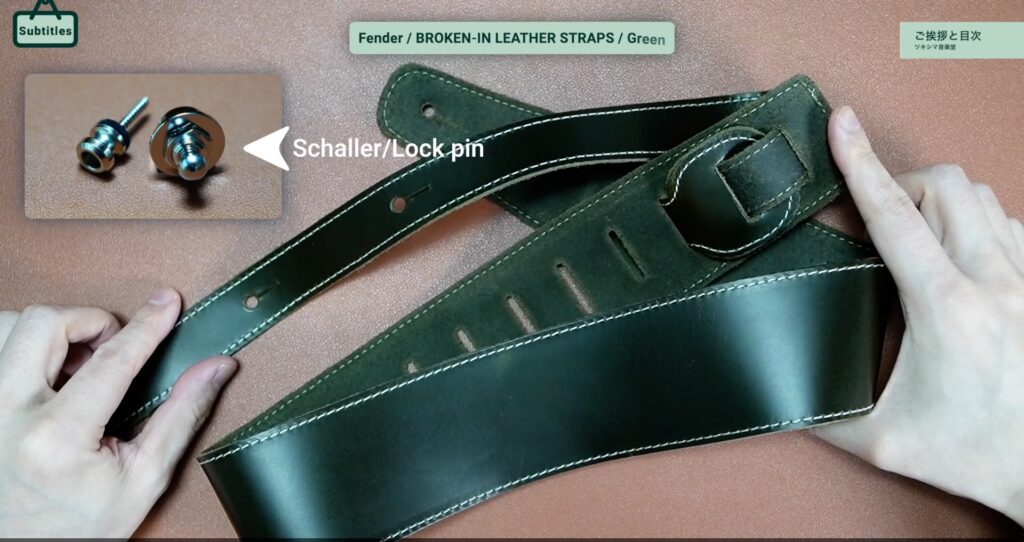
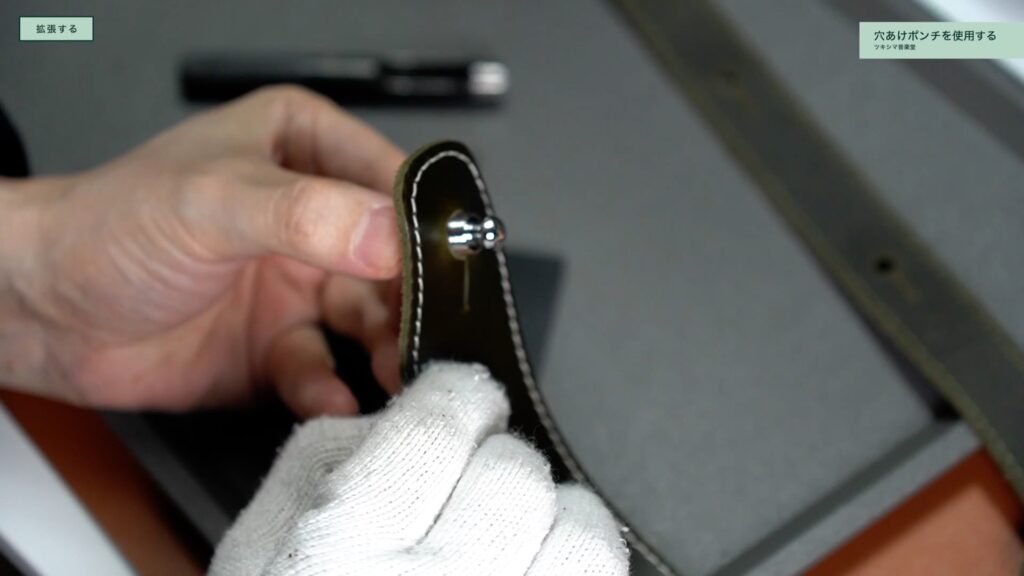
ストラップにシャーラーのロックピンを装着するには、穴の大きさを10mmに拡張する必要があります。
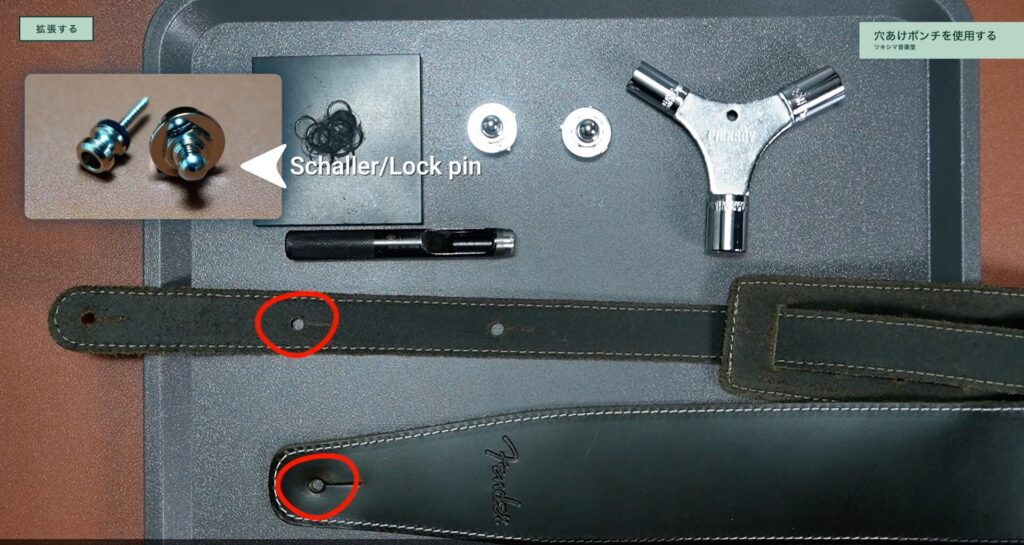
そのままの状態では穴の径が合わず、通すことが出来ません。(下画像参照)
新品のストラップなので少々勿体無い気もしますが、穴あけポンチを使用して作業していきます。
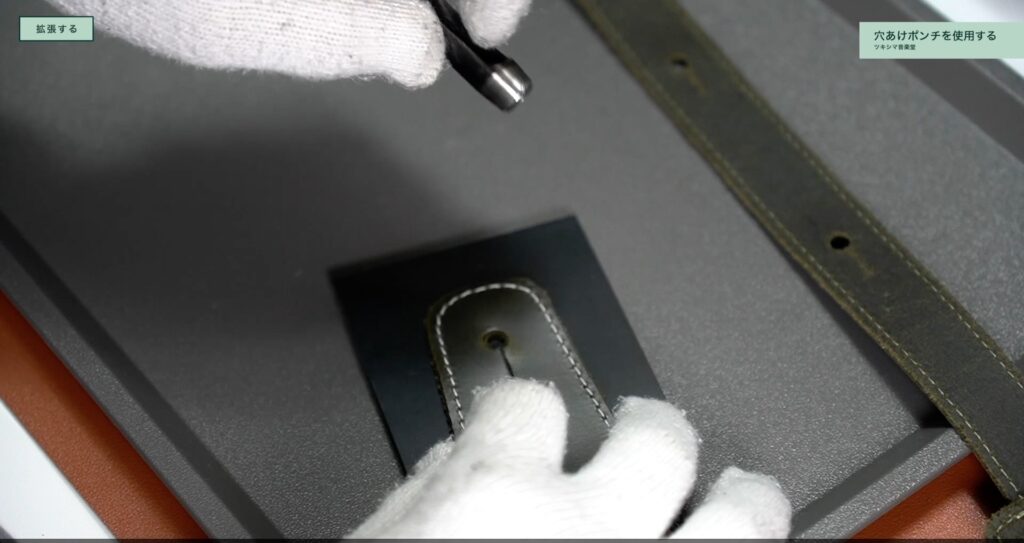
怪我をしないように気を付けながら作業します。

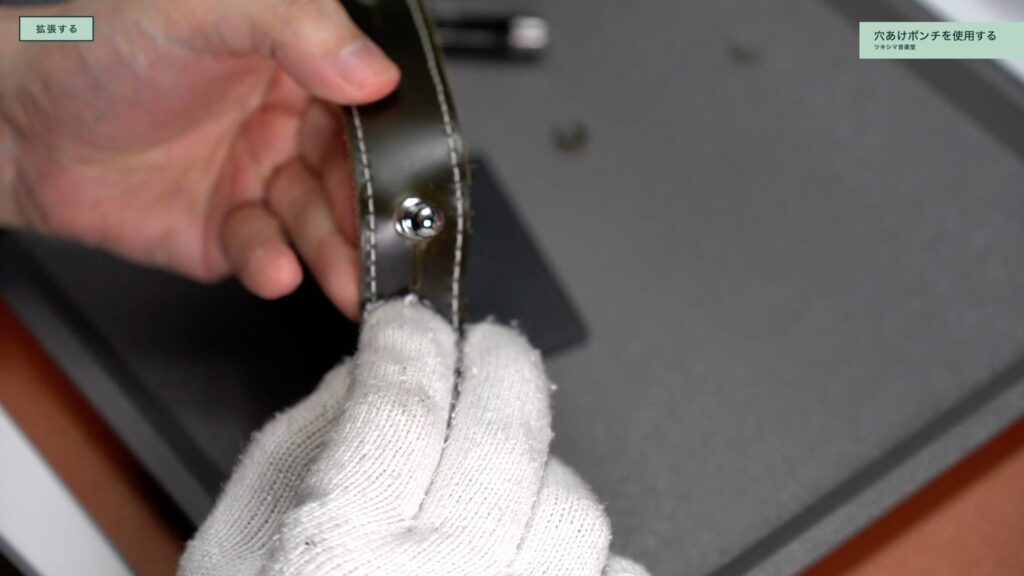
綺麗に穴を拡張することが出来ました。
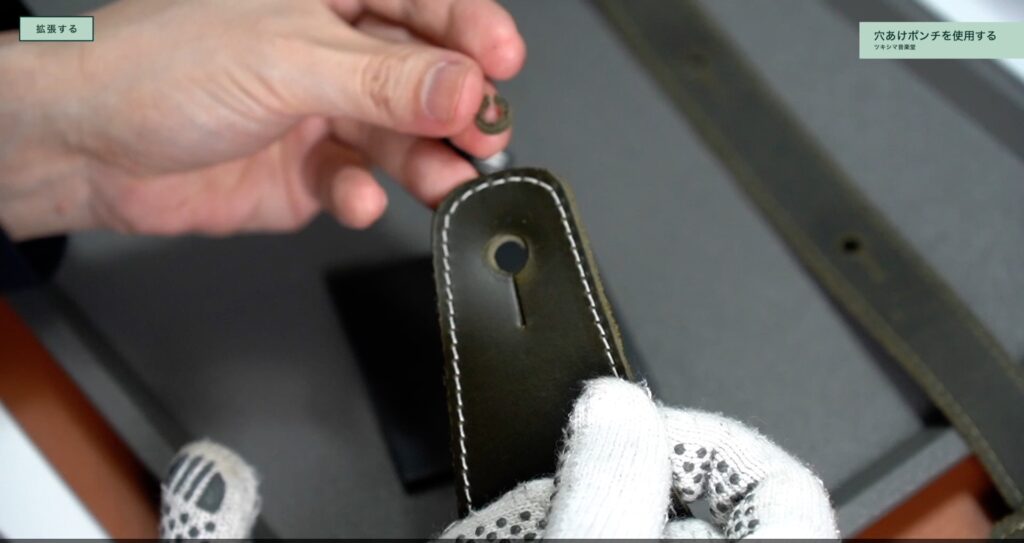
これで、スムーズにロックピンを通せるようになりました。
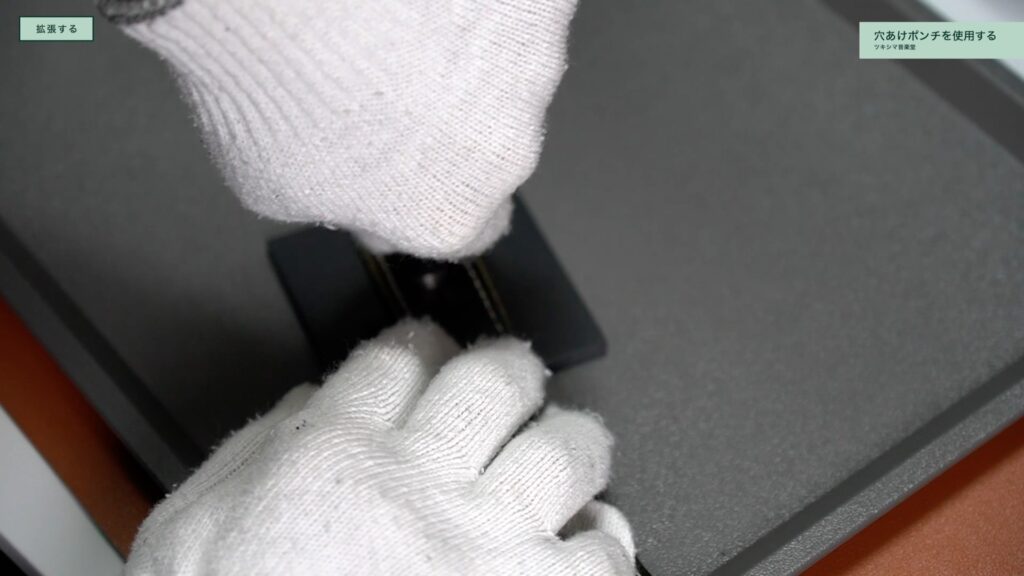
エンドピン側の穴も、開けていきたいと思います。
グリグリと穴あけポンチを動かします。
反対側の穴も無事に開いて、ロックピンを通すことが出来ました。
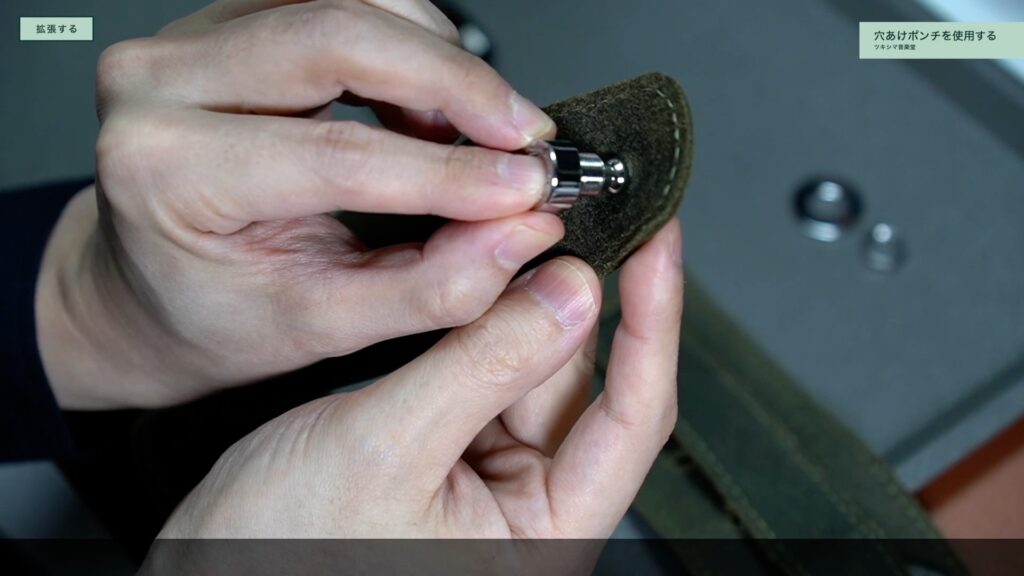
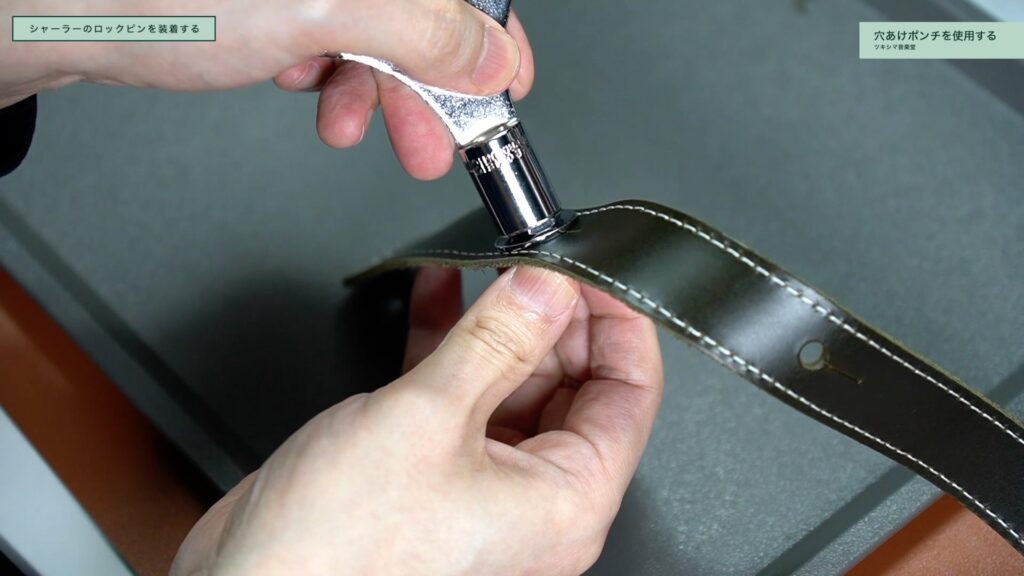
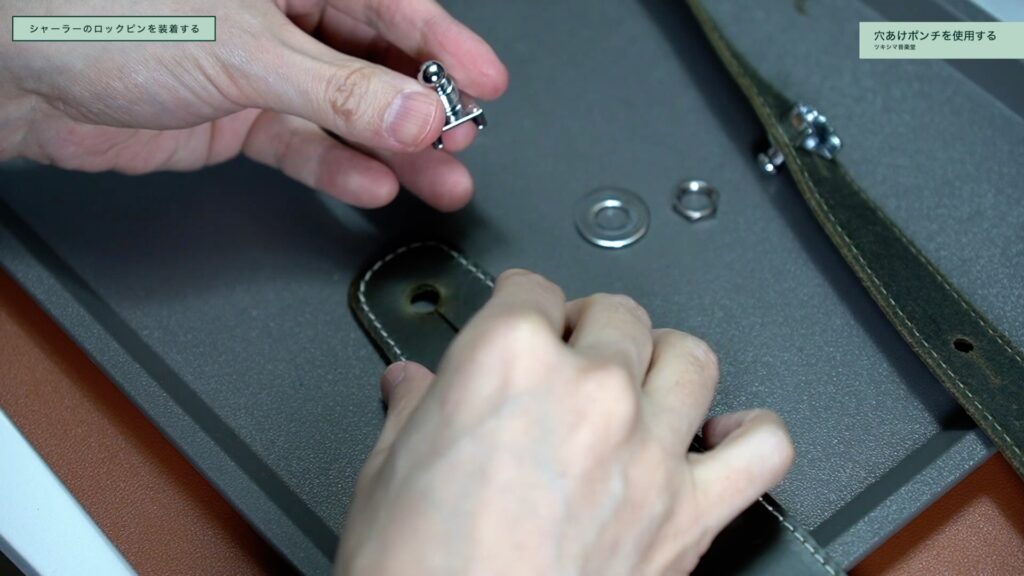
シャーラーのロックピンを装着する
シャーラーのロックピンを装着していきたいと思います。まずワッシャーと六角ナットを仮止めします。

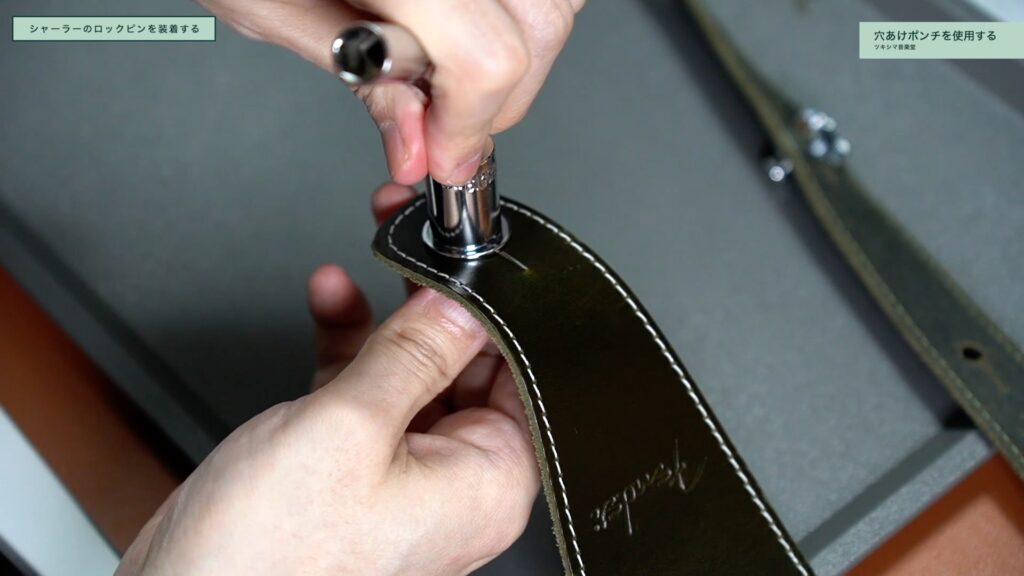
次にボックスレンチを使用して、しっかりと締めます。
ボックスレンチの開封レビュー記事↓

同じ手順で反対側もロックピンも装着していきます。
ボックスレンチでしっかりと締めます。
これでシャーラーのロックピンを装着することが出来ました。

ツキシマ
次は、ギターにストラップを装着してみたいと思います。
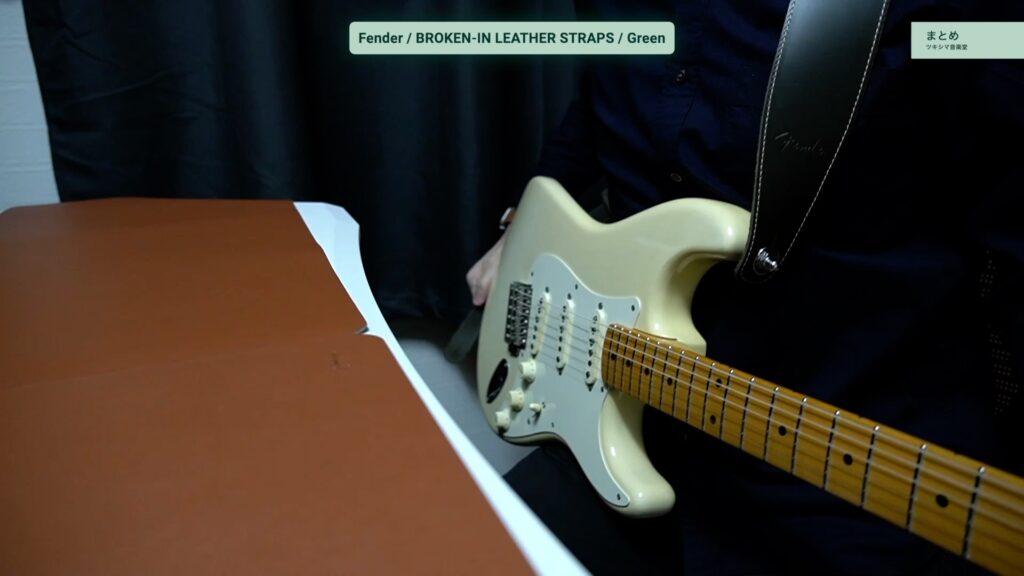
ギターに装着してみる
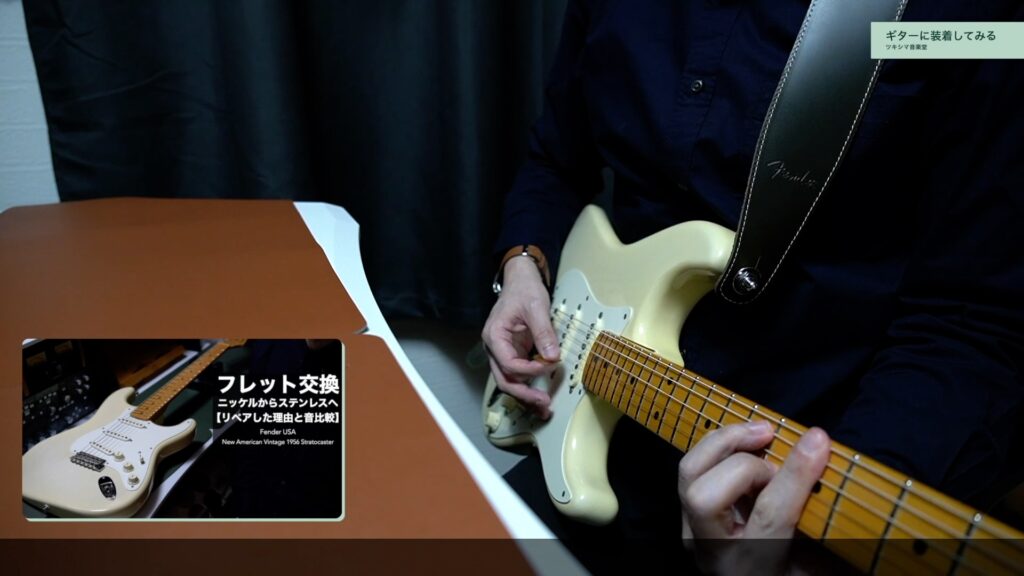
ストラトキャスター
ストラップをギターに装着してみたいと思います。

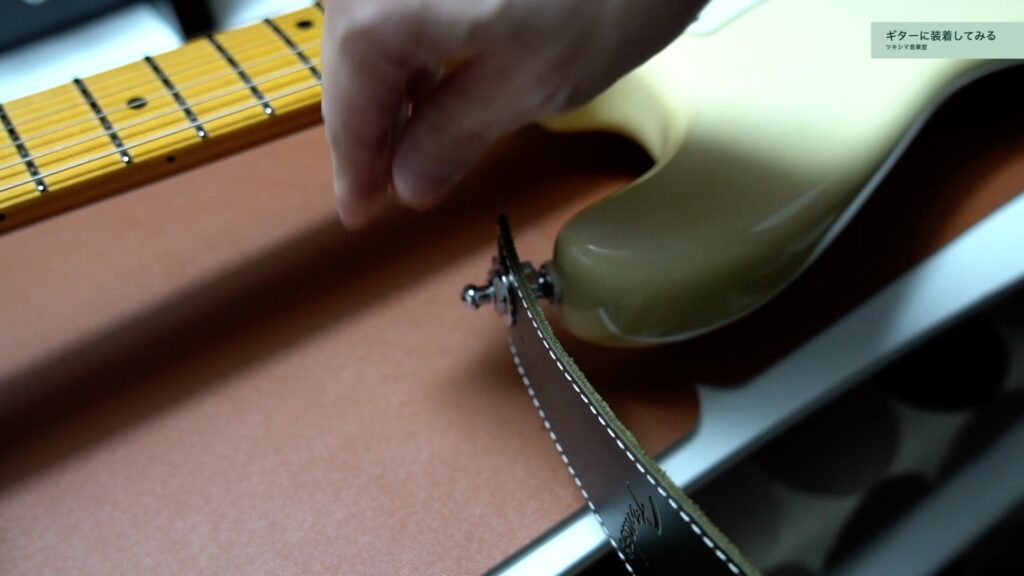
肩にかけるとこのような感じになります。ストラップの幅が広いので、肩にかかる負担が少なくて良い感じです。

またストラップの裏面はザラザラしていますので、滑らずに洋服にフィットする感じです。
ツキシマ
使用してみた感じは、とても良いと思います。
フレット交換レビュー記事↓

ベース
次は、ベースにも装着してみたいと思います。
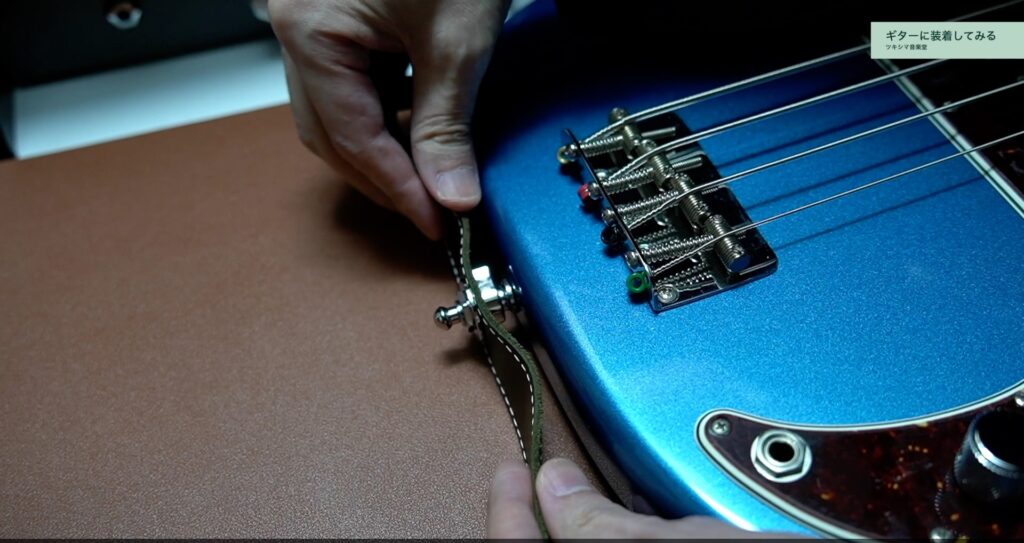
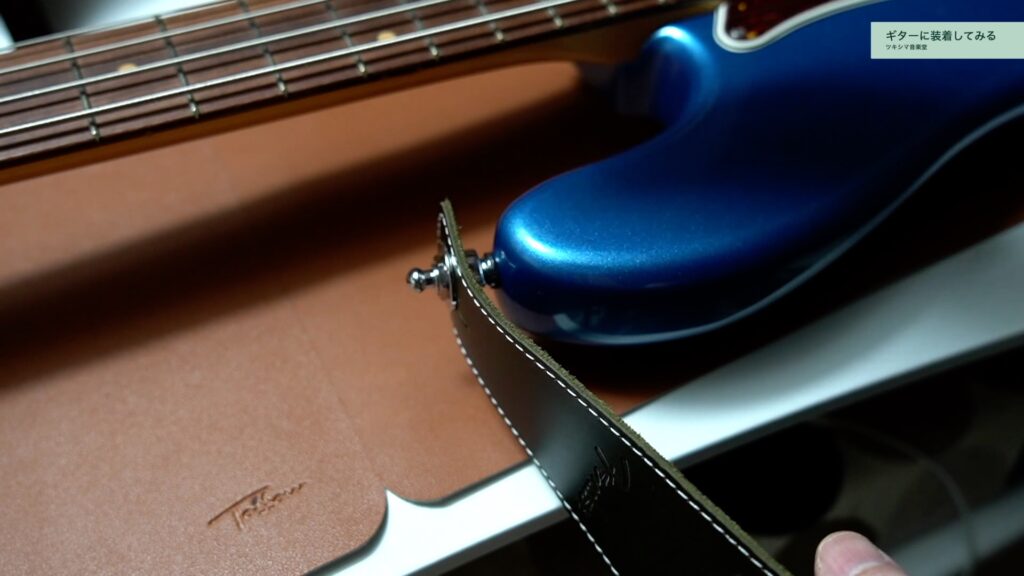
肩に掛けると下の画像のような感じになります。とても良いと思います。

プレベの開封レビュー記事↓

ツキシマ
次は、まとめです。
まとめ
レザーストラップでグリーンというカラーが「珍しくて良い」と思ったので、購入してみました。
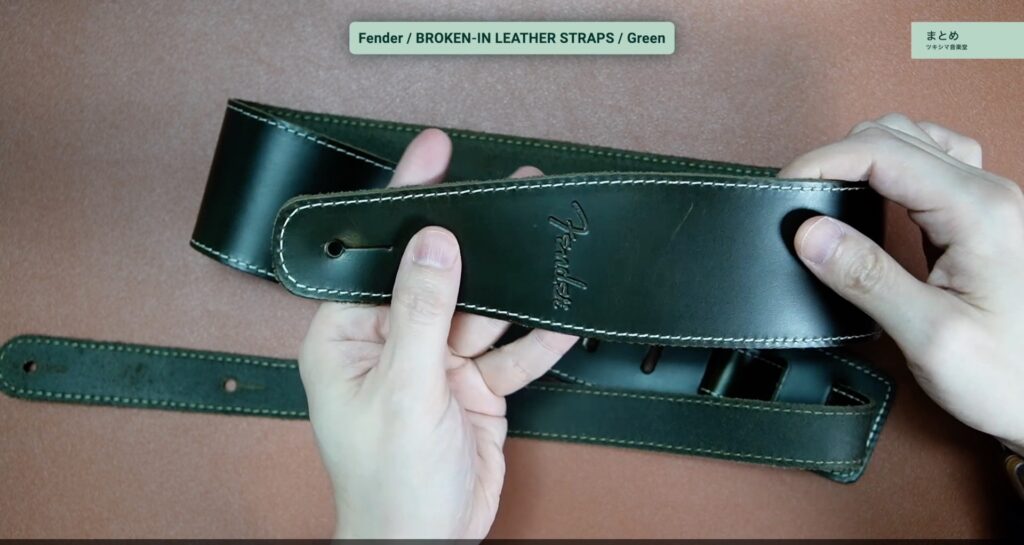
特に柄も無いシンプル過ぎるストラップですが、私はこういう主張しないタイプのストラップが好みです。
ツキシマ
それでは、最後までご視聴ありがとうございました。