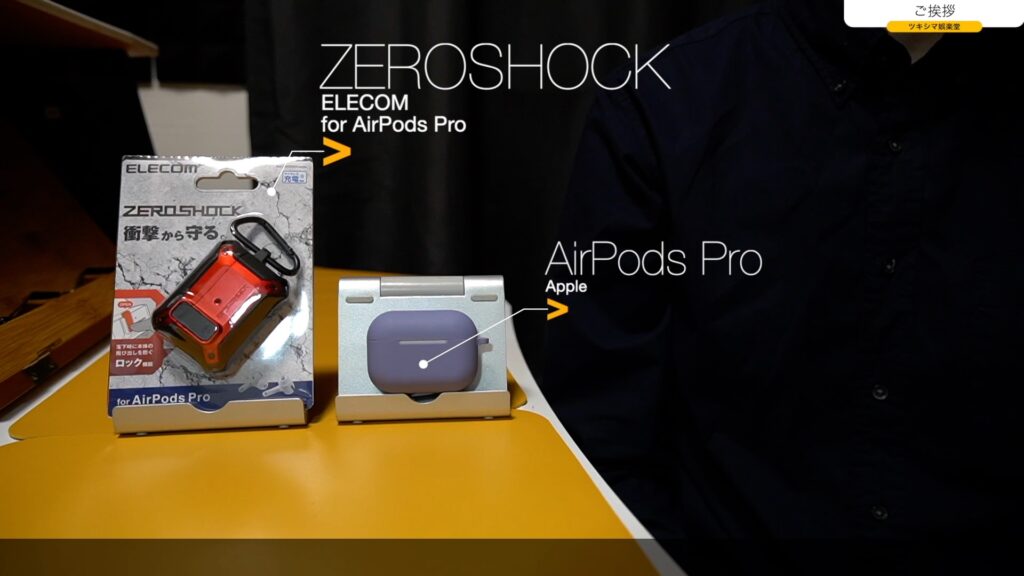
ご挨拶

ツキシマ
こんにちは、ツキシマです。
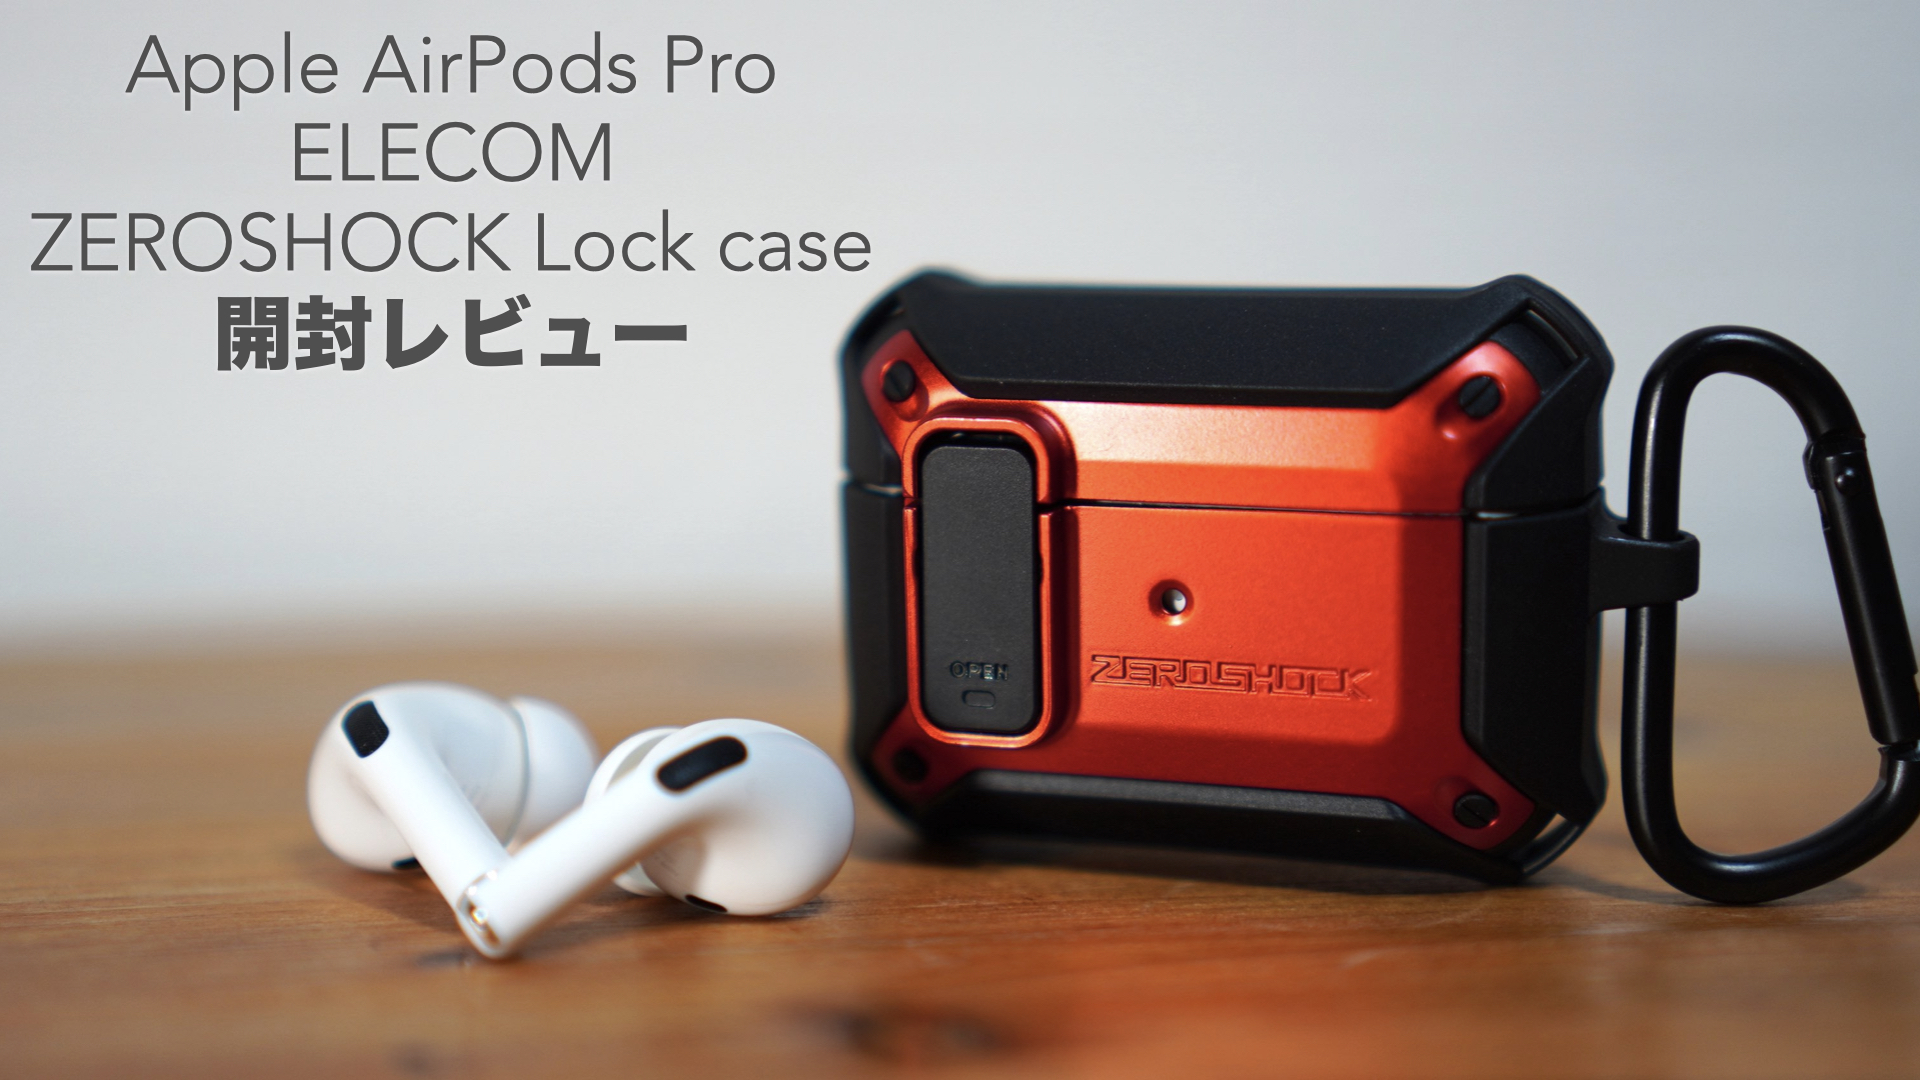
AppleのAirPodsPro用の頑丈な保護ケースが欲しいと思い、エレコムの「ZEROSHOCK Lockケース」を購入してみました。今回は開封レビューをしていきたいと思います。
ツキシマ
それでは、開封していきたいと思います。
開封
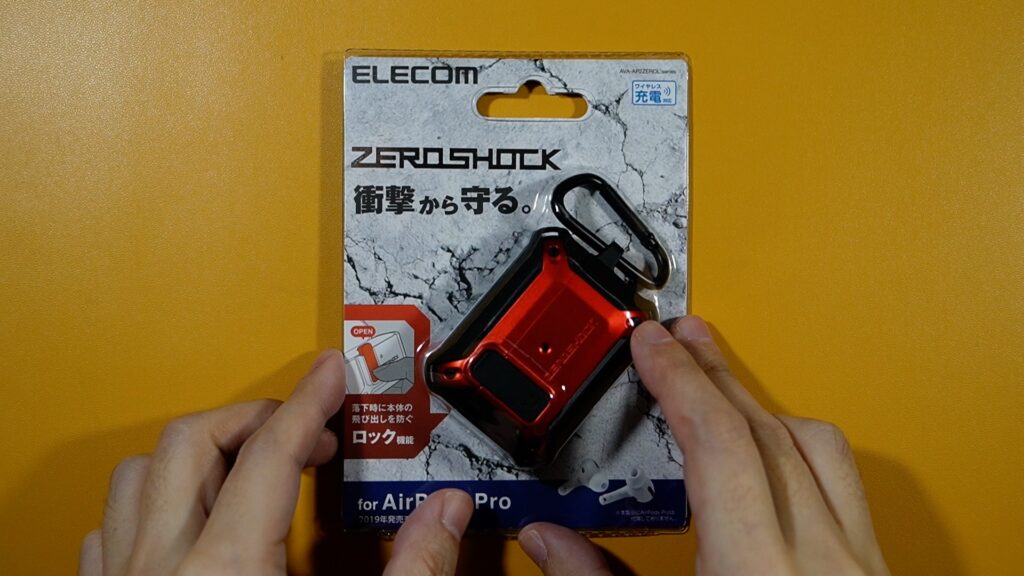
パッケージの表面です。
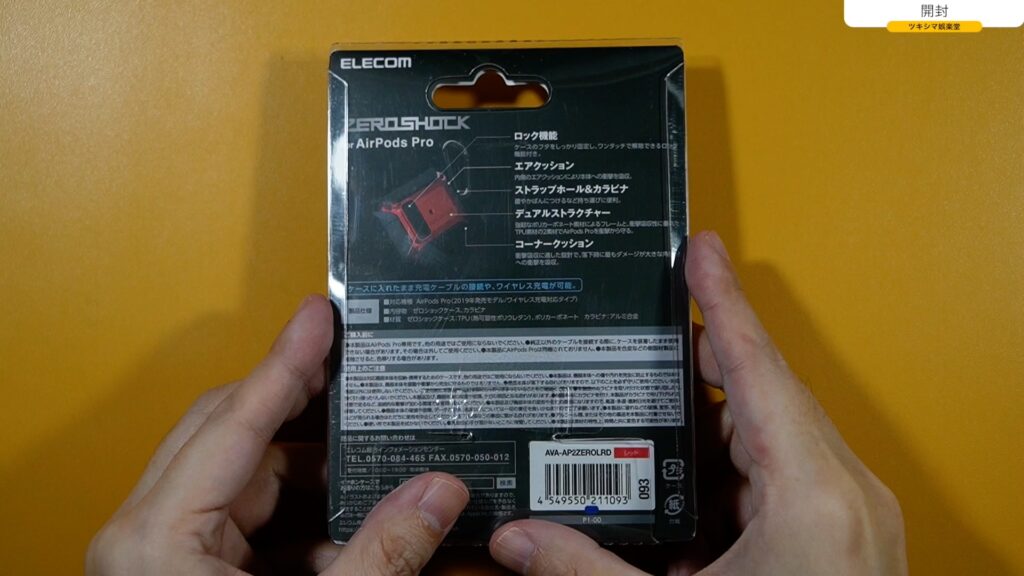
パッケージ裏面です。
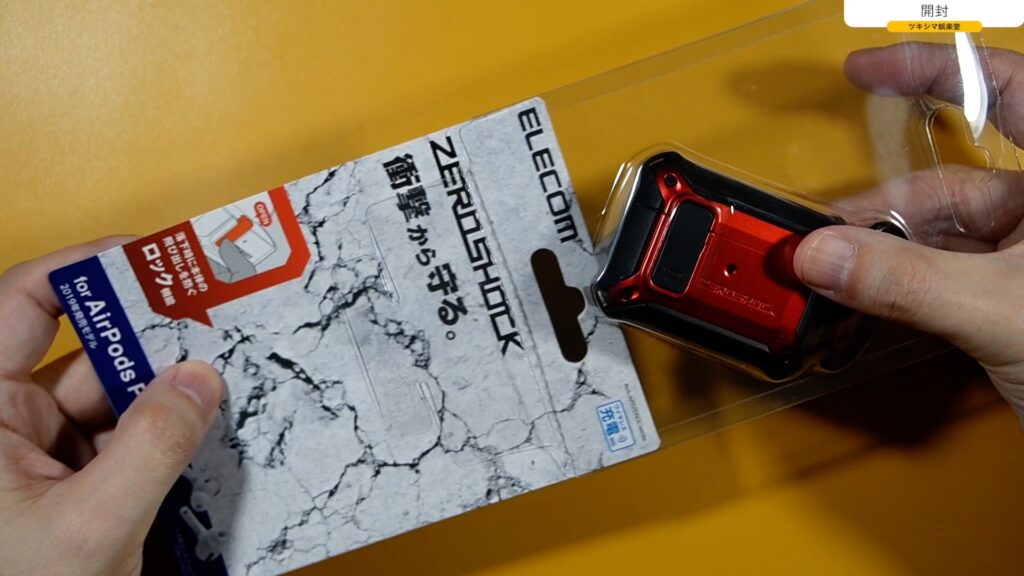
カッターでシールを切っていきます。

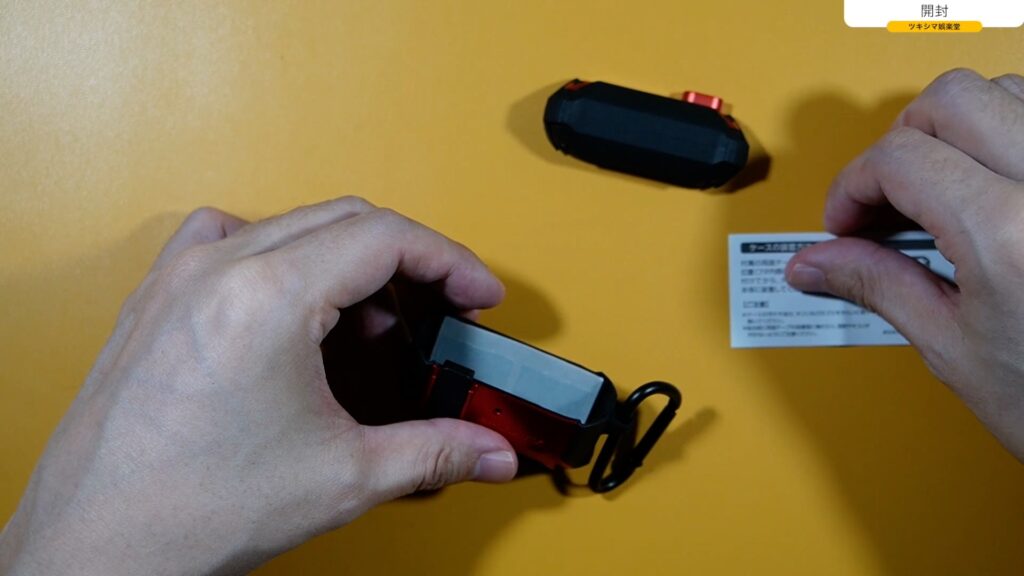
台紙を取ります。
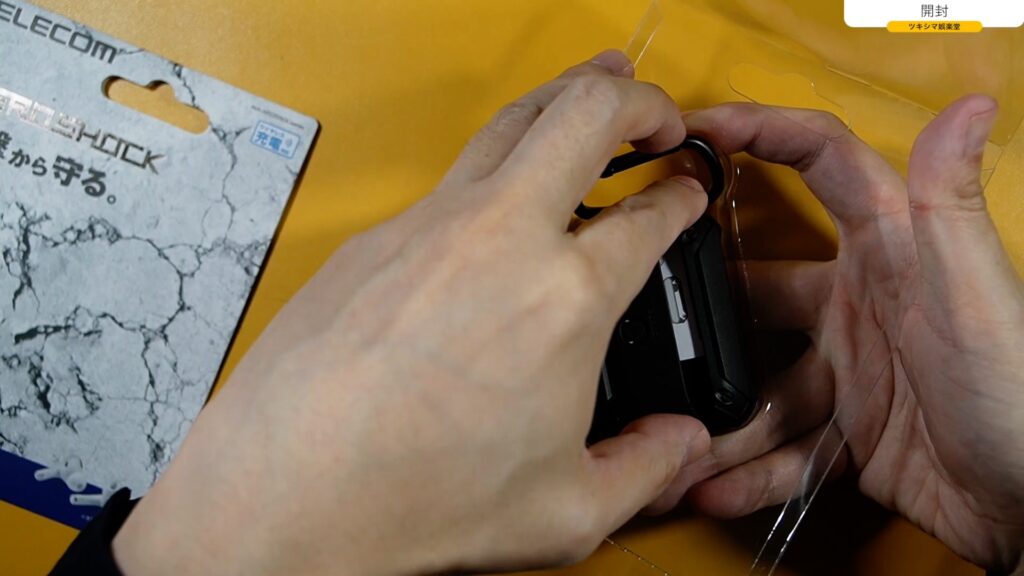
ケース本体を取り出します。
ケースの中に書類が入っています。
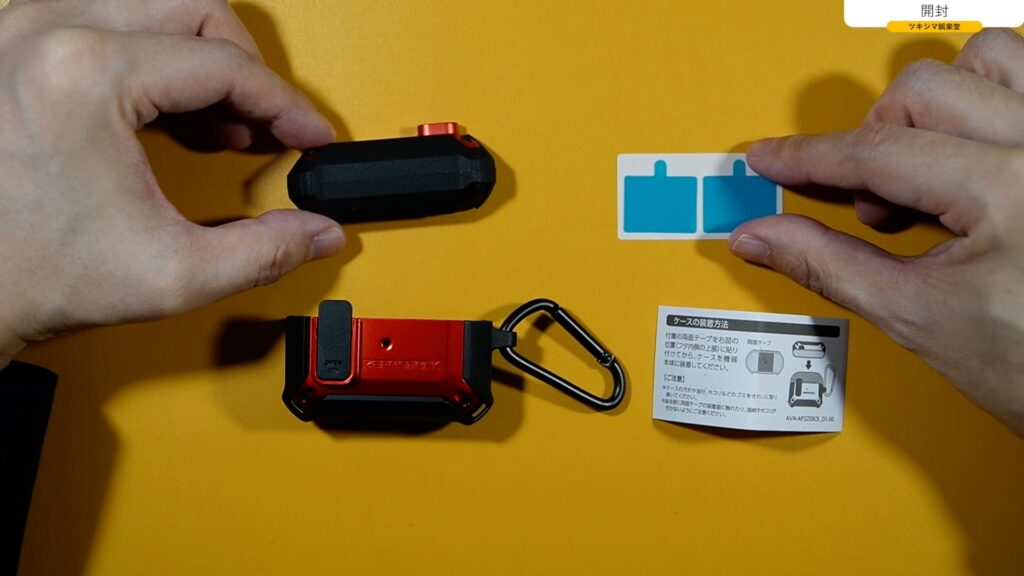
全部取り出せました。
ツキシマ
次は、内容物の確認をしていきたいと思います。
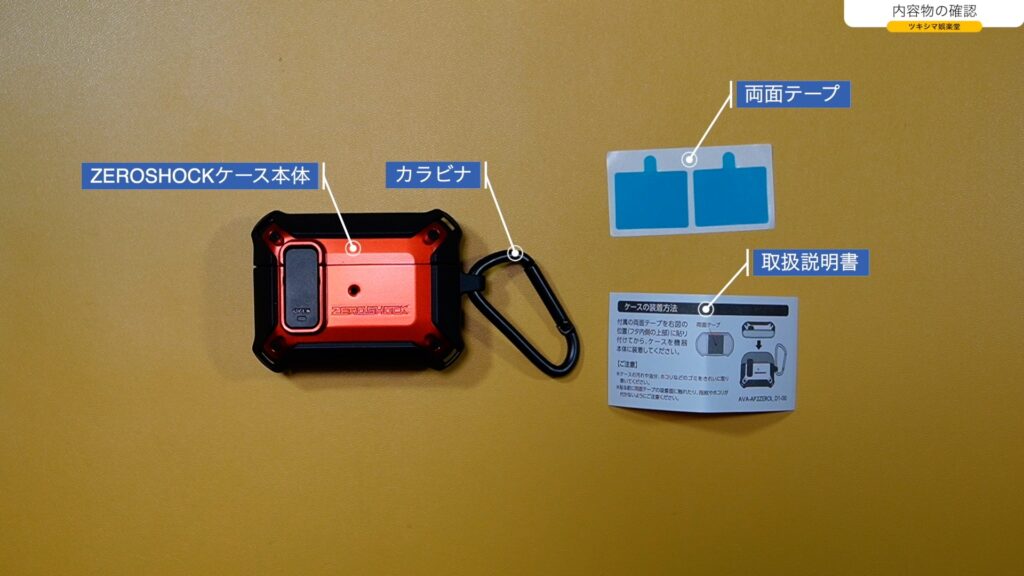
内容物の確認
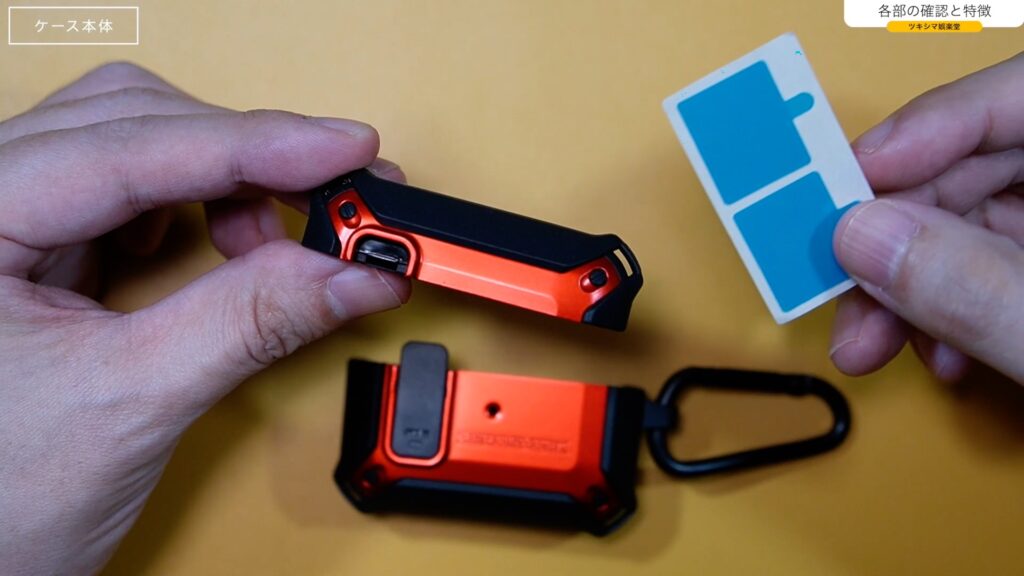
- ZEROSHOCKケース本体
- カラビナ
- 両面テープ
- 取扱説明書
ツキシマ
次は、ケース各部と特徴をみていきたいと思います。
各部の確認と特徴
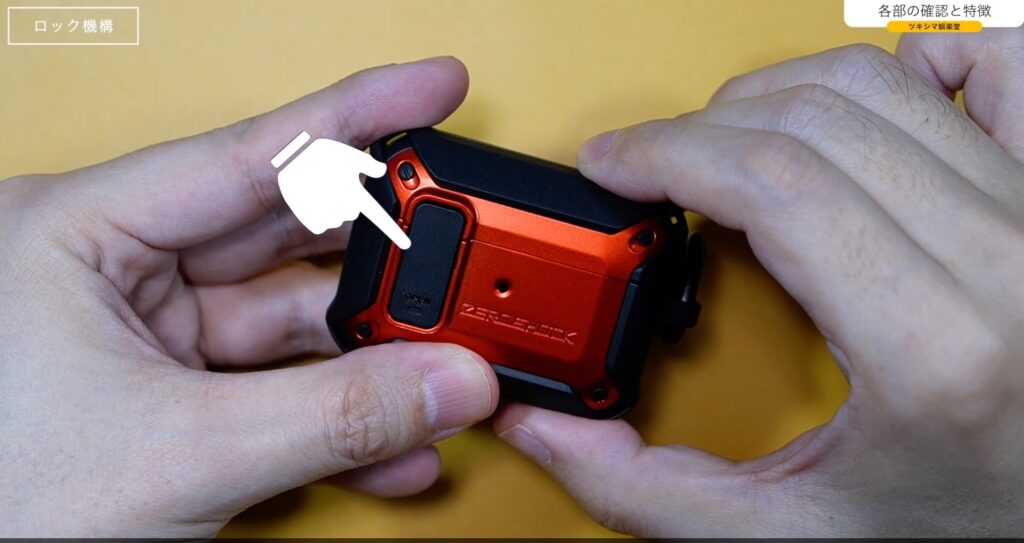
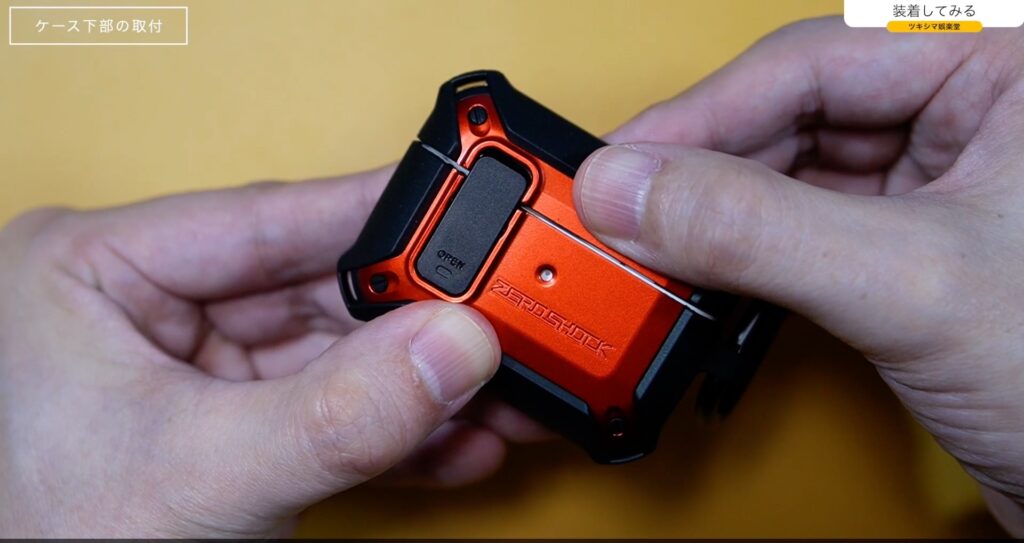
ロック機構
このモデルの特徴として、ロック機構があります。ロックを外すとフタが開くシステムです。
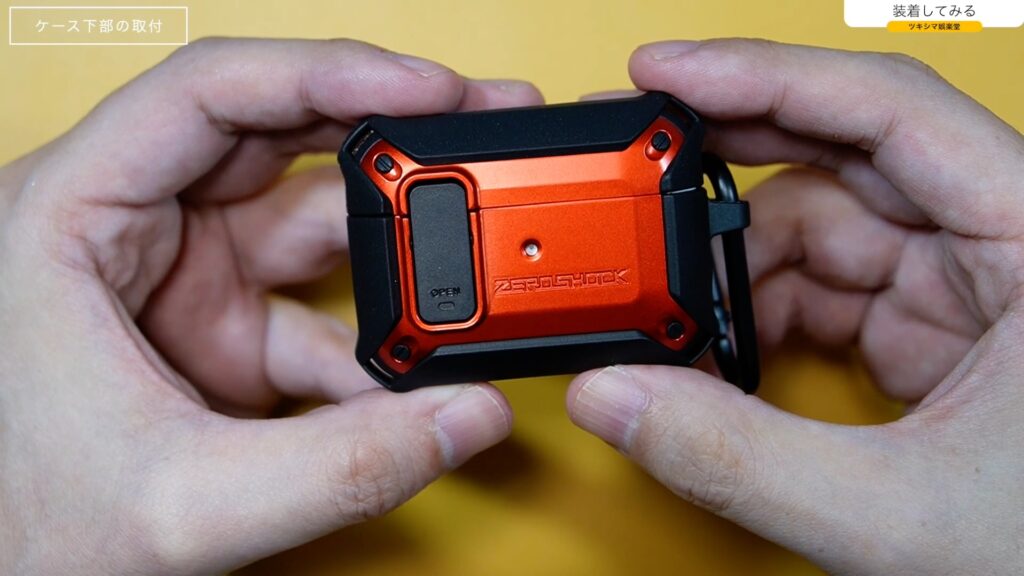
ケース本体
ケース自体は、ボディ部分とフタ部分で分かれています。
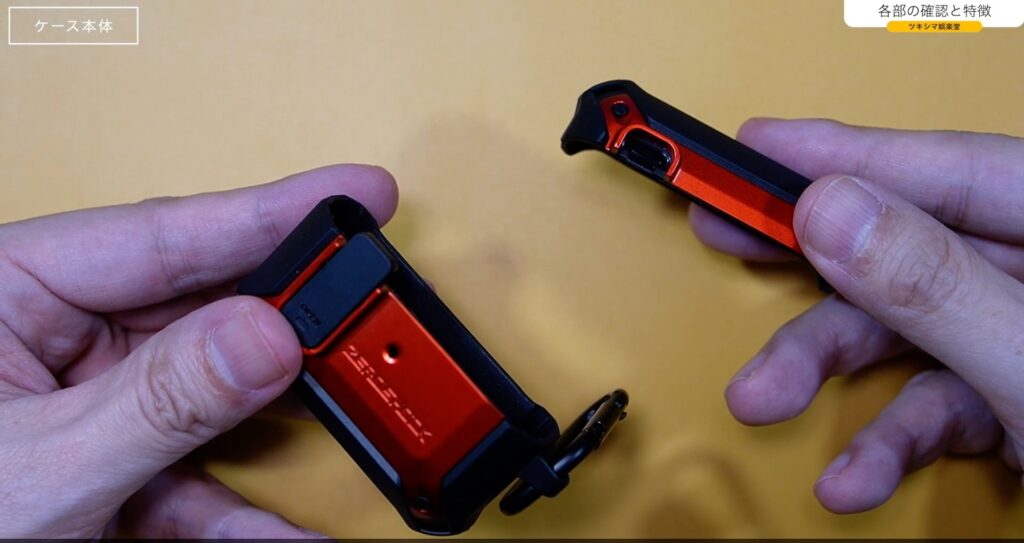
そしてフタの部分は、付属の両面テープを使用してAirPodsケースの上部に貼り付けます。
ケース内側の真ん中の部分が光沢がある状態になっていて、ここに両面テープを貼り付けます。
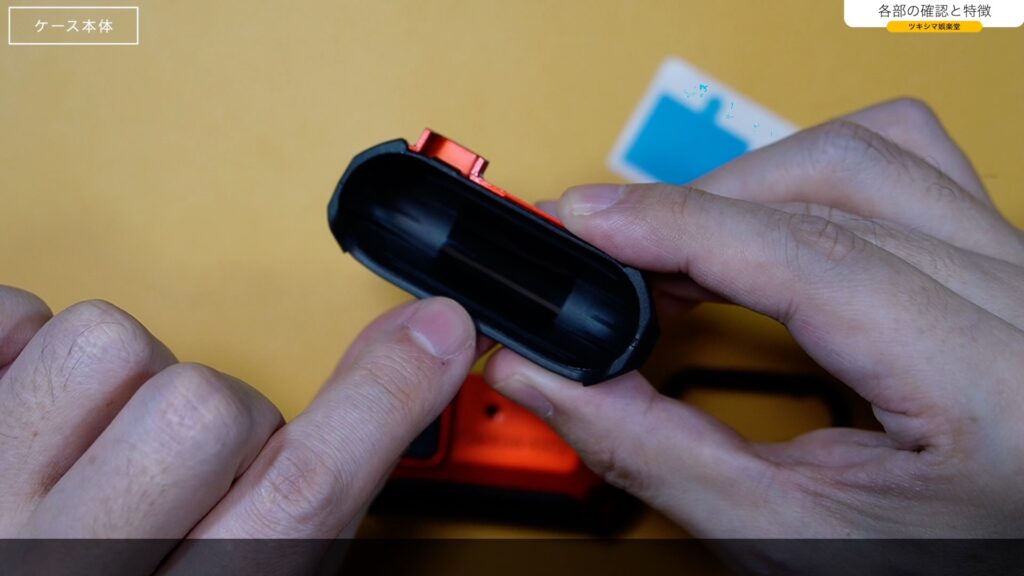
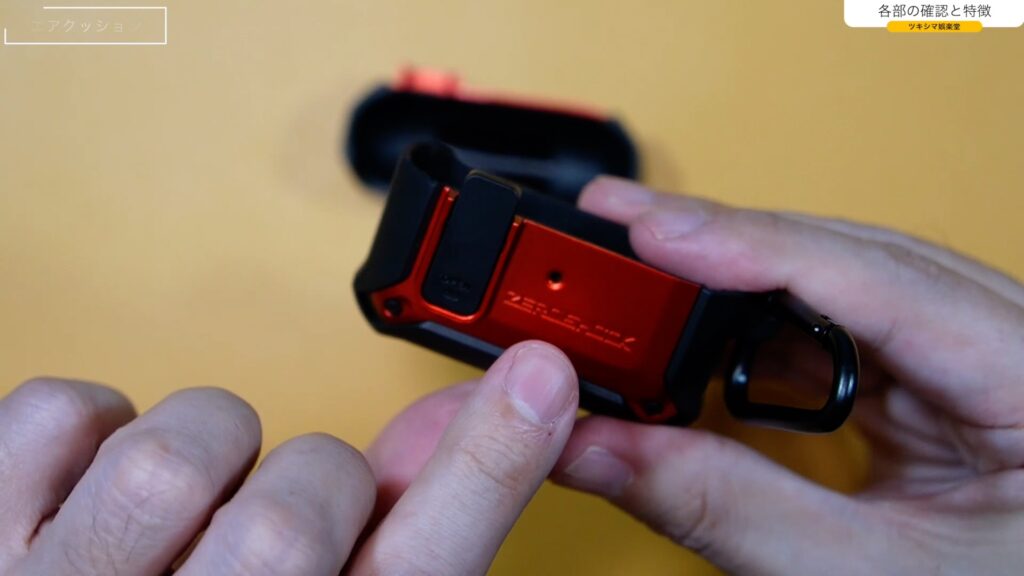
エアクッション
ケース内側は、衝撃吸収効率の高いエアクッションです。動かしてみると柔軟性があるようです。
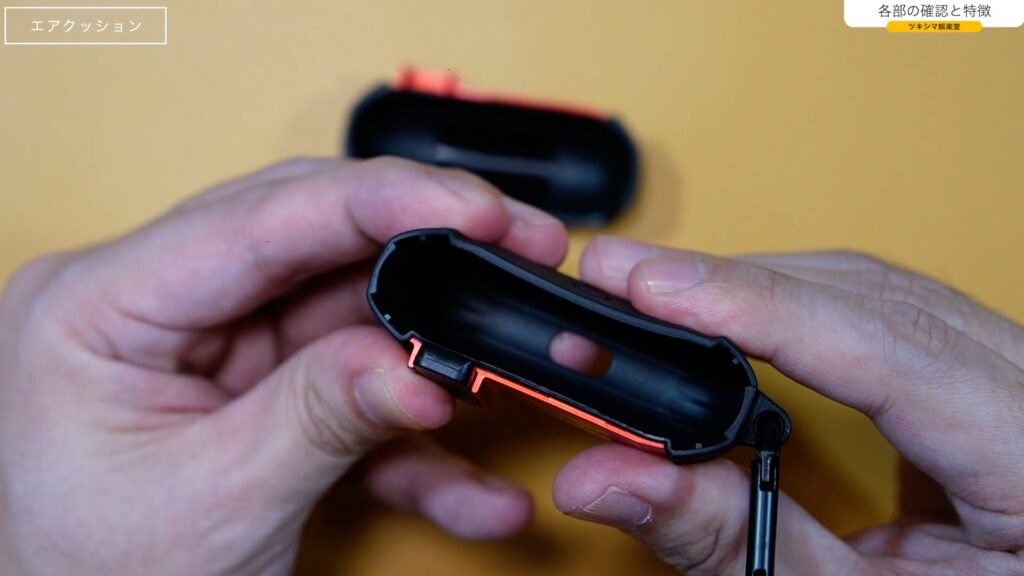
デュアルストラクチャー
赤い部分は、ハードな素材になっています。
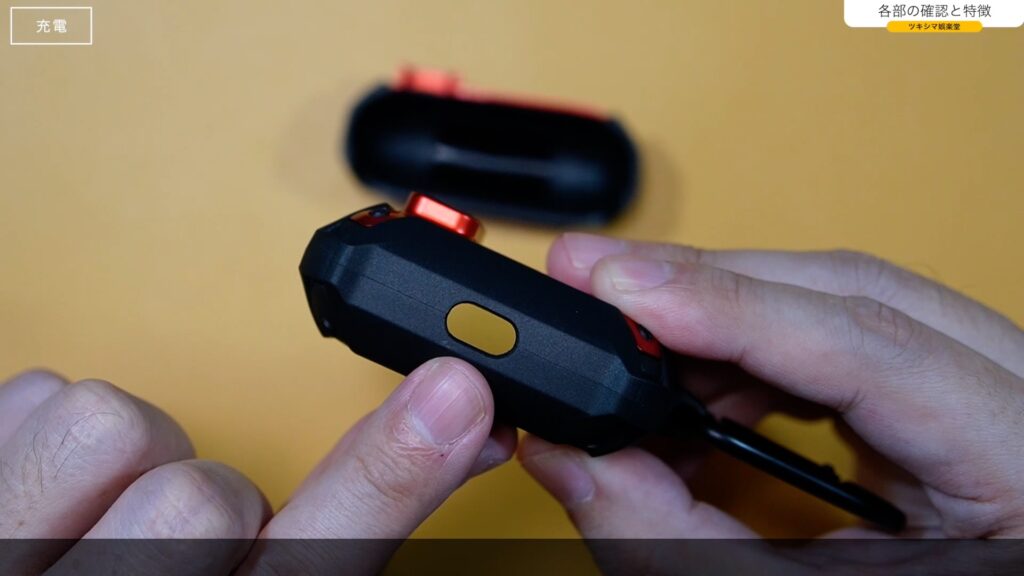
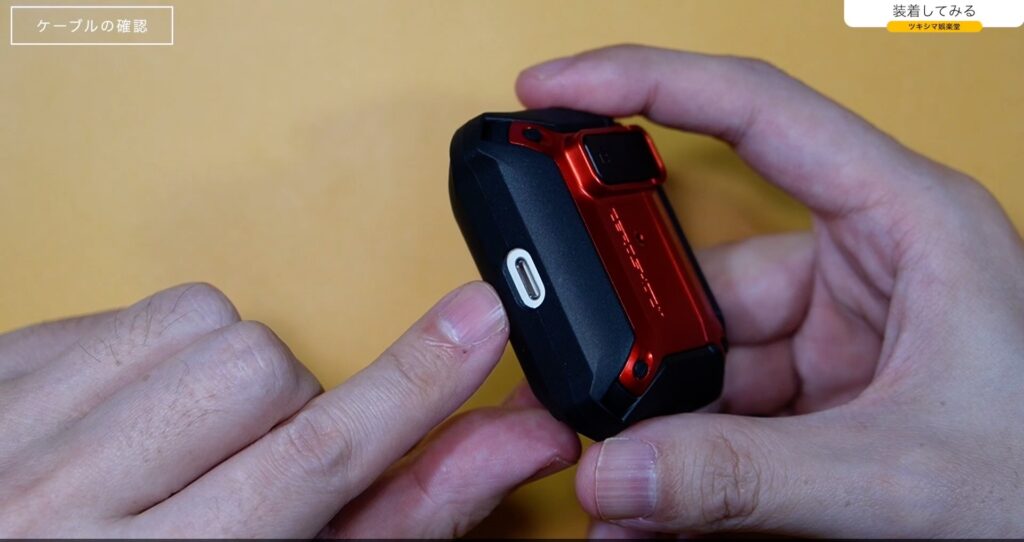
充電
ケースの底面部分は穴が空いていて、ケースを装着したままAirPods Proの充電が可能です。穴の大きさは「縦約6mm」「横約12mm」です。あまり太いLightningケーブルだと入らない恐れがあります。
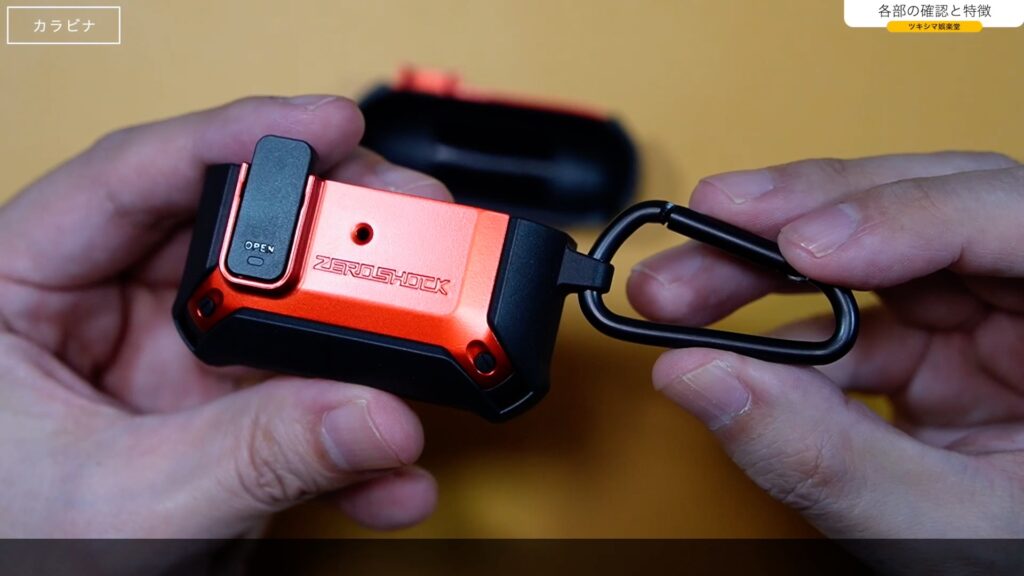
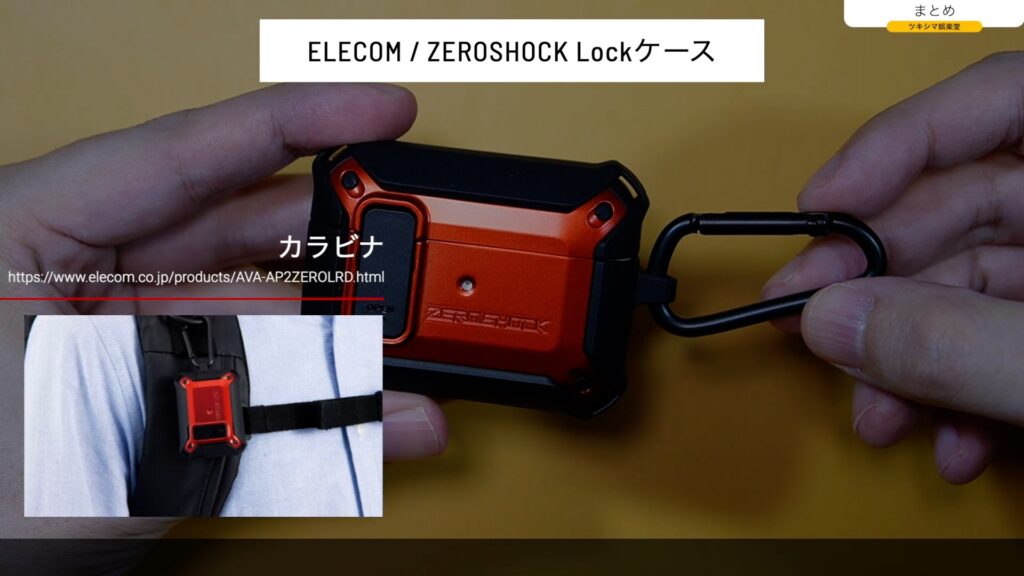
カラビナ
カラビナが付いています。アルミ製です。
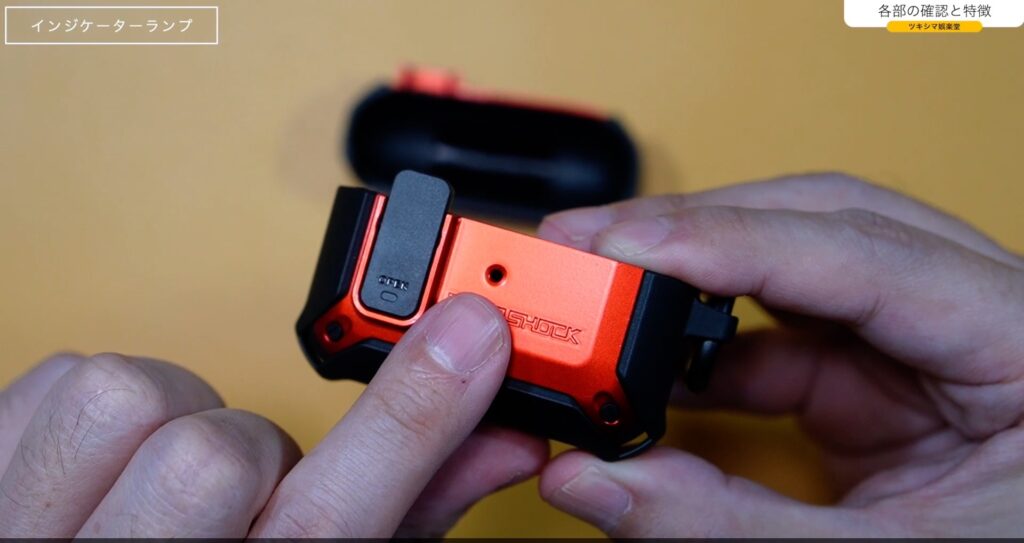
インジケーターランプ
ケース正面には穴が開いていて、インジケーターランプを確認可能です。
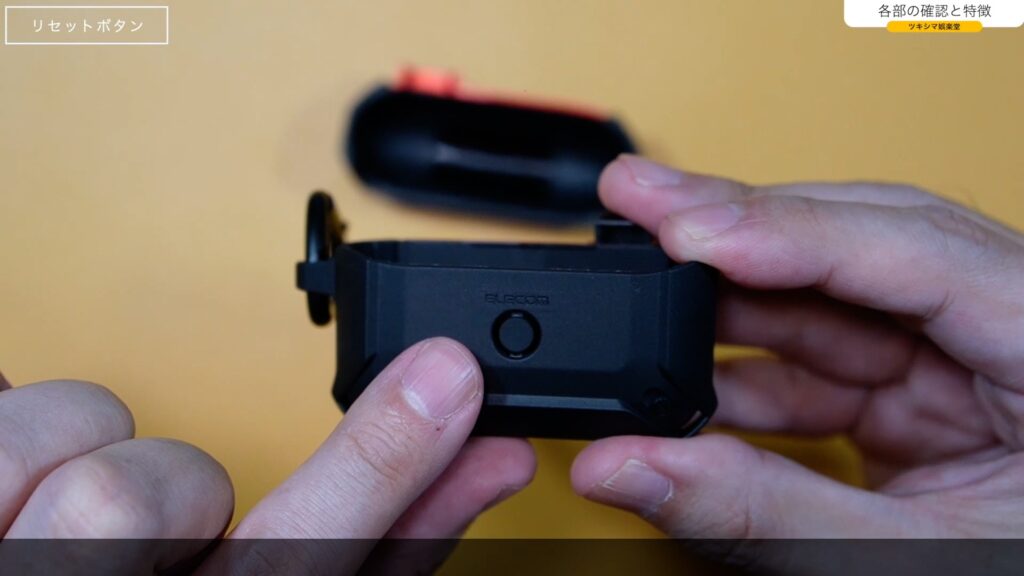
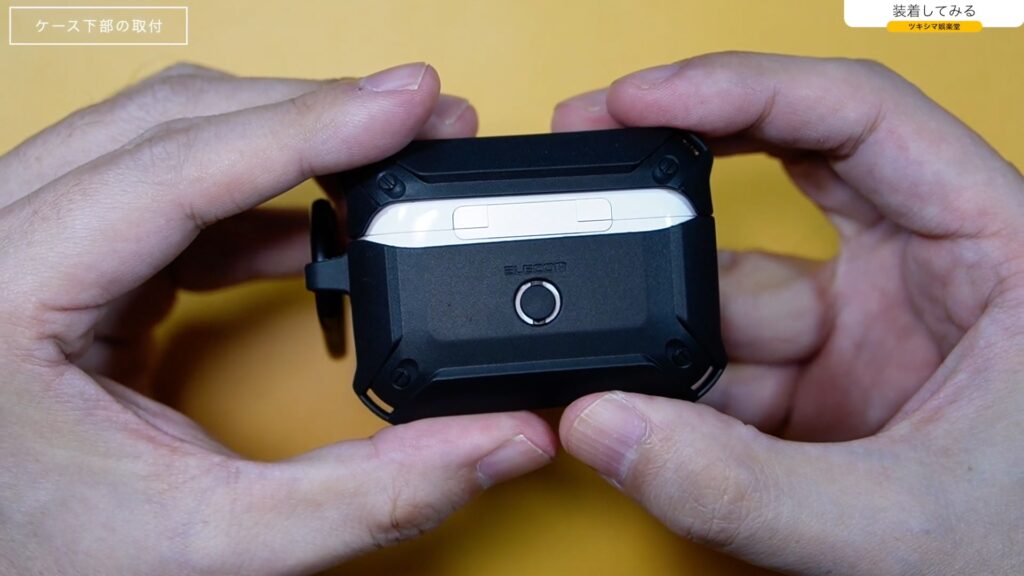
リセットボタン
背面のリセットボタンは、ケースを装着したまま押すことが出来るようになっています。
ツキシマ
次は、ケースをAirPods Proに装着してみたいと思います。
装着してみる
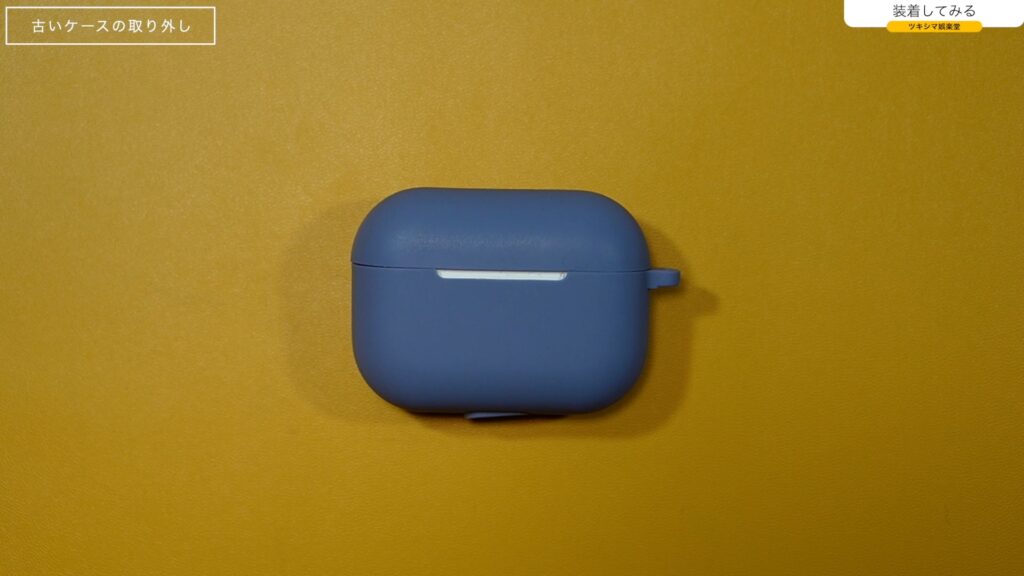
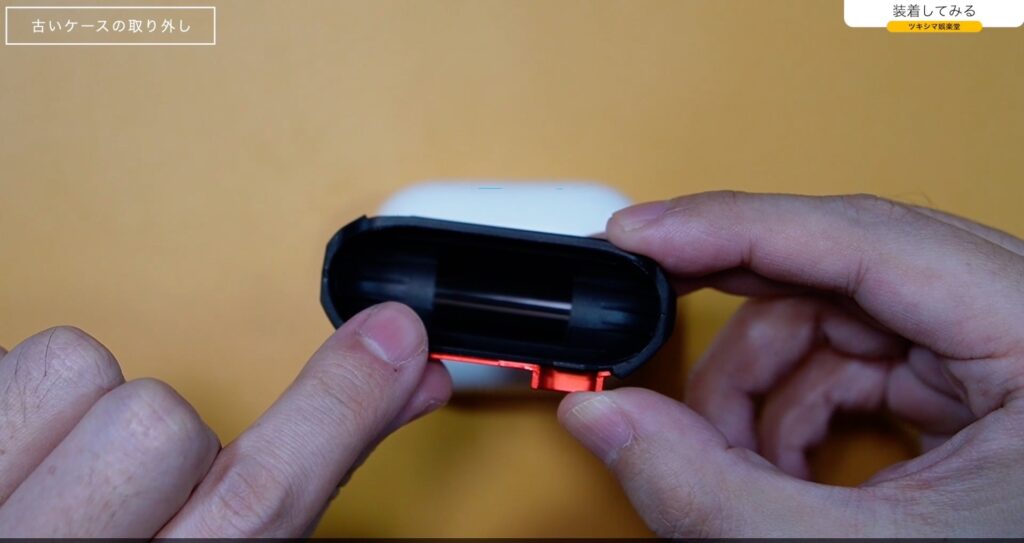
古いケースの取り外し
まず今まで装着していたシリコン素材のケースを、外したいと思います。
上側を外します。
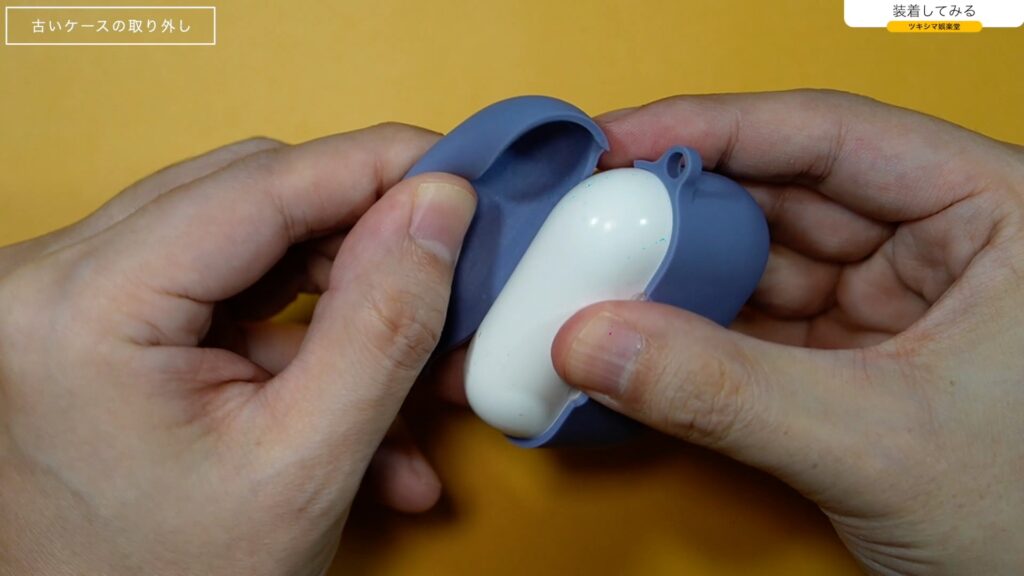
次に下側を外します。
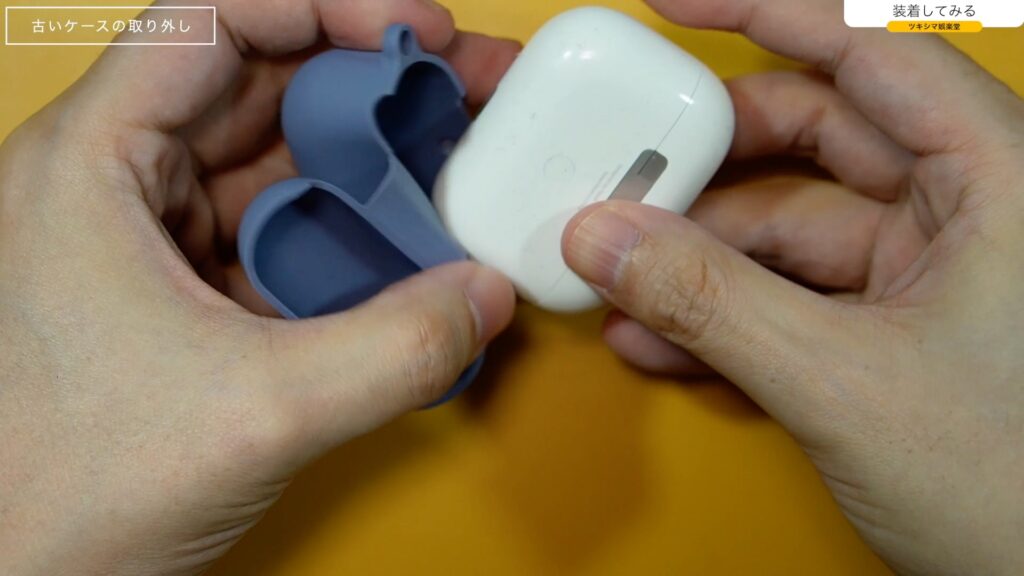
シリコンケースを外してみたところ結構ホコリが溜まっていましたので、取り除いて綺麗にしたいと思います。
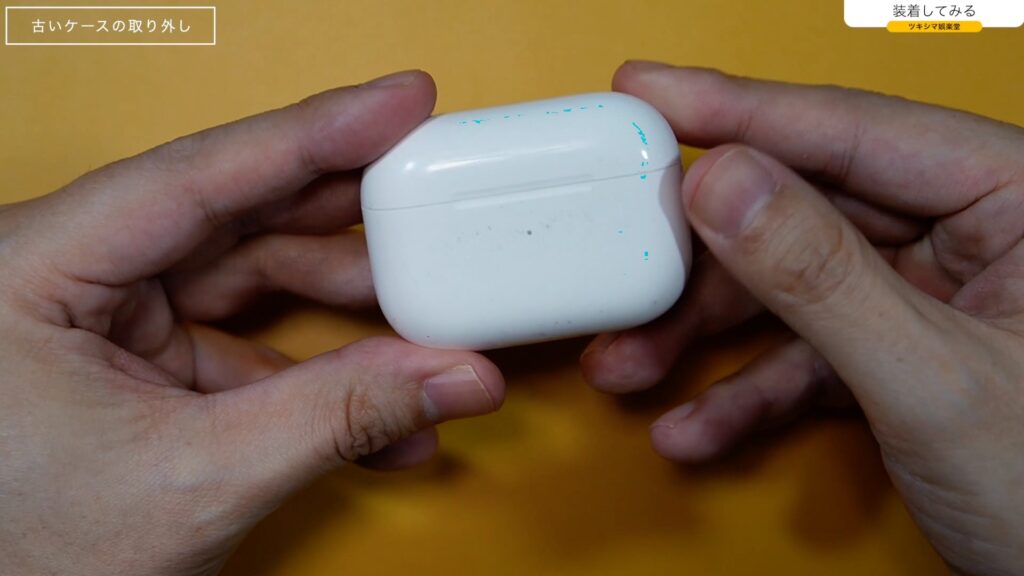
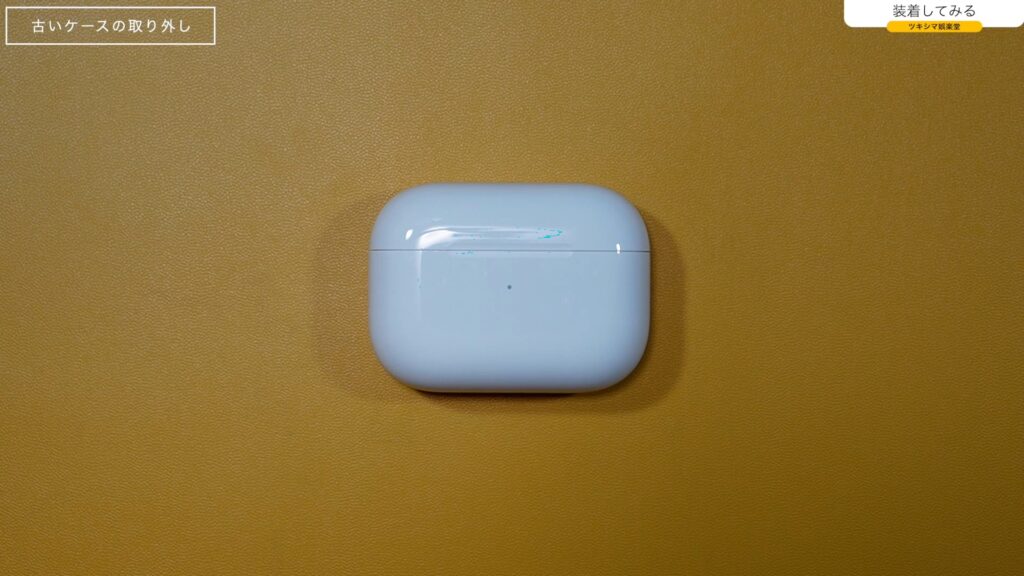
AirPods Proのホコリと汚れを落としました。
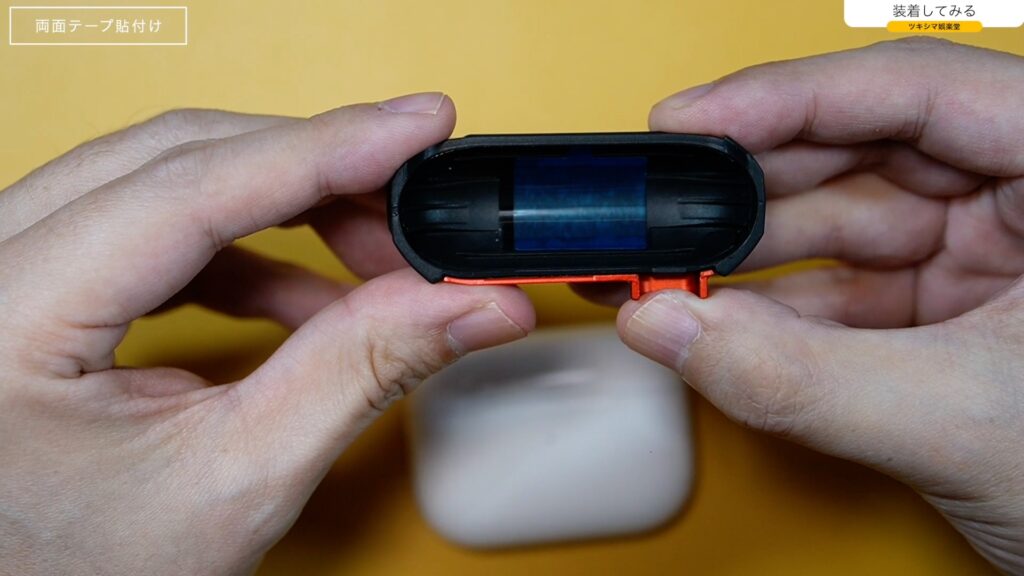
両面テープ貼付け
次は新しいケースのフタの中央部分に、両面テープを貼り付けます。
両面テープを貼り付ける前に、フタの部分とAirPodsケースの上面の部分をクリーニングしておきたいと思います。今回は、携帯電話の液晶保護フィルムに付属していたクリーナーの余りを使用して、綺麗にしたいと思います。
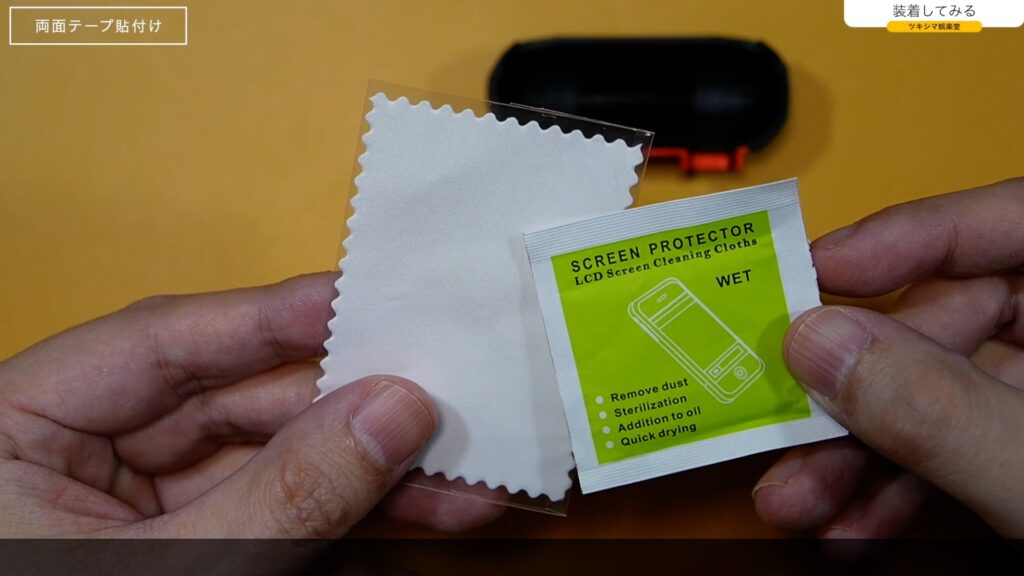
ウェットクリーナーで拭き拭きします。
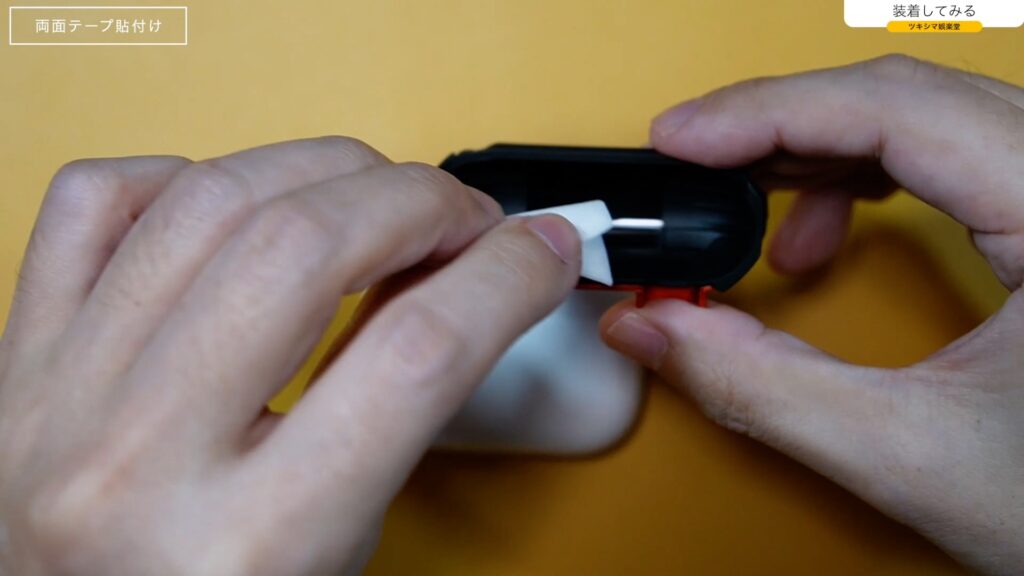
そのあと、クリーニングクロスで拭き拭きしました。
それでは、両面テープを貼り付けたいと思います。
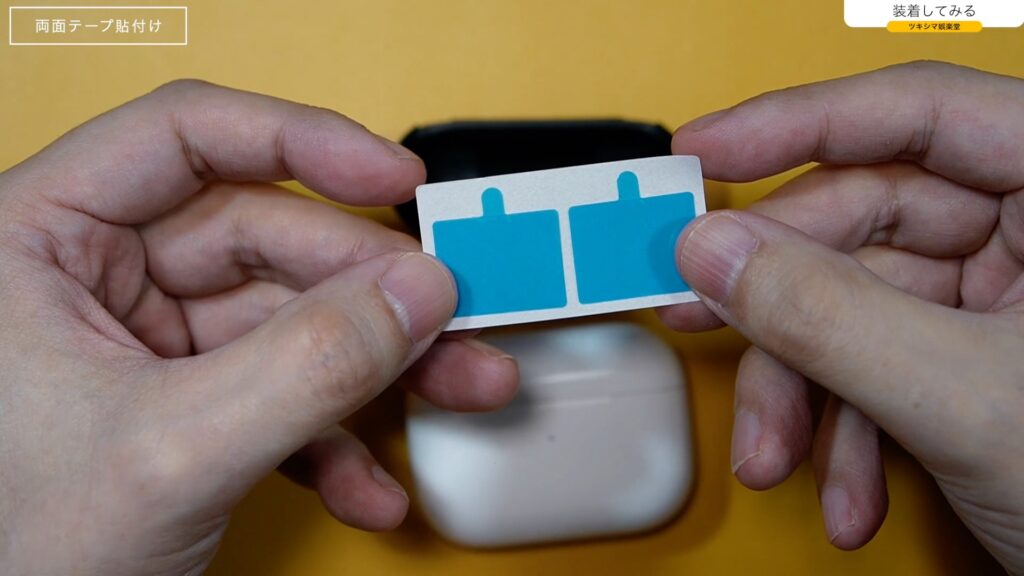
小さいアイテムなので、両面テープの貼り付け作業はとても大変でした。
少し右にずれてしまいましたが、貼り付けることが出来ました。
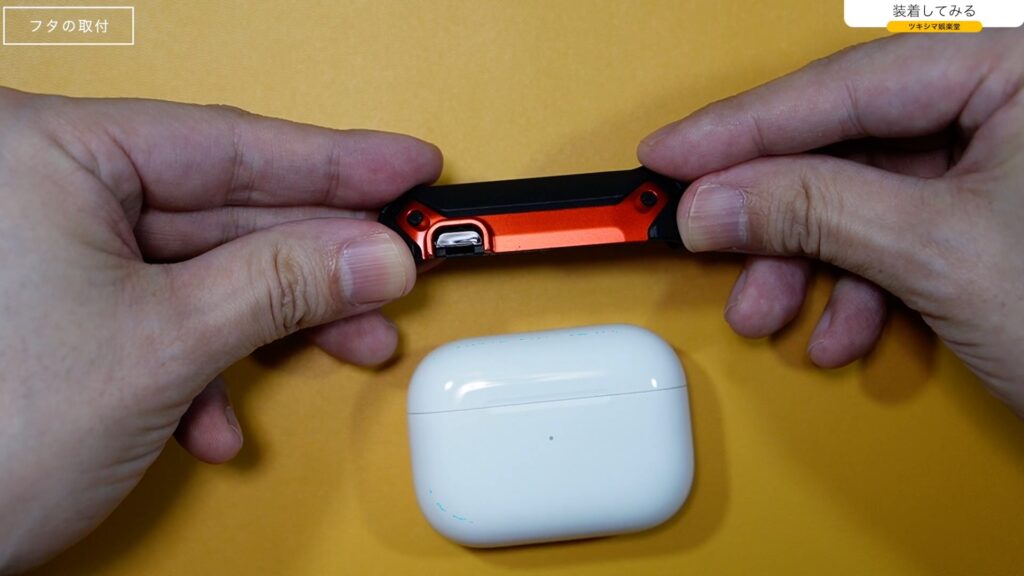
フタの取付
次に、AirPodsケース上部にフタを取り付けます。ロック機構がある方が前側ですので、下の画像の向きで取り付けることになります。
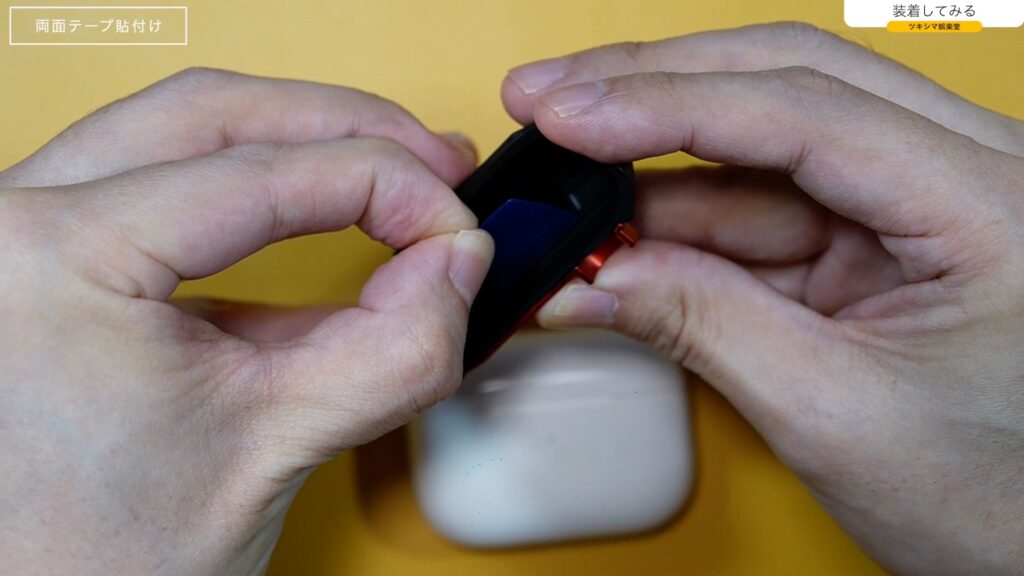
貼り付けるために両面テープの台紙を剥がすのですが、これが取れなくて時間がかかり大変でした。ピンセットなどを用意しておいた方が良いかも知れません。

慎重に貼り付けます。

貼り付け位置を微調整します。

なんとか無事に付きました。AirPodsのケースの横のラインを目印にした方が、貼り付けやすいかなと思います。

ケース下部の取付
ケースの下の部分を装着していきます。
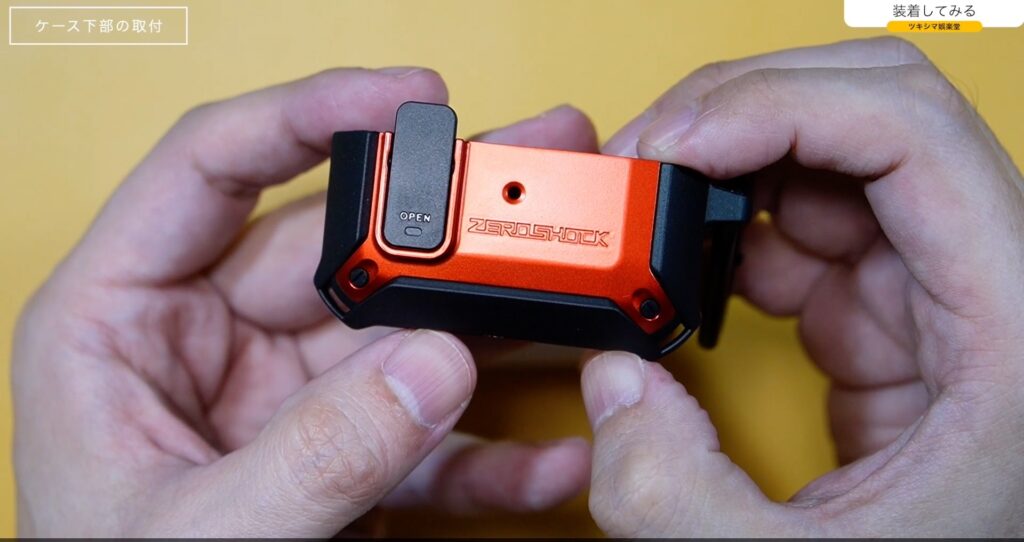
こちらは嵌めるだけですので簡単です。
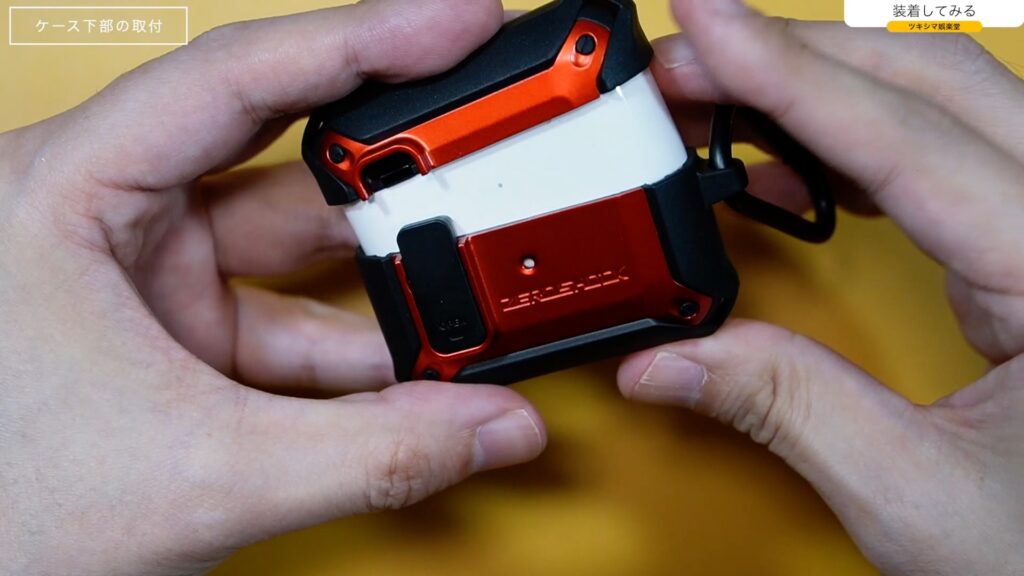
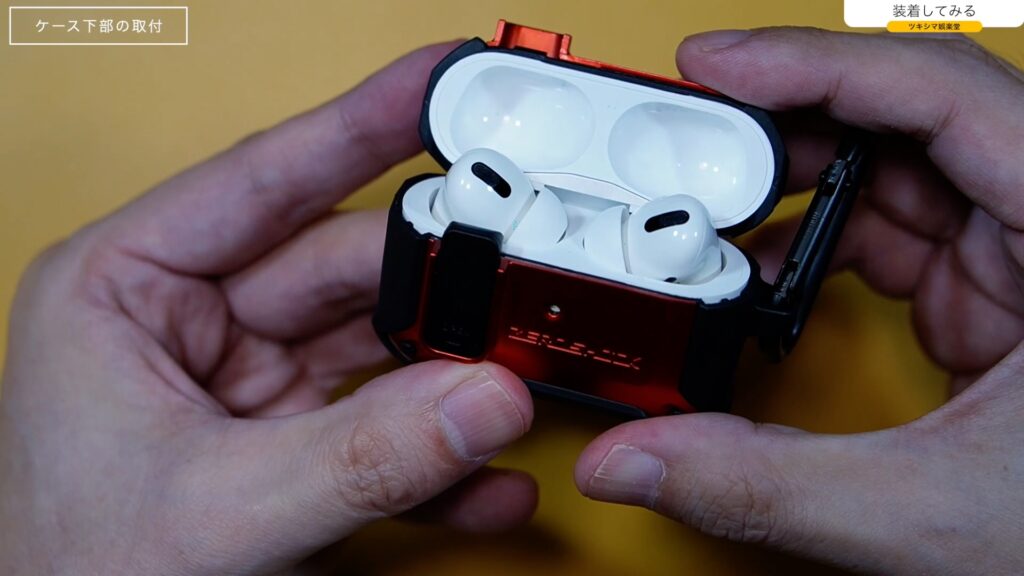
装着できました。隙間なくピッタリと装着できています。
裏側の部分は、フタが開くために開いています。
ロックを解除しないとフタは開かないです。
フタを開けてみるとこんな感じです。
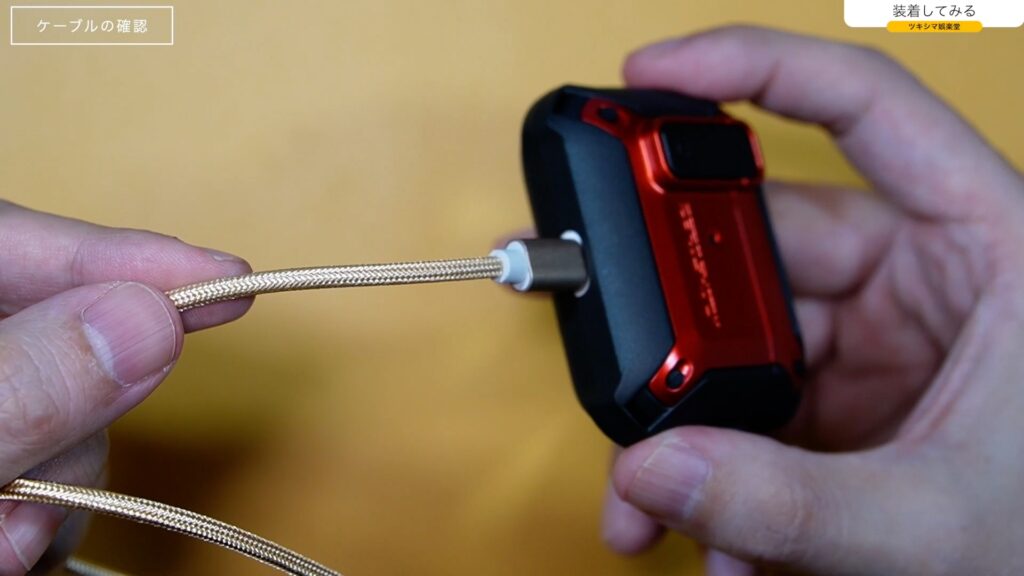
ケーブルの確認
Lightningケーブルを挿してみたいと思います。
下画像のケーブルは、社外製のLightningケーブルです。
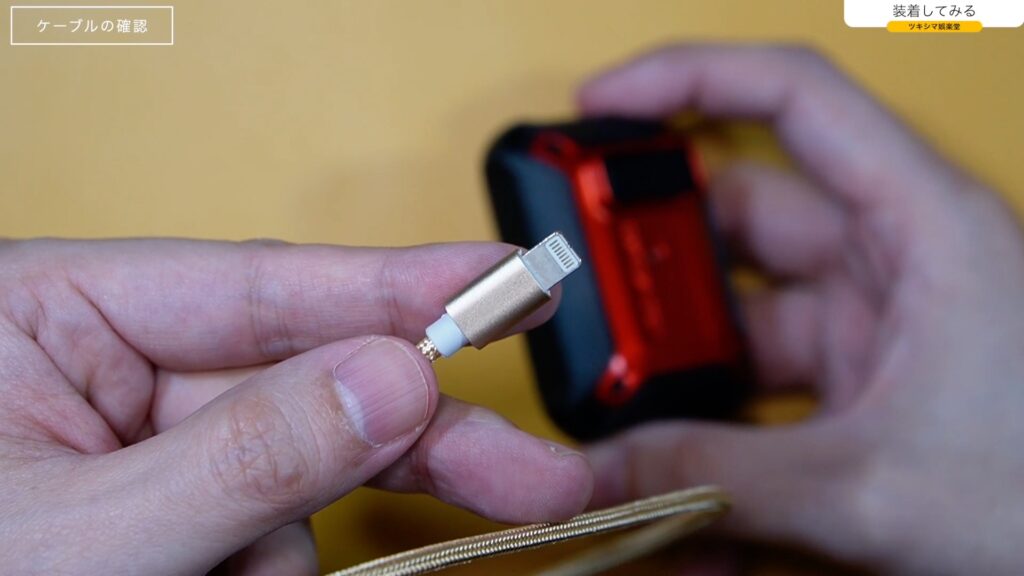
特に問題なく挿すことが出来ました。端子の周りにも多少余裕があるようです。
ツキシマ
次は、まとめです。
まとめ
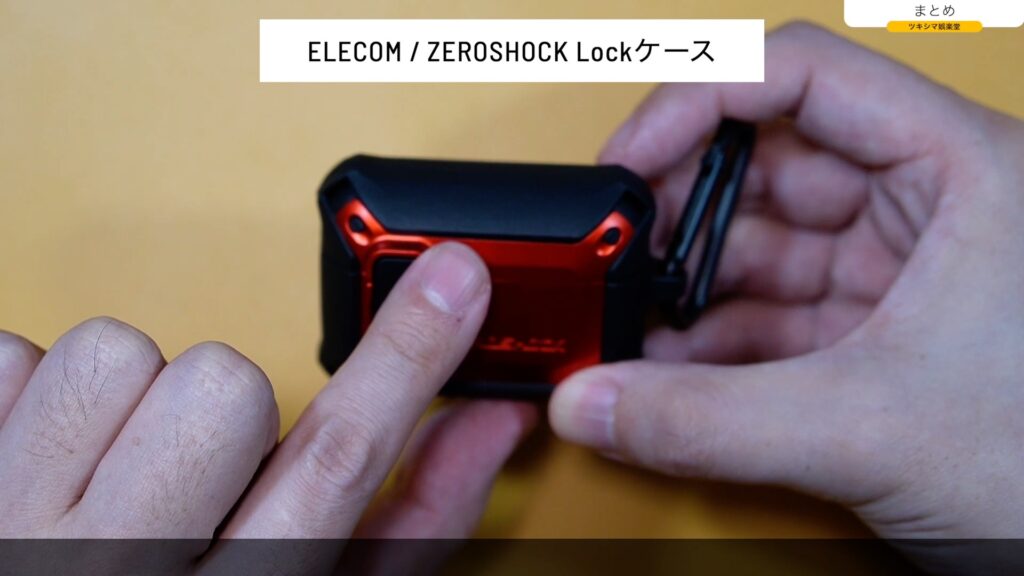
このケースは見た目がとてもカッコ良く、カラビナもありますので、バッグやリュックサック等に取り付けることも可能です。
そして元々軽いケースなので、見た目のゴツさに反して重さもほとんど気になりません。AirPods Proも含めて重さは約80gです。
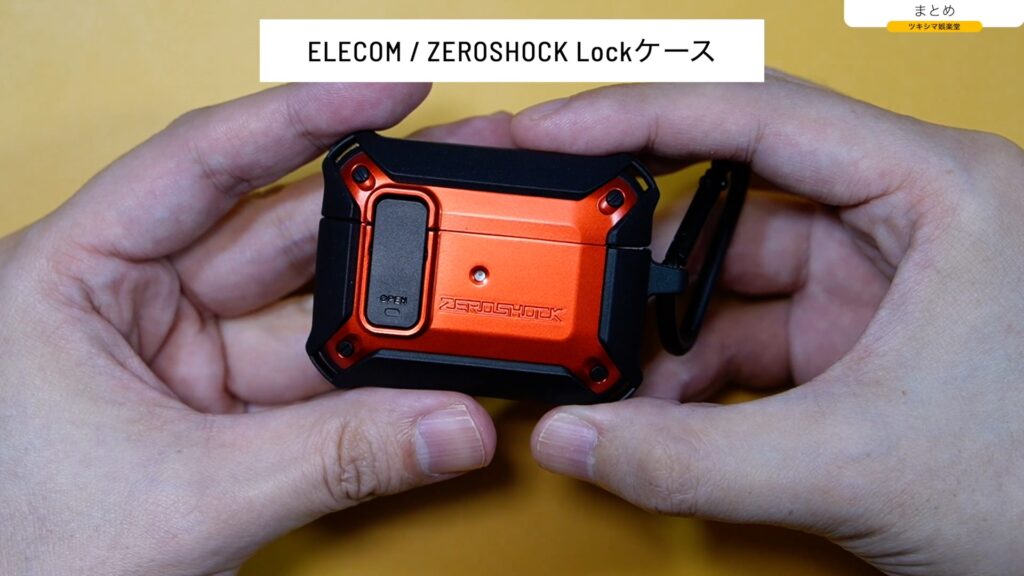
評判では両面テープで固定するフタが取れやすいということですので、注意して使用していきたいと思います。
ツキシマ
それでは、最後までご視聴ありがとうございました。