ご挨拶

ツキシマ
こんにちは、ツキシマです。
スマートフォンを三脚にマウントするための、Ulanzi社製スマホホルダーを購入しました。開封レビューをしていきたいと思います。

ツキシマ
それでは、開封していきたいと思います。
開封
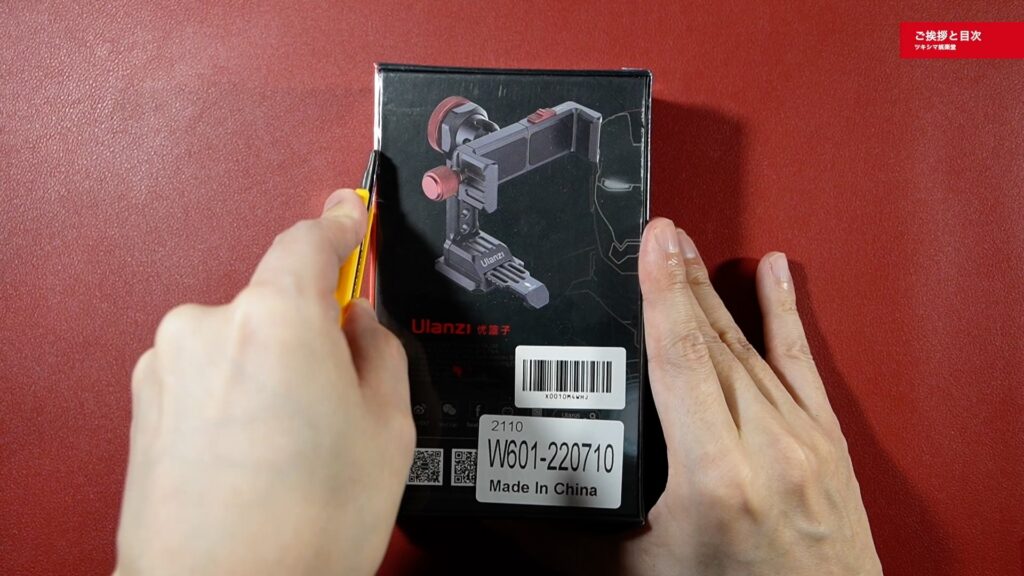
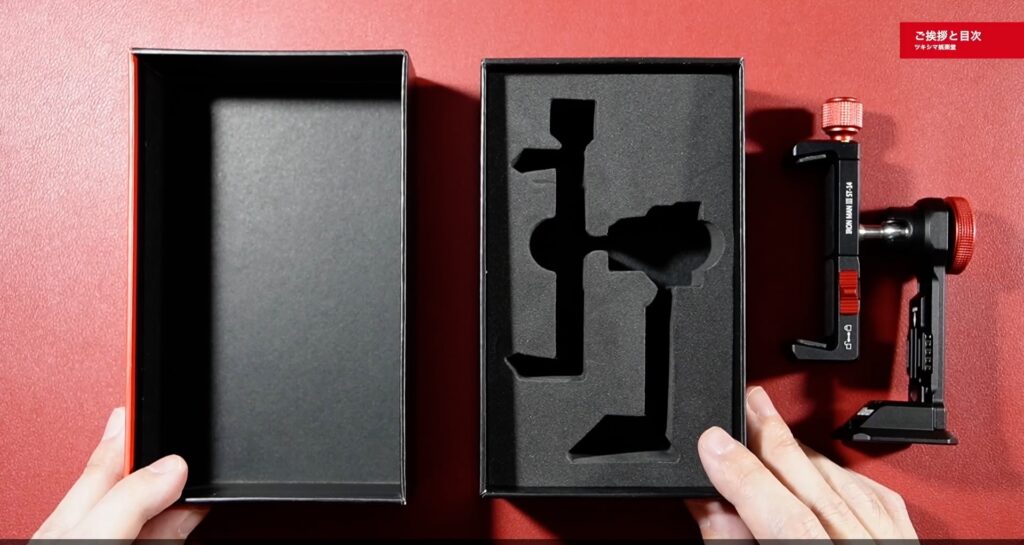
パッケージはシュリンクされていますので、カッターで取り除きます。
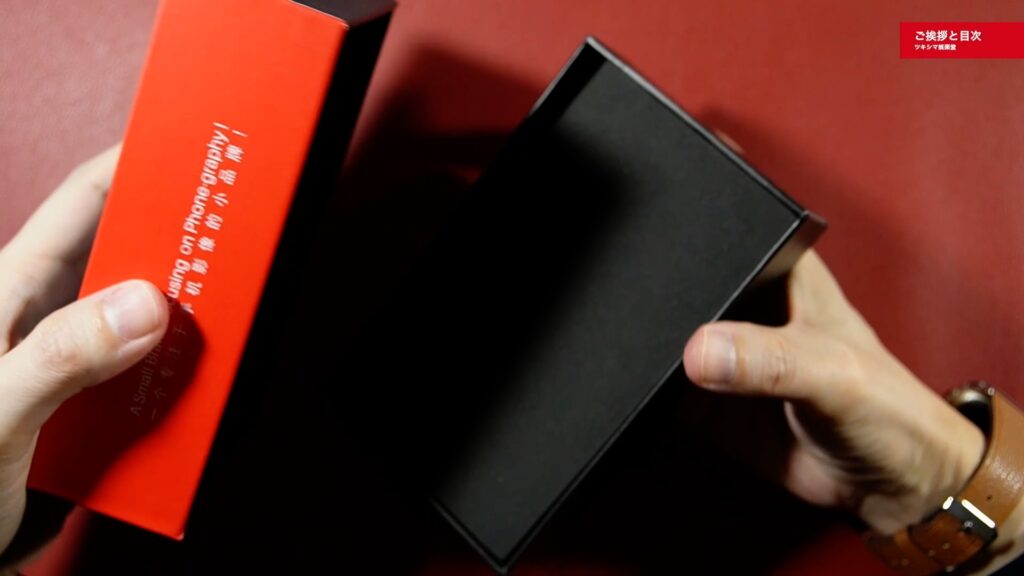
開封します。
こんな感じに入っていました。
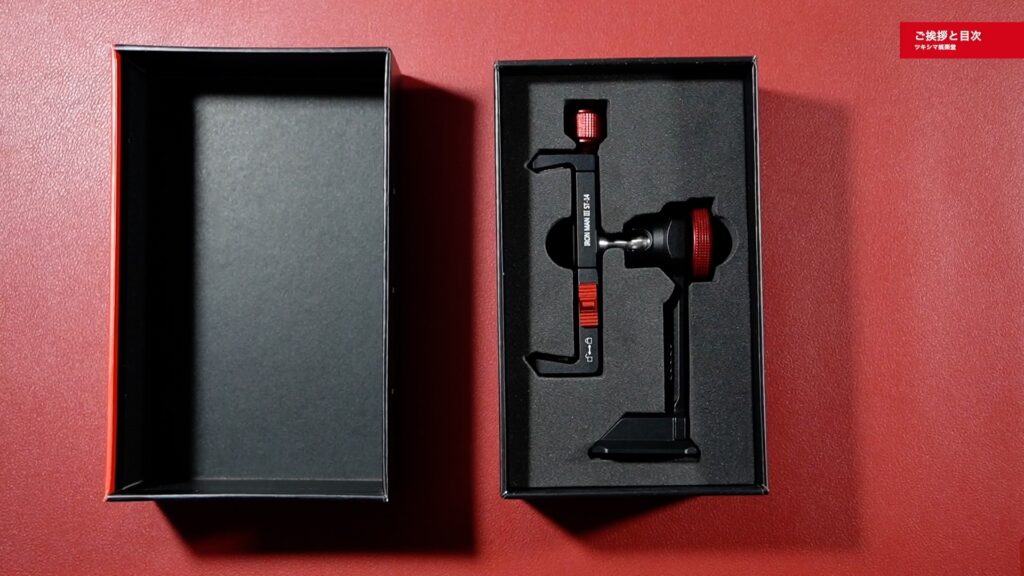
内容物は、スマホホルダー本体のみでした。取扱説明書などは無いようです。
ツキシマ
次は、本体各部の確認と使い方についてみていきたいと思います。
本体各部の確認と使い方
サイズと重さ
スマホホルダー本体やツマミの材質は、アルミ金属製です。耐久性は高いと思います。
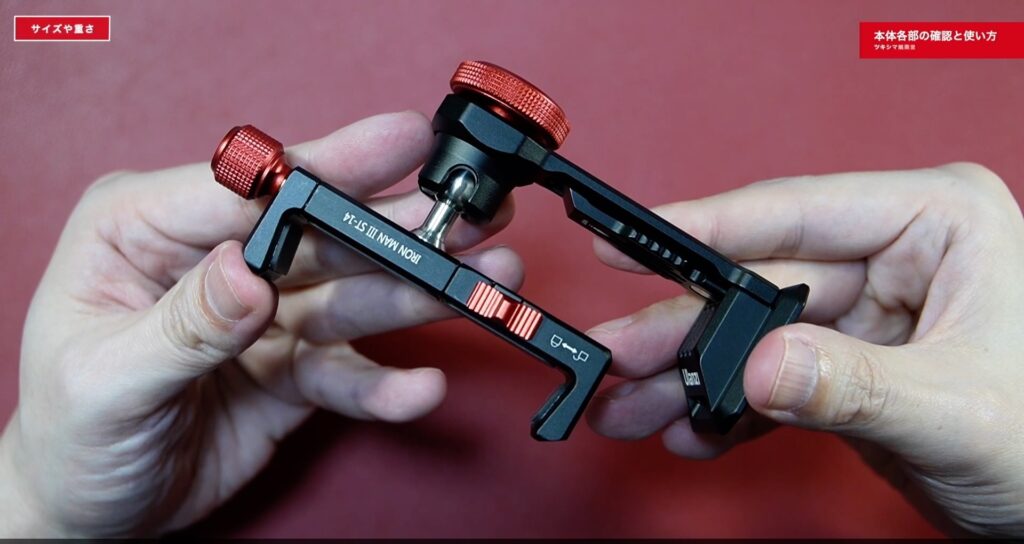
重さは、約150gです。

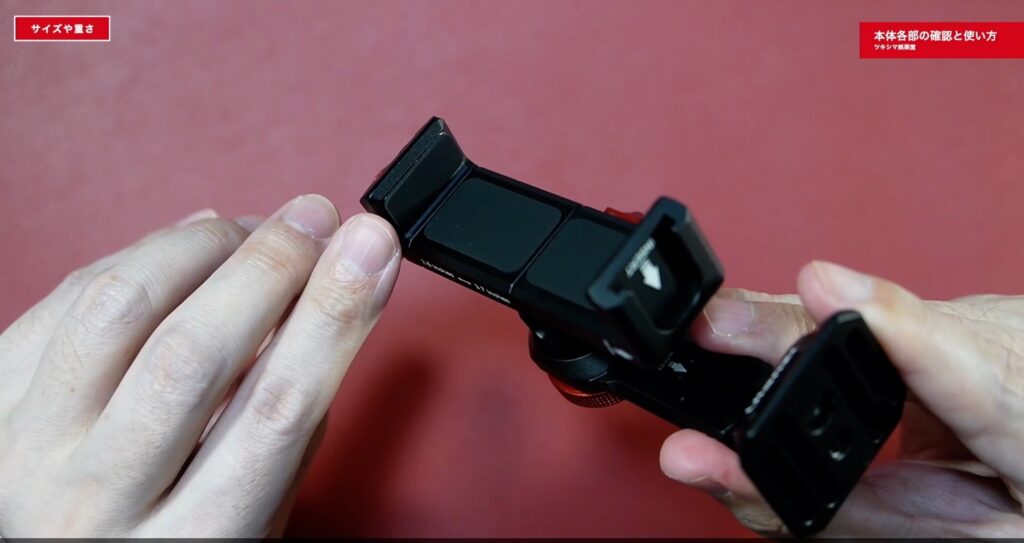
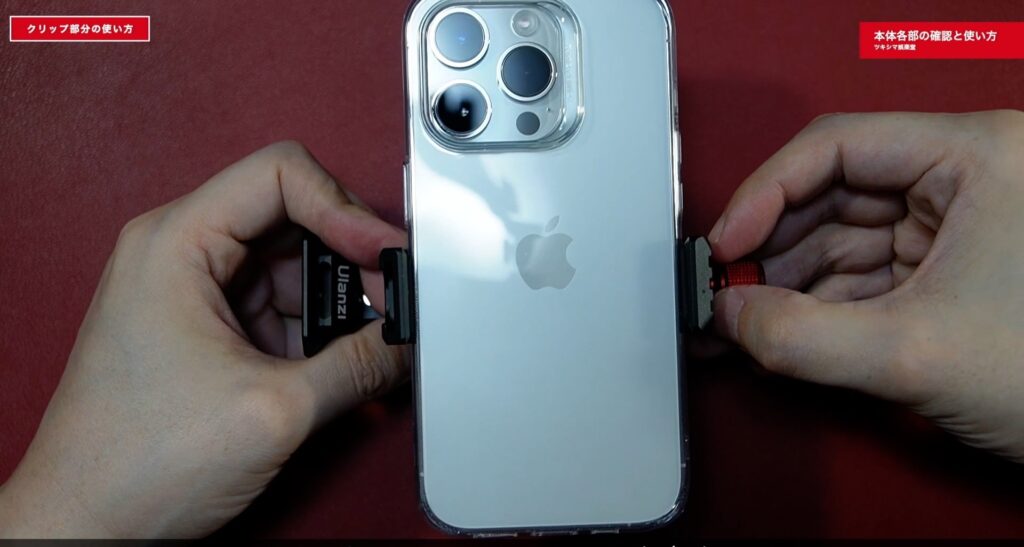
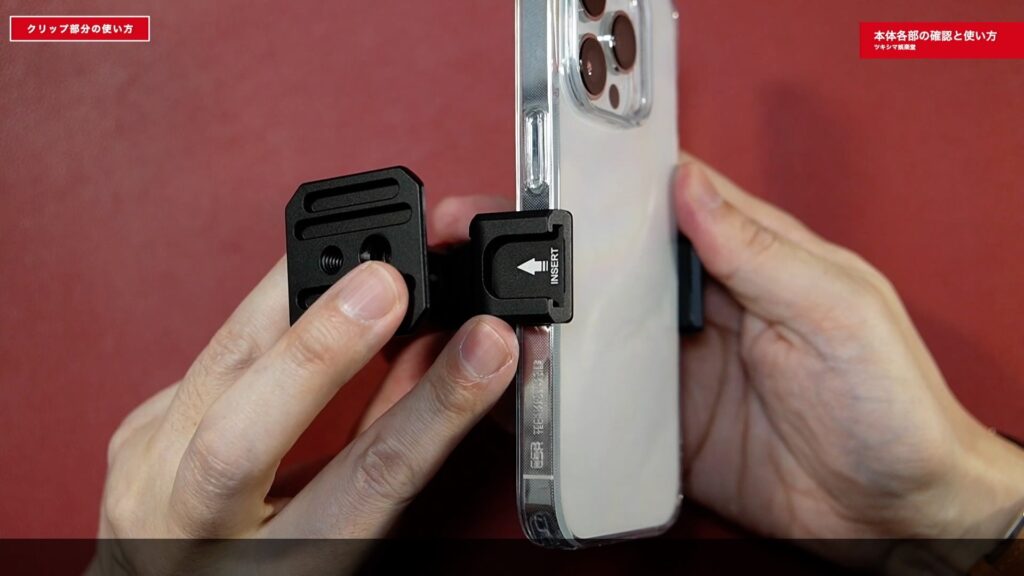
スマホを挟むクリップ部分には、各面にスポンジ材が貼り付けられています。そのため、スマホやケースに傷が付くのを防ぐことが出来ます。
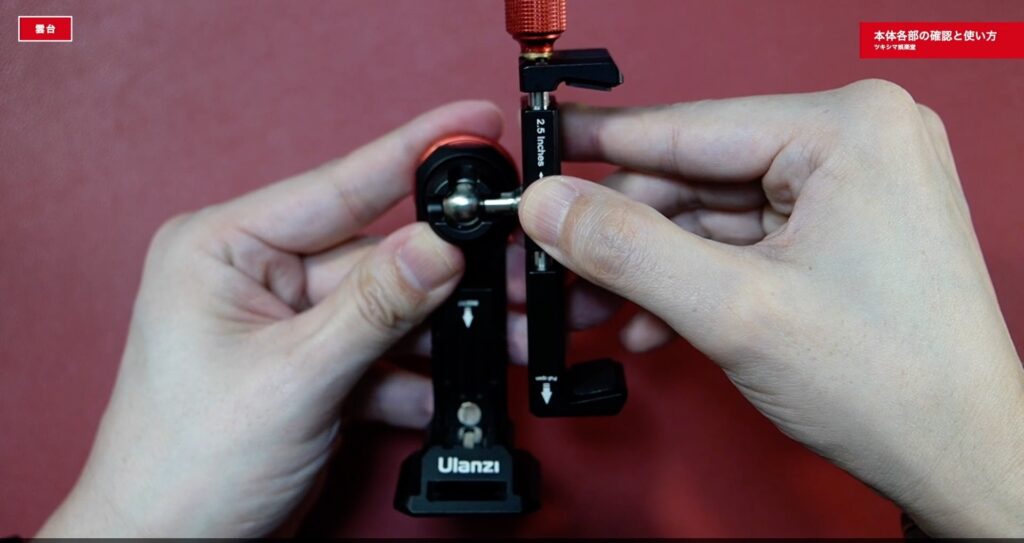
本体の高さは、赤いツマミ部分を含めると約126mmで支柱部分の高さは約90mmです。(下画像参照)
スマホを固定するクリップ部分の長さは、最小で約65mm。いちばん伸ばした状態で最大95mmです。2.5インチから3.7インチと本体には印字されています。

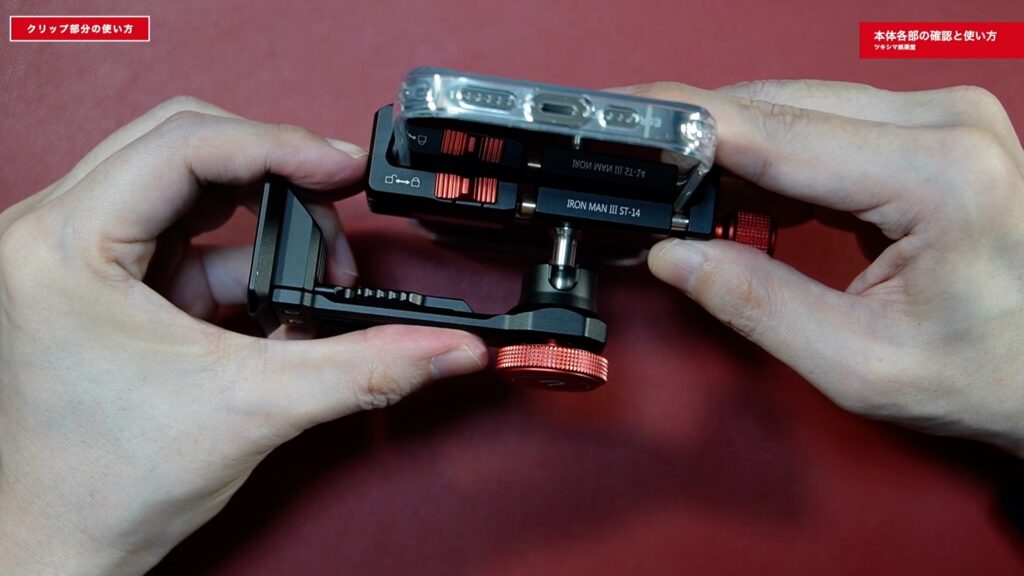
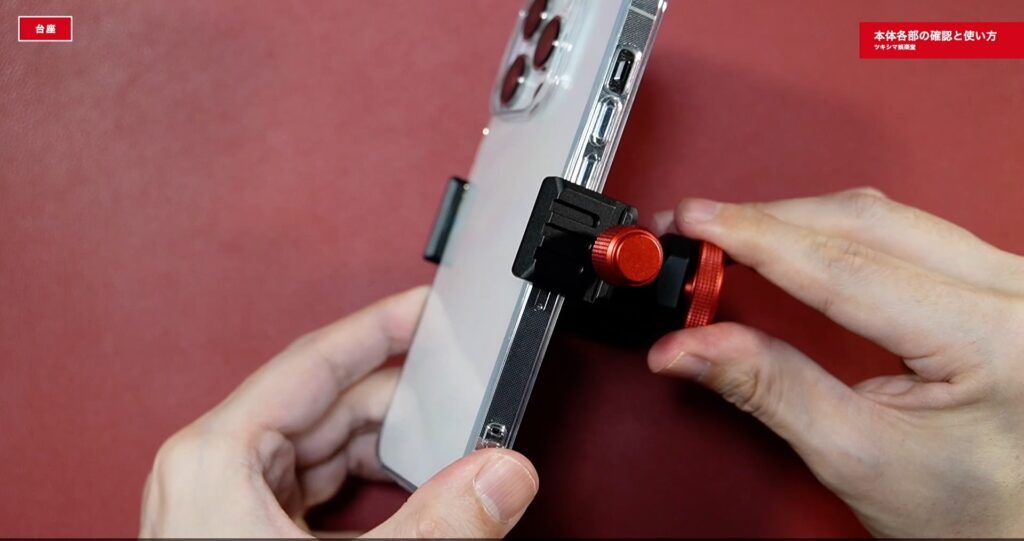
クリップ部分
クリップの長さを調節するには、サイドにあるロックを解除してパーツを引き出します。(画面左側に伸ばす感じです)

次に、赤いツマミを緩めて隙間を作ります。
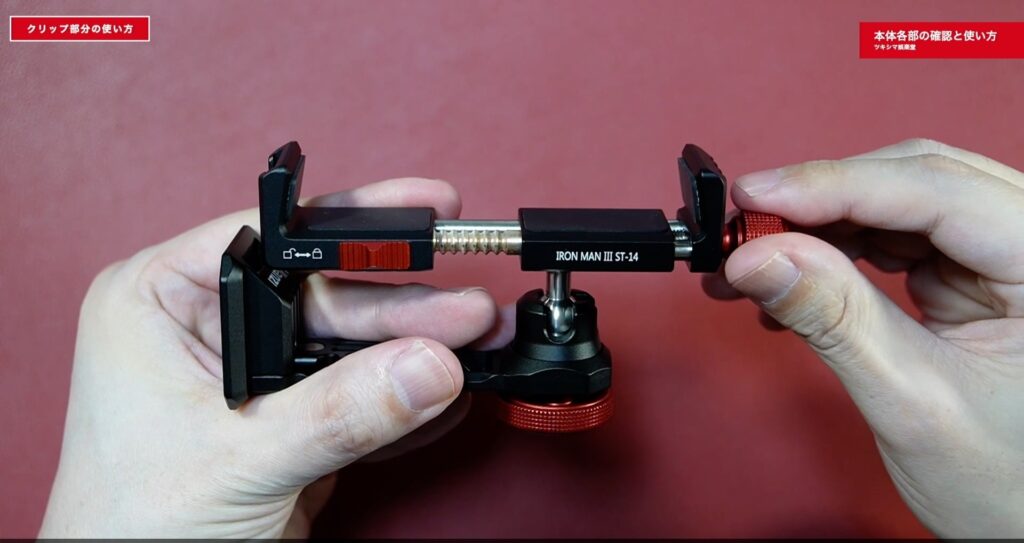
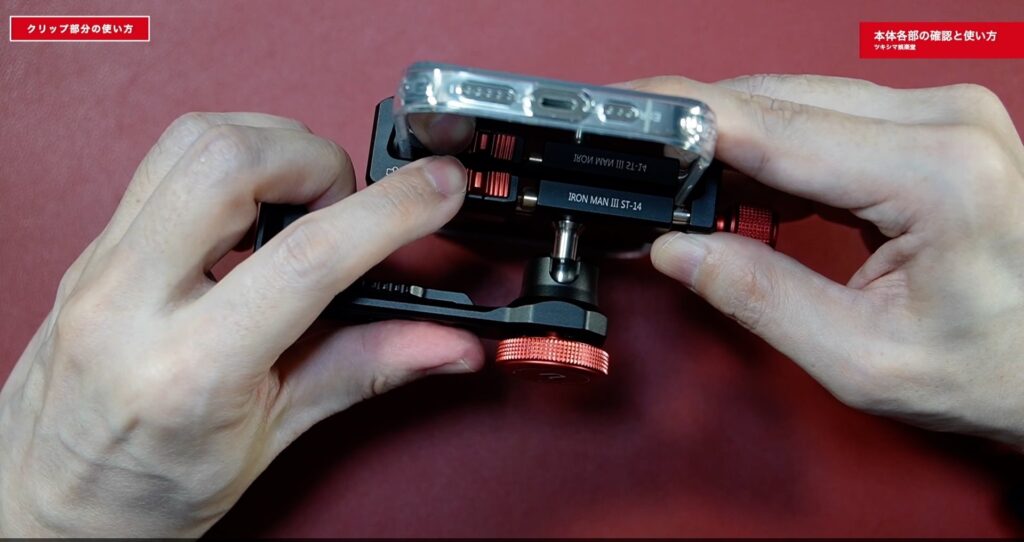
次にスマホを合わせて、ロック側のパーツを動かします。
スマホを挟んだらロックします。
次に、赤いツマミを回して締め込みます。
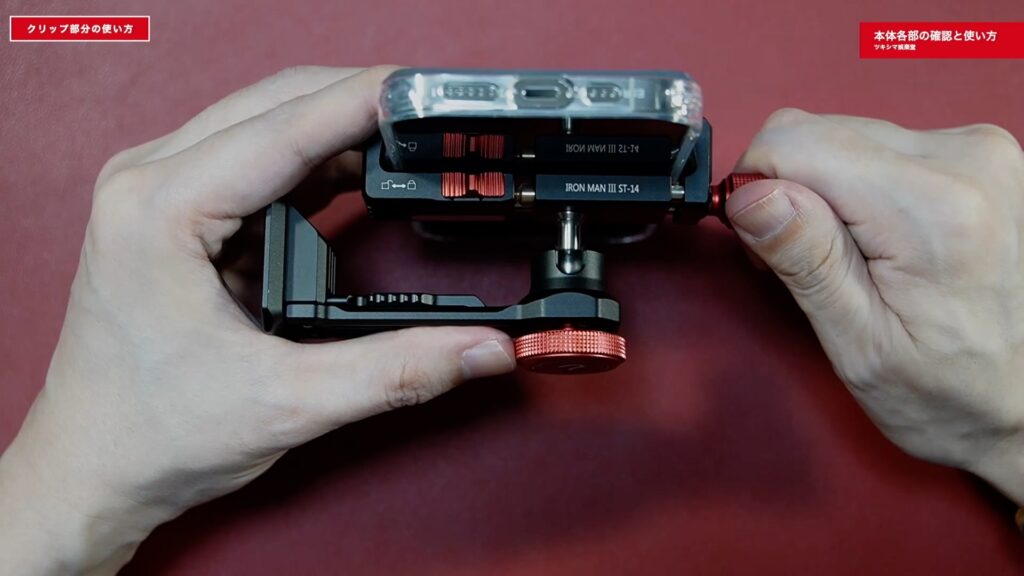
これでスマホをしっかりとロックすることが出来ました。慣れればスムーズに付け外しが出来ると思います。
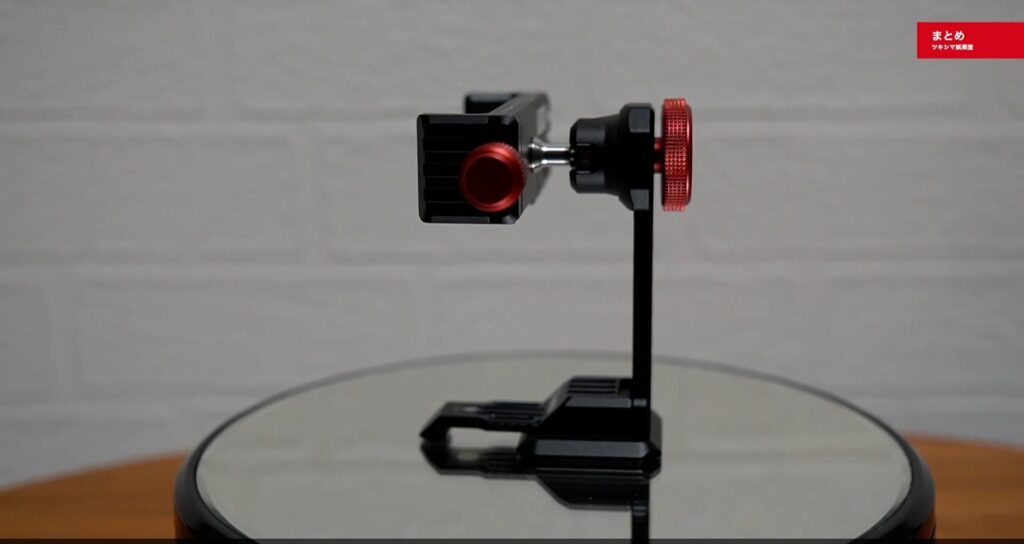
また赤いツマミの反対側は、コールドシューになっています。ここには、外部マイクなどを取り付けることが可能です。
iPhone14 Pro開封レビュー記事↓
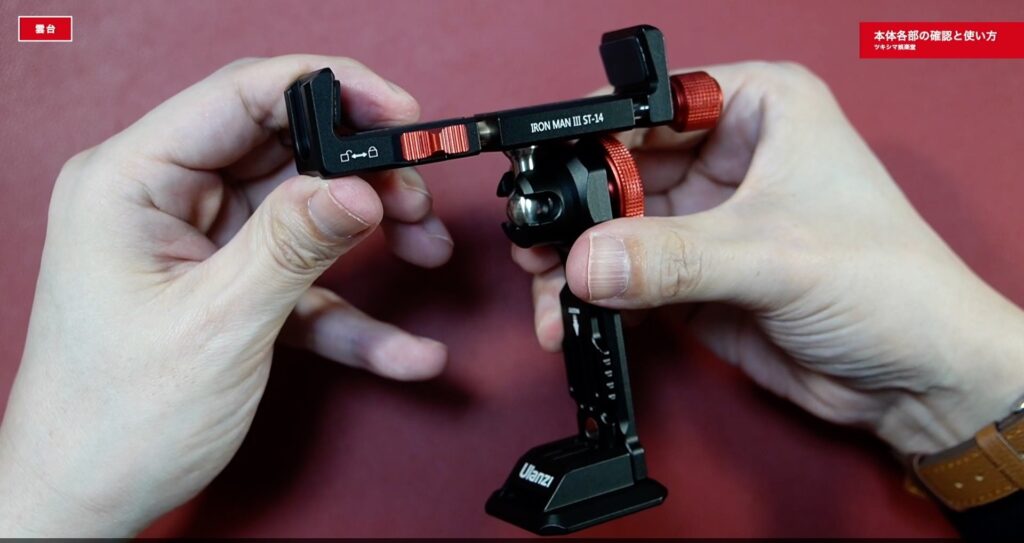
雲台
いわゆる自由雲台のホルダーです。ホルダー背面にある赤いネジを緩めることで自由に角度を変えることが出来ます。
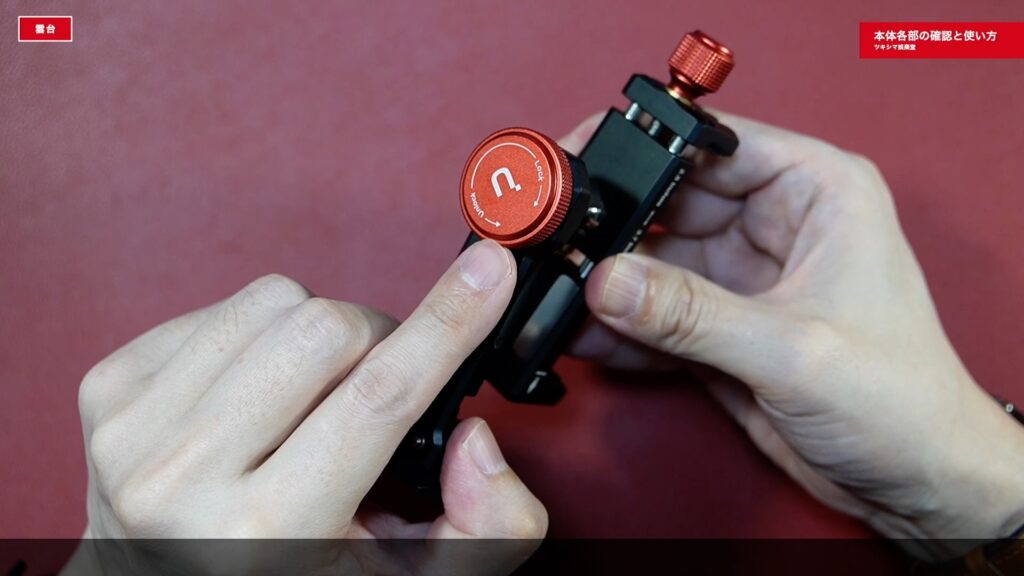
横に360度回転します。
左右に180度動きます。
上には90度動かすことが可能です。
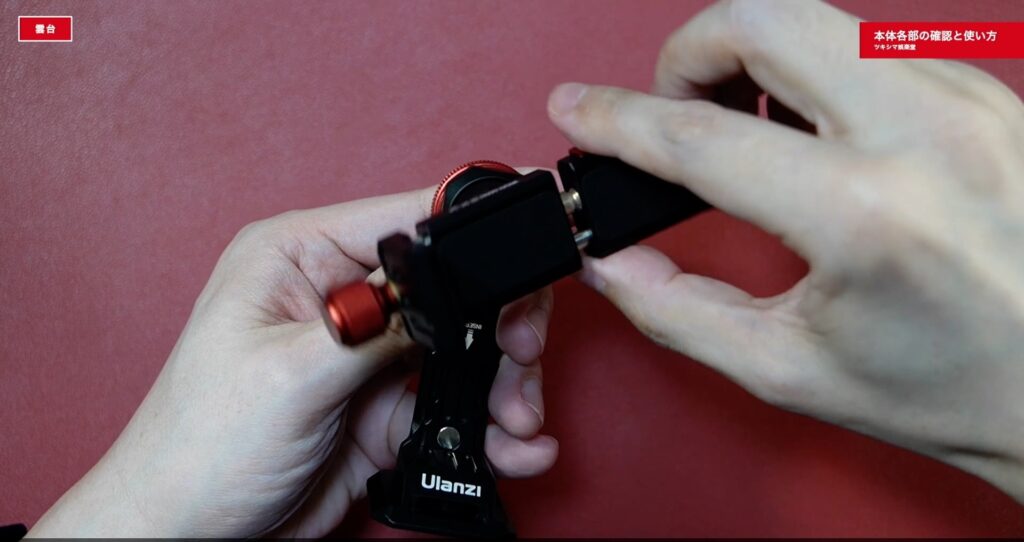
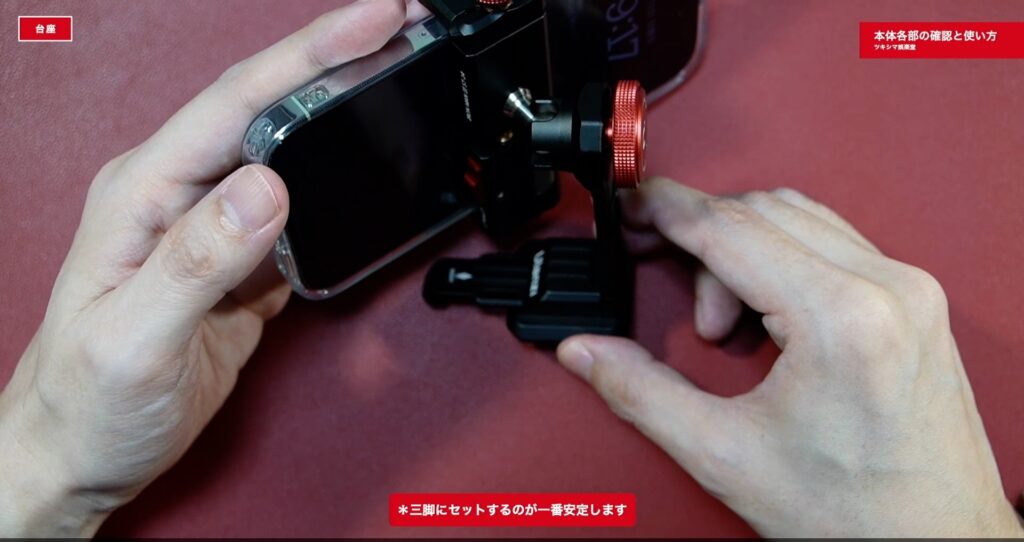
台座
ホルダーの台座部分は、アルカスイス規格のサイズになっています。アルカスイス規格のクイックシューを持っている場合は、そのまま適合します。
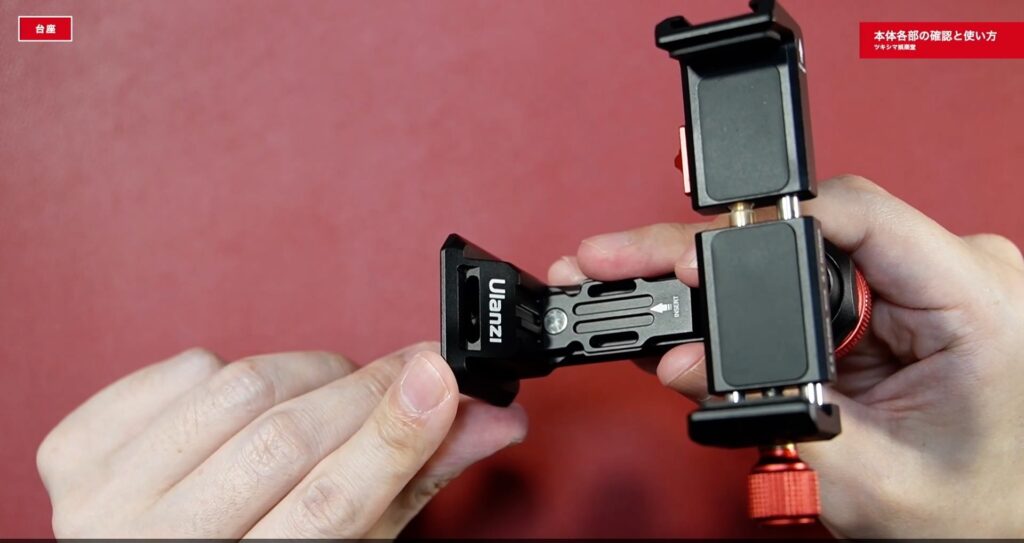
またデスクトップサポート脚が、支柱部分に磁石でセットされています。
このパーツは、台座に差し込むことが出来ます。

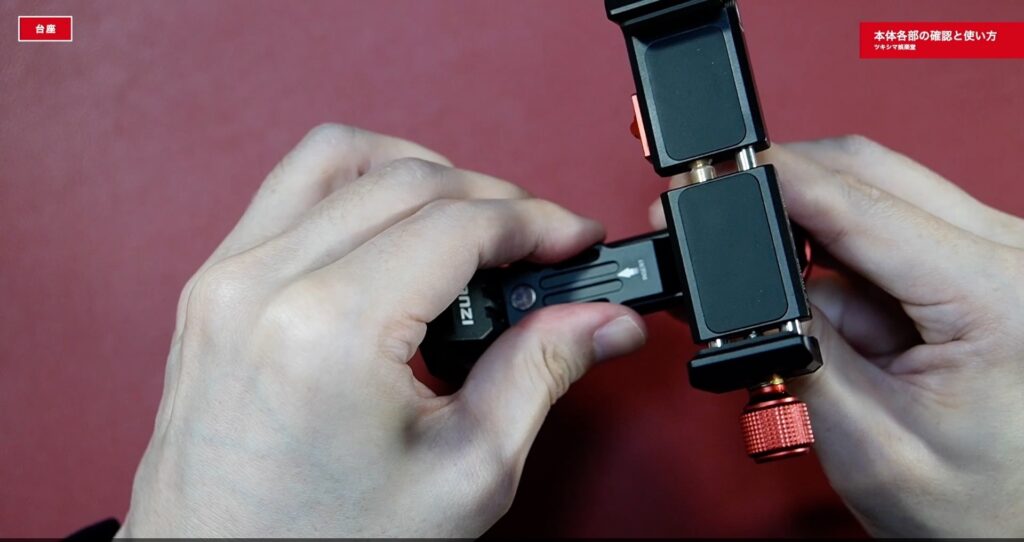
このホルダーは、スマホをセットして自立することが可能です。自立させた状態で、スマホの角度を変えることも出来ます。
ただ安定感はあまりありませんので、やはり三脚にセットするのが良いと思います。
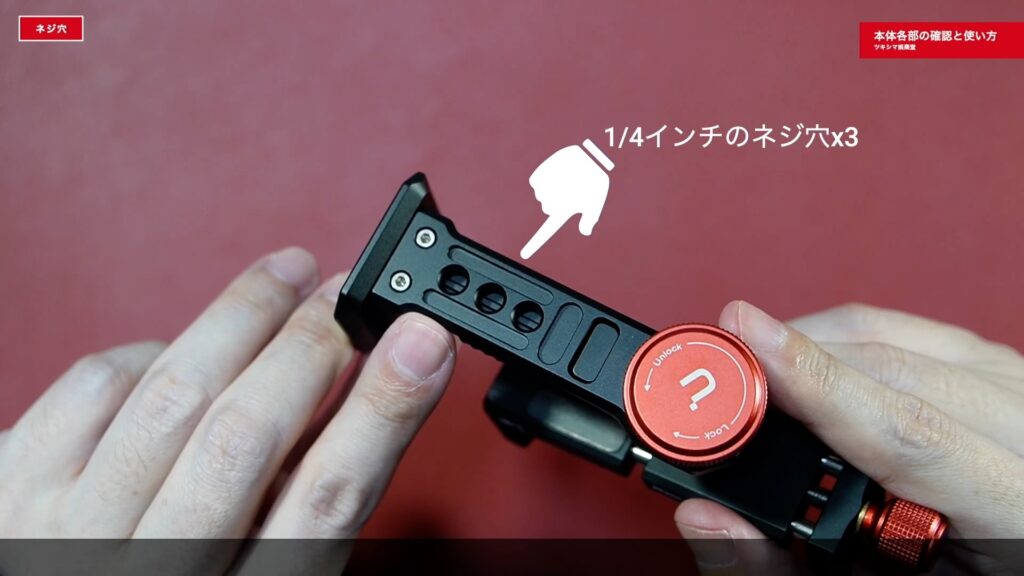
ネジ穴
台座の底面には、1/4インチと3/8インチのネジ穴があります。

支柱の背面には、1/4インチのネジ穴が3つあります。
ツキシマ
次は、まとめです。
まとめ
ホルダー全体がアルミ金属製ですので、とても高級感があり耐久性も高そうです。
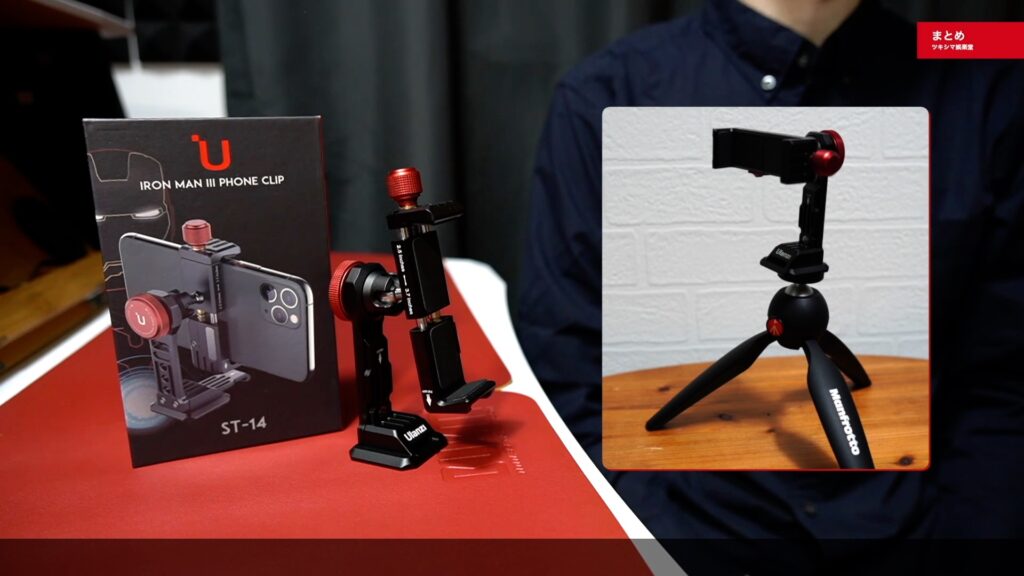
またこのホルダーは、単体で自立できるというのも良い機能だと思います。
ツキシマ
それでは、最後までご視聴ありがとうございました。