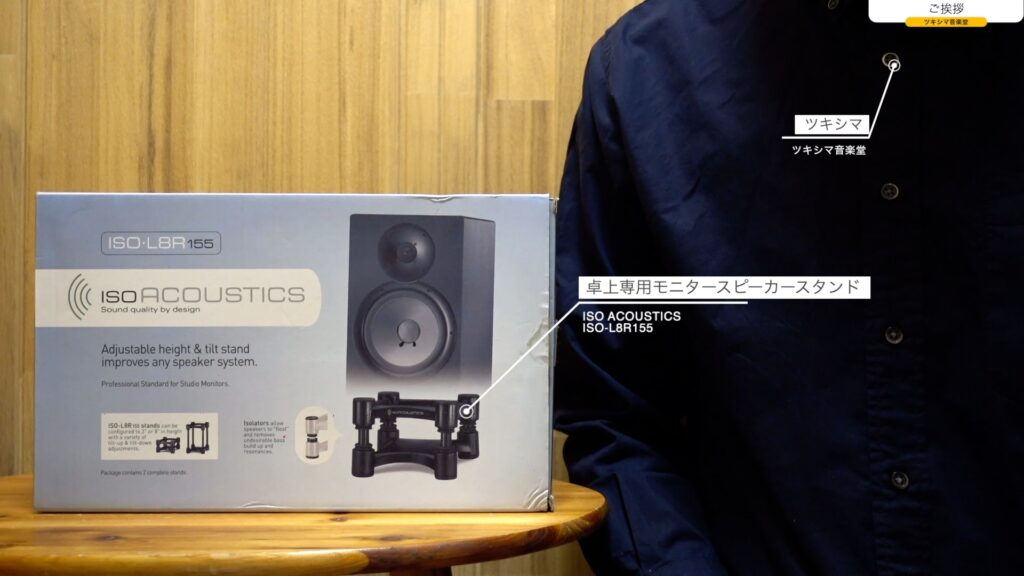
ご挨拶

ツキシマ
こんにちは、ツキシマです。
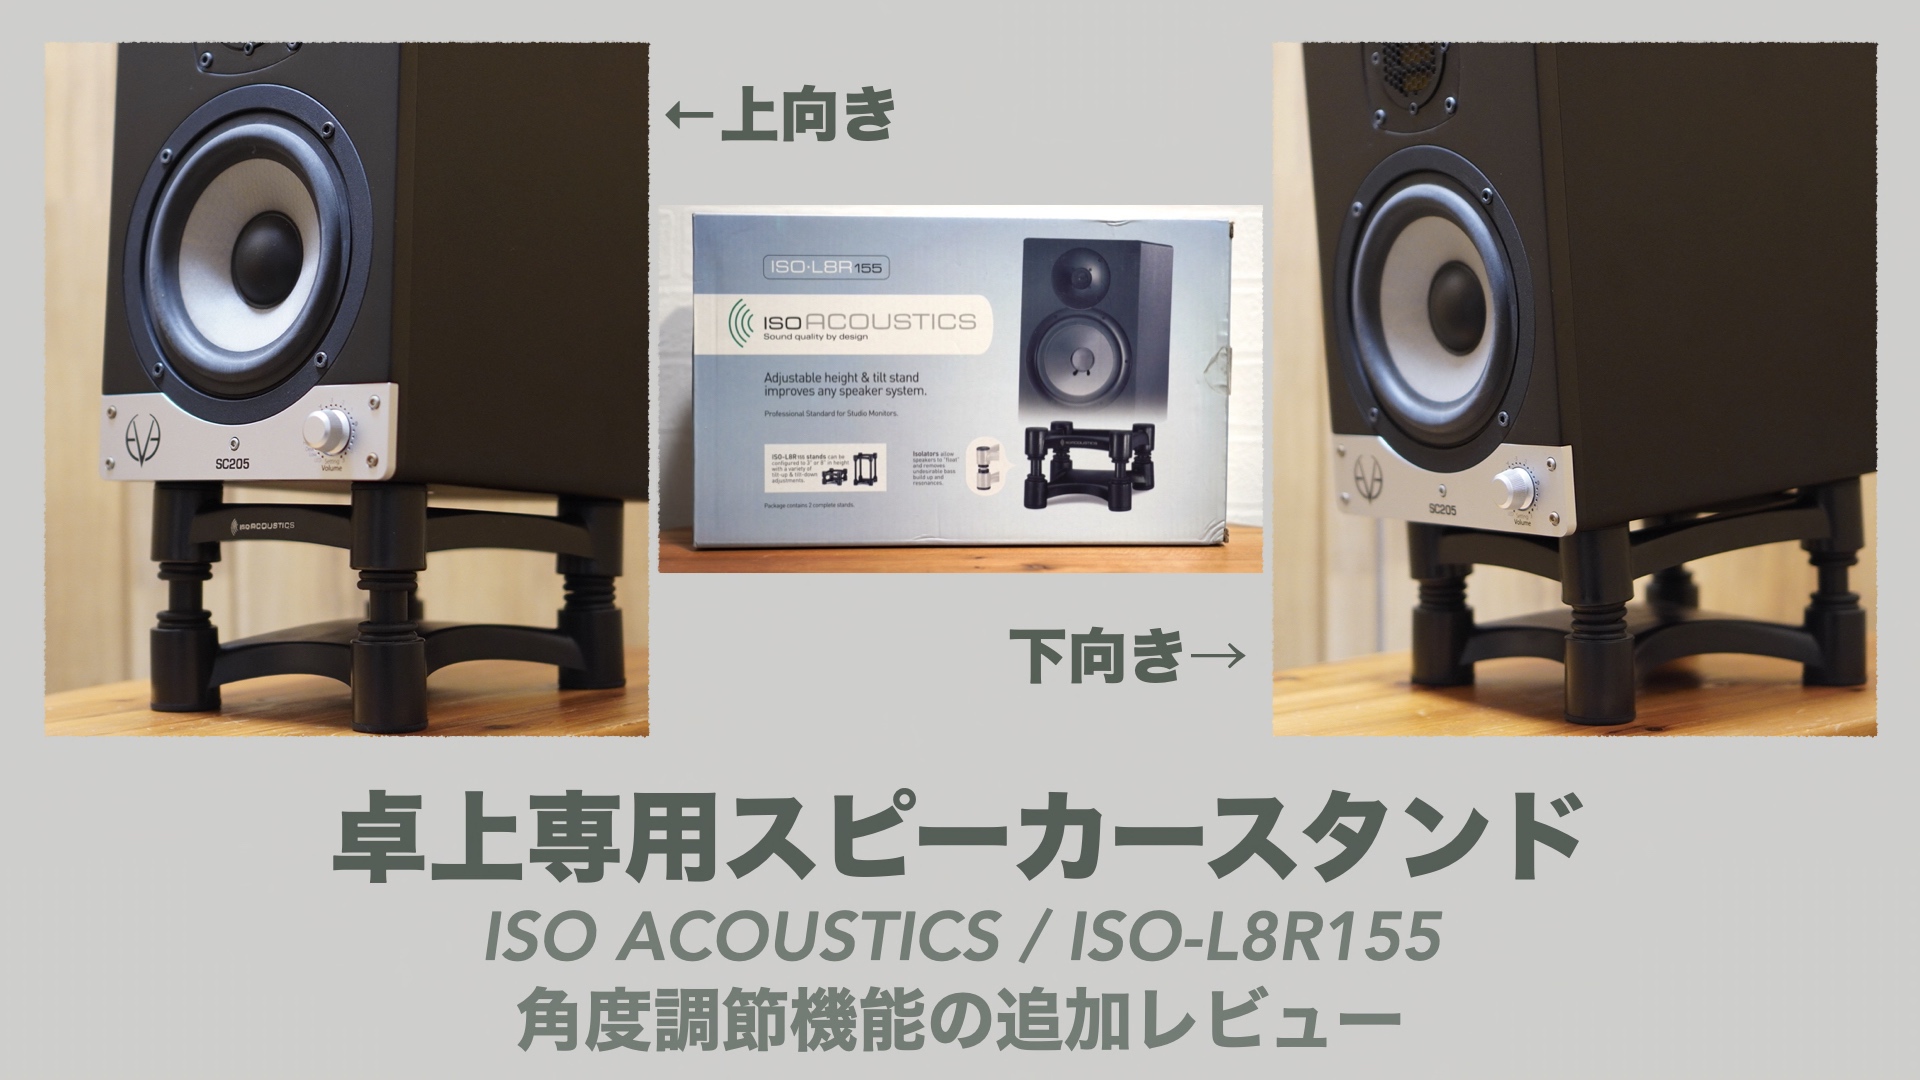
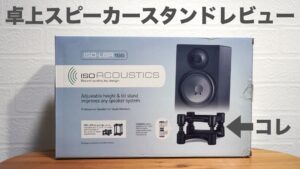
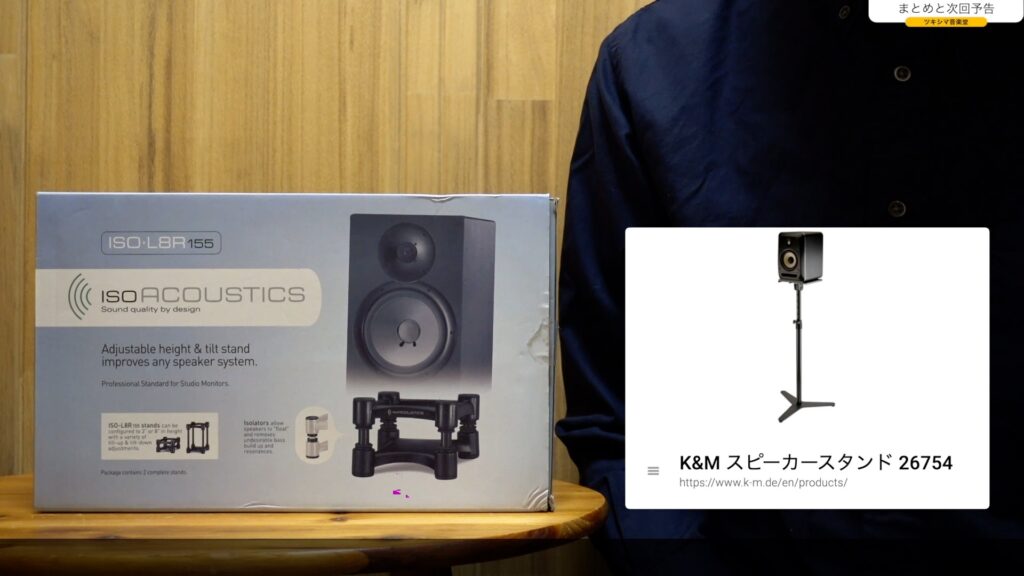
今回は、以前レビューした卓上専用モニタースピーカースタンド「ISO ACOUSTICS」社の「ISO-L8R155」の、追加レビューになります。
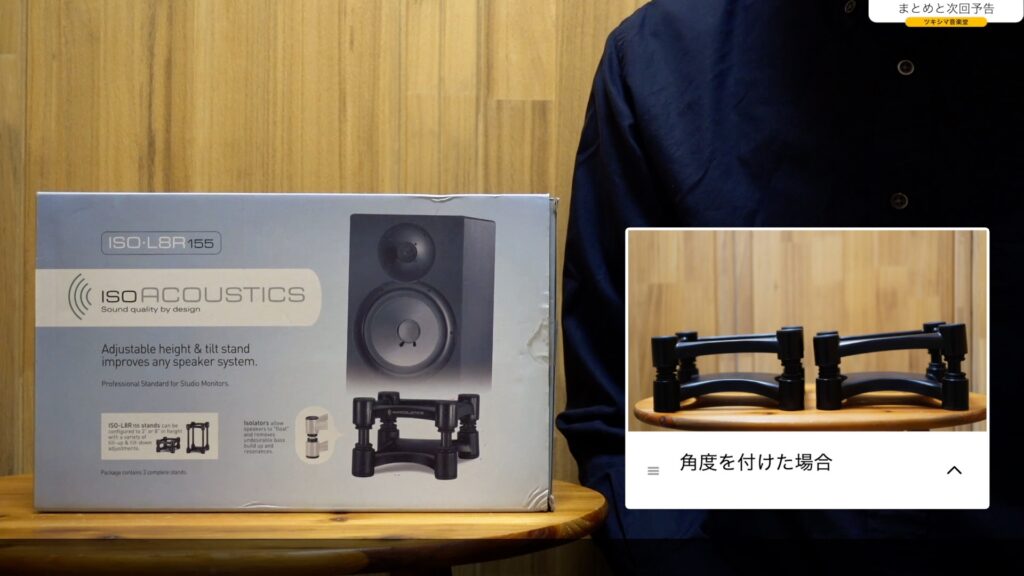
このスタンドには正面を向くだけではなく、少しですが角度を調節できる機能があります。角度をつけるとどうなるのか、みていきたいと思います。
以前のレビュー記事↓
ツキシマ
それでは、角度を変えるパーツから確認していきたいと思います。
パーツの確認
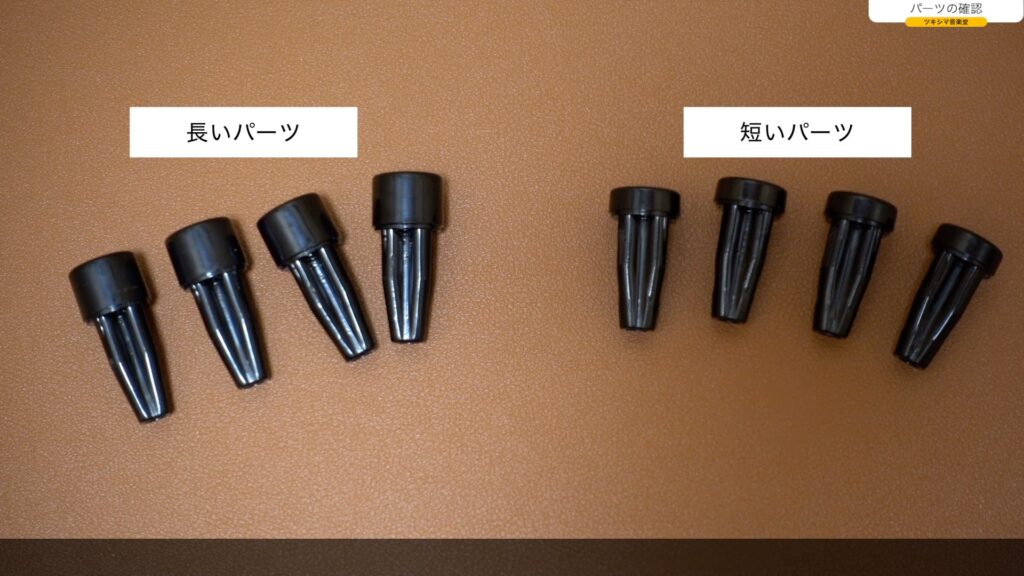
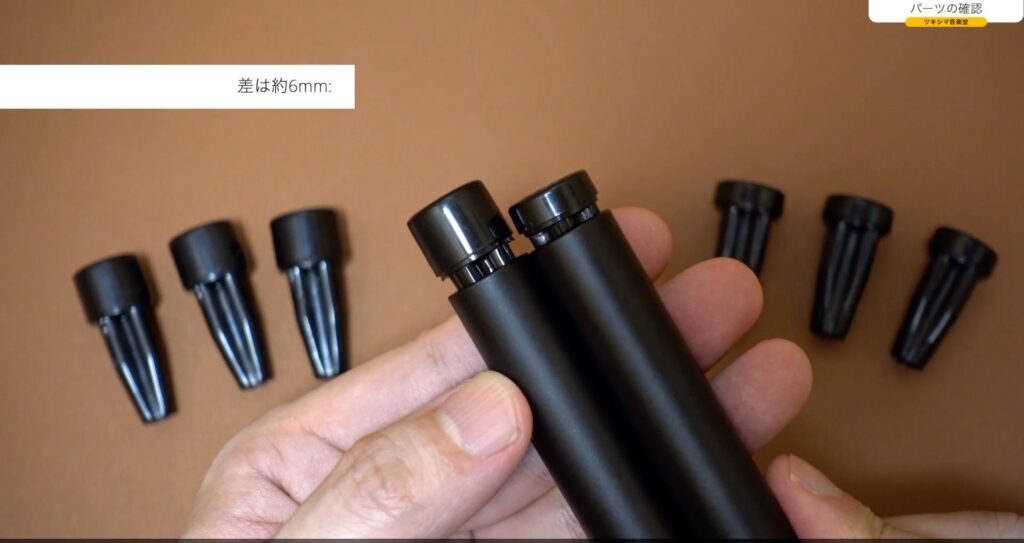
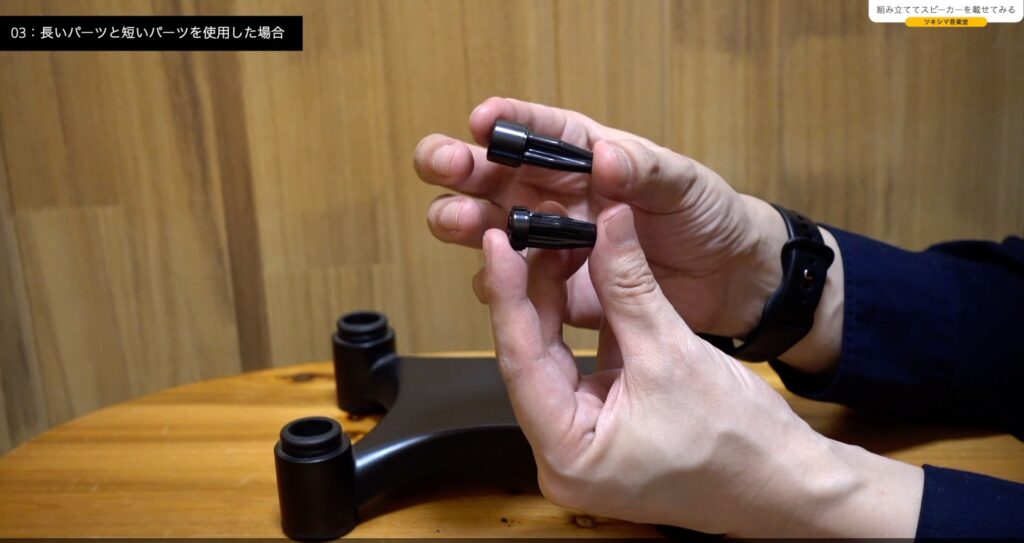
下画像は、スタンドの角度を調節するためのパーツです。長いパーツと短いパーツが各2個ずつ、左右スピーカー分「2セット」あります。これらのパーツを使用することにより、スタンドに角度をつけることが出来ます。
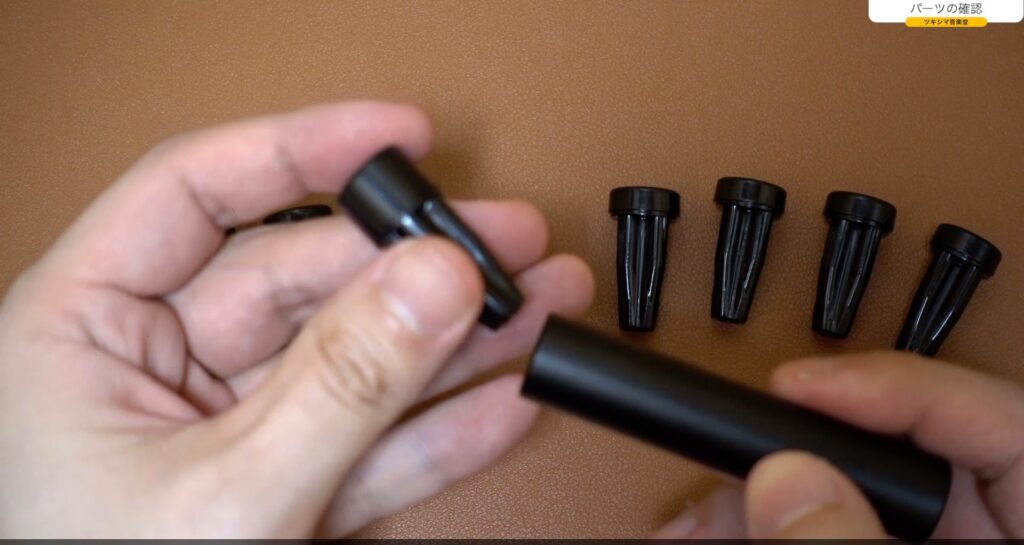
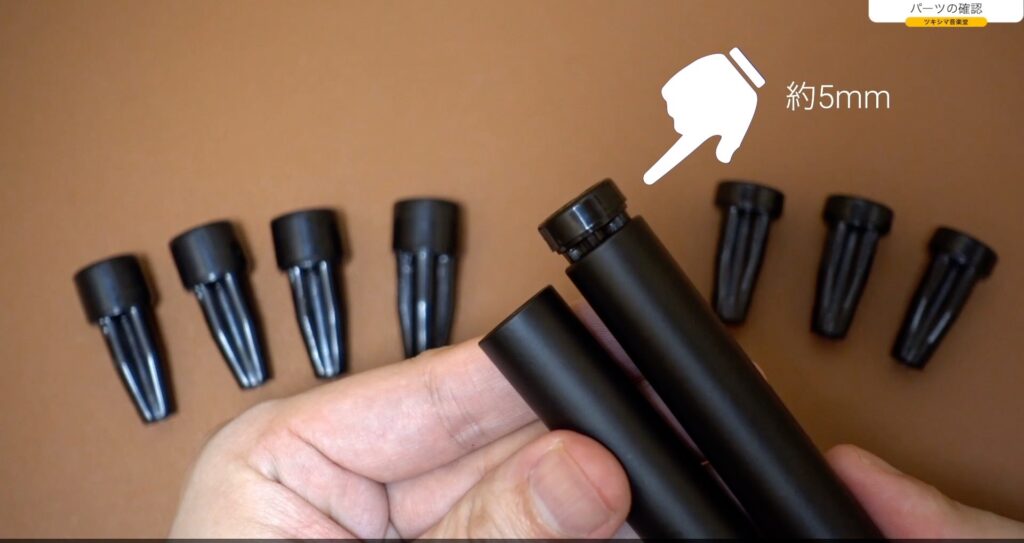
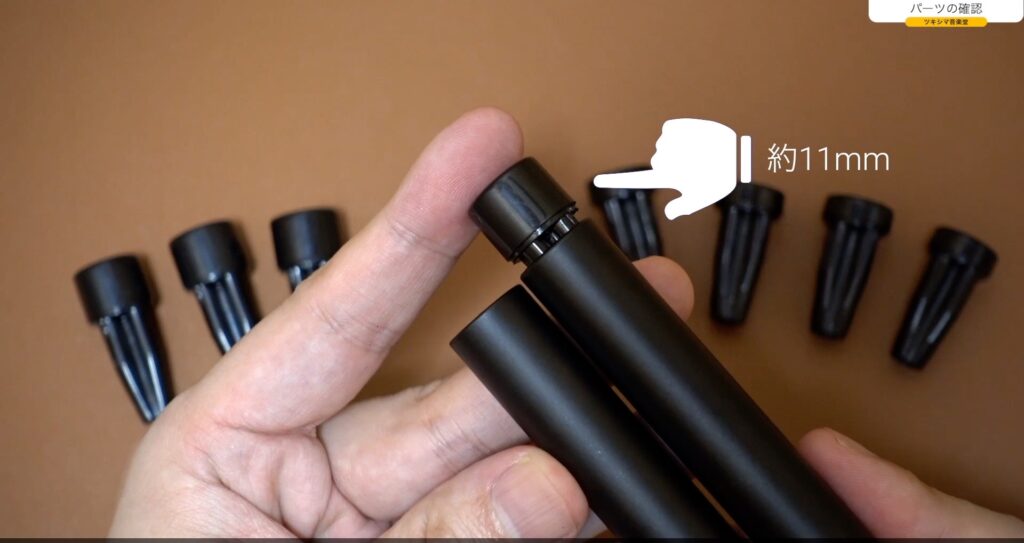
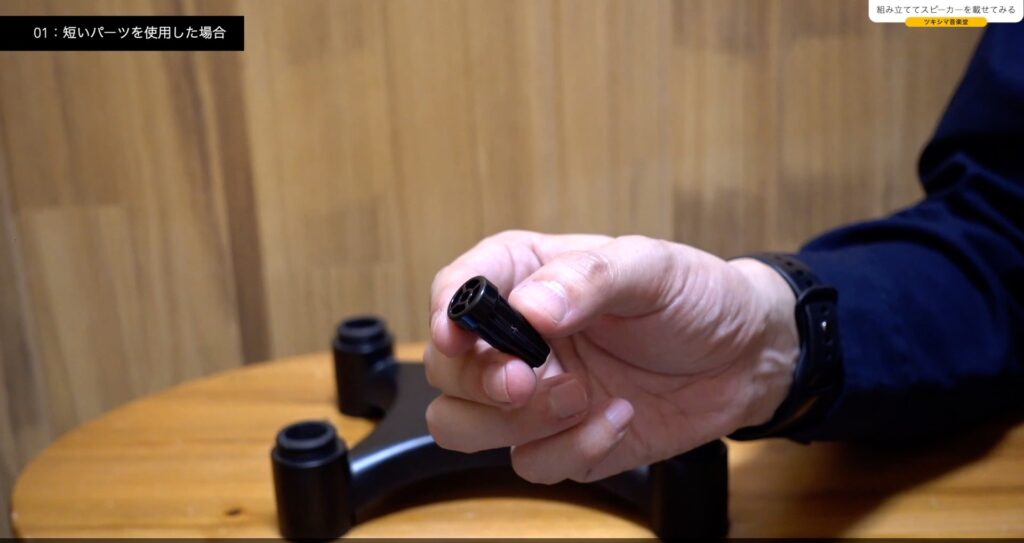
パーツを使うときは、細くなっている部分を支柱パーツに差し込んで、支柱の長さを変えます。
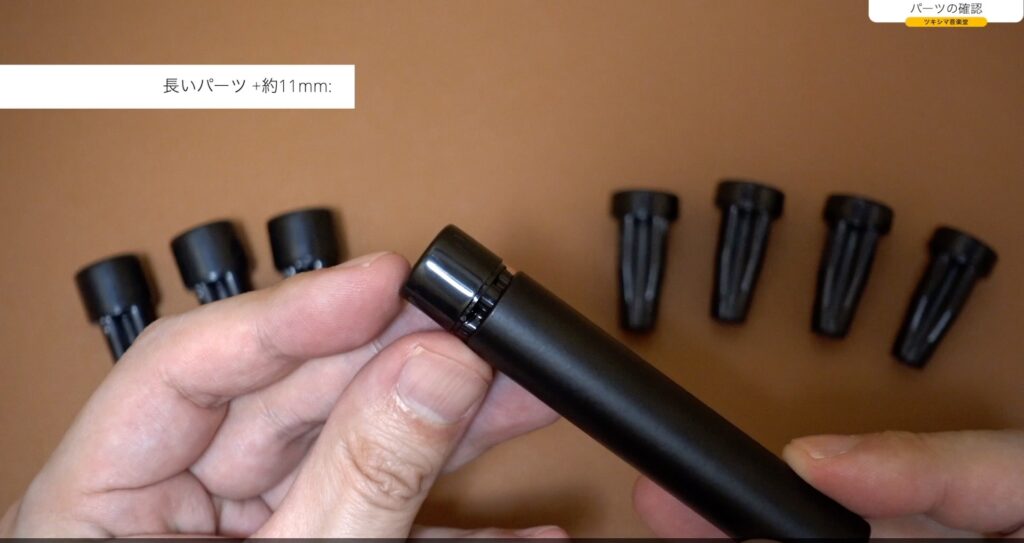
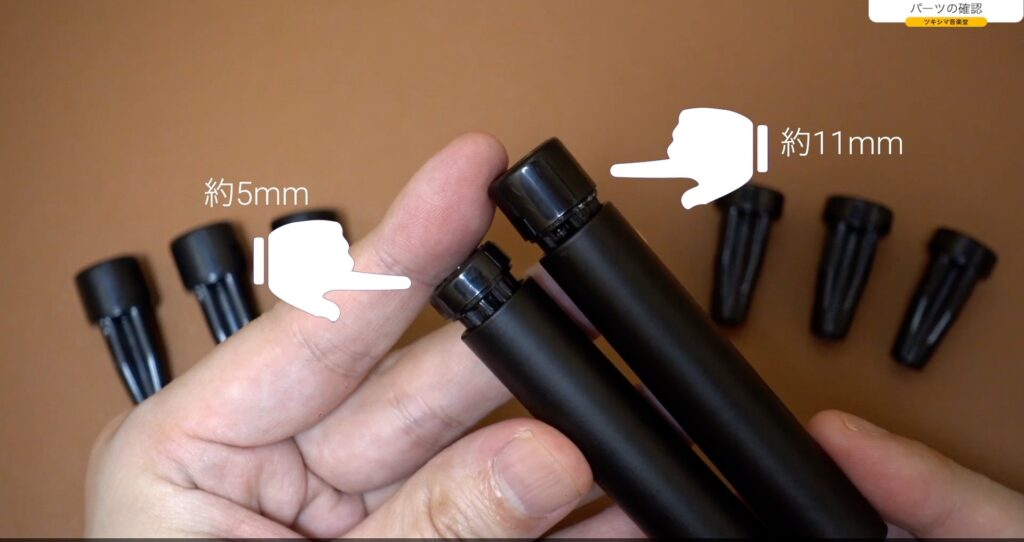
長い方のパーツを使うと、約11mm長くなります。
短い方のパーツを使うと、約5mm長くなります。

長いパーツと短いパーツで、下の画像くらい差がでます。(約6mm)
これらのパーツを組み合わせて、3つのパターンでスタンドを組み上げることが出来ます。
1.短いパーツを2つだけ使い、残り2つの支柱は延長パーツを使わない場合
2.長いパーツを2つだけ使い、残り2つの支柱は延長パーツを使わない場合
3.長いパーツと短いパーツを使い、高さを出しつつ上か下に向ける場合
以上のパターンが考えられます。
ツキシマ
次はそれぞれのパーツを使用して、スタンドを組み立てて実際にスピーカーを載せてみたいと思います。
スタンドを組み立ててスピーカーを載せてみる
短いパーツを使用した場合
短いパーツを使用して、スタンドを組み立てます。
台座に支柱を挿していきます。
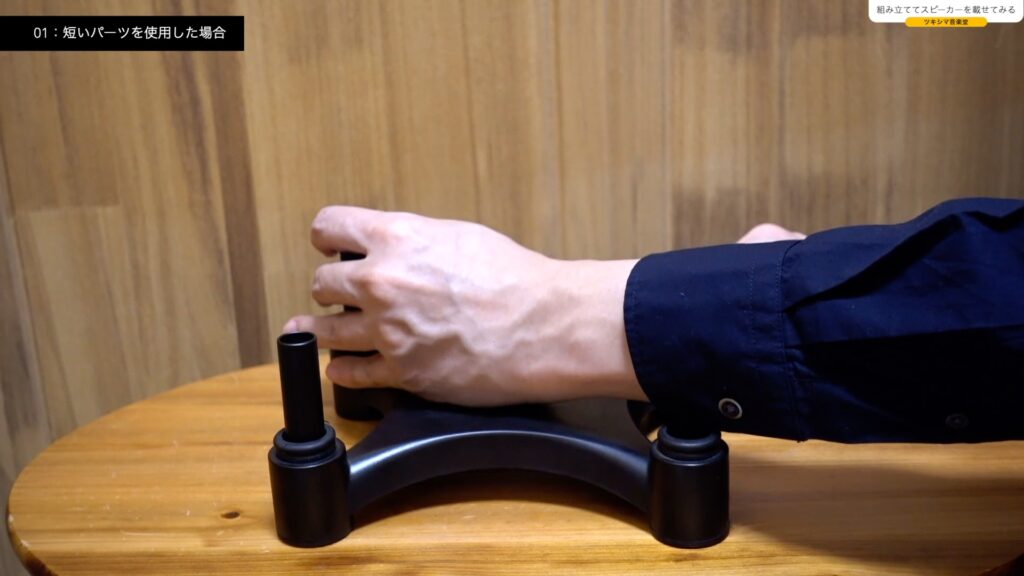
支柱の先端に、短いパーツをセットします。
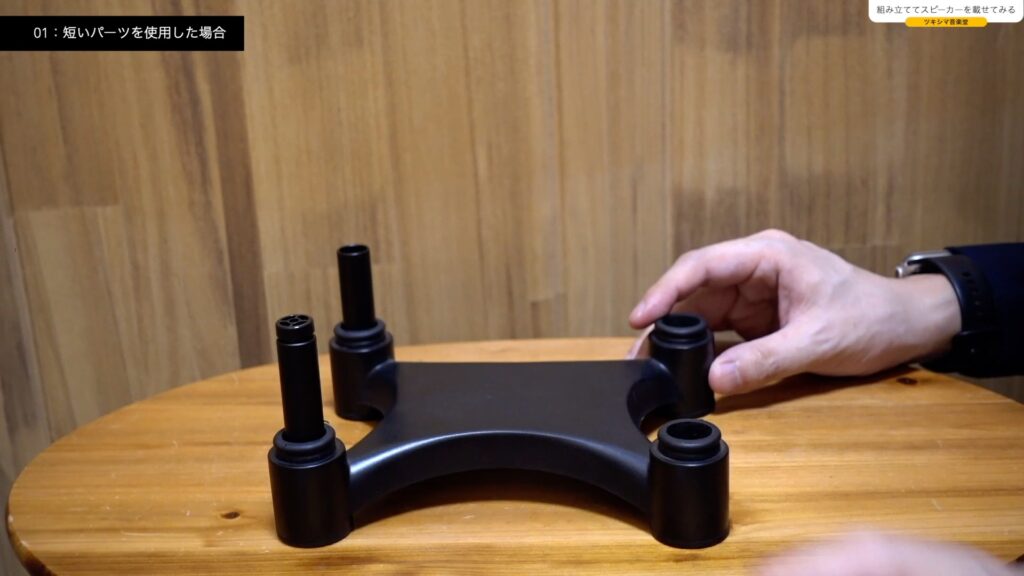
支柱パーツをあと2本さして、上面のパーツをセットします。
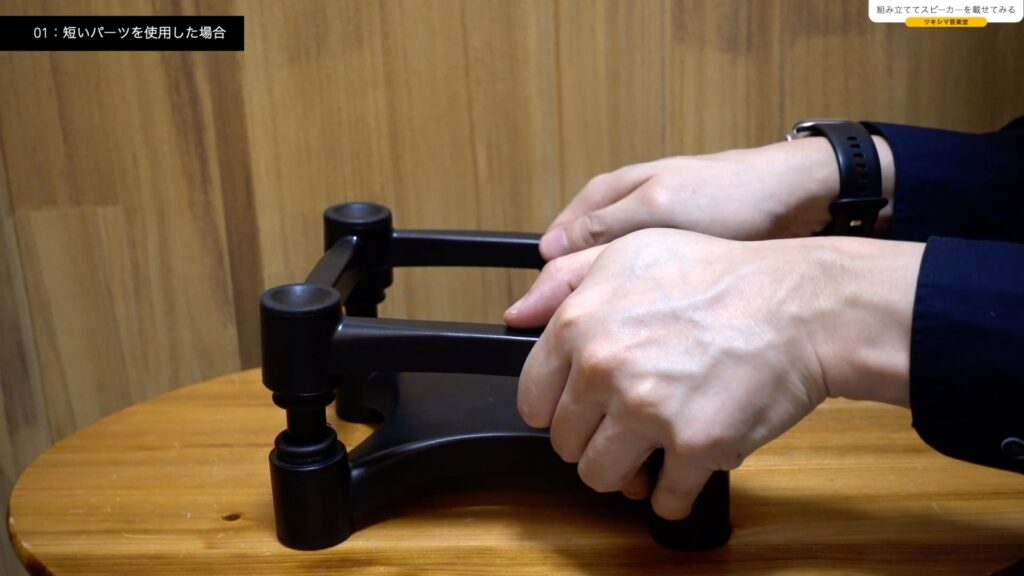
組み立てが出来ました。
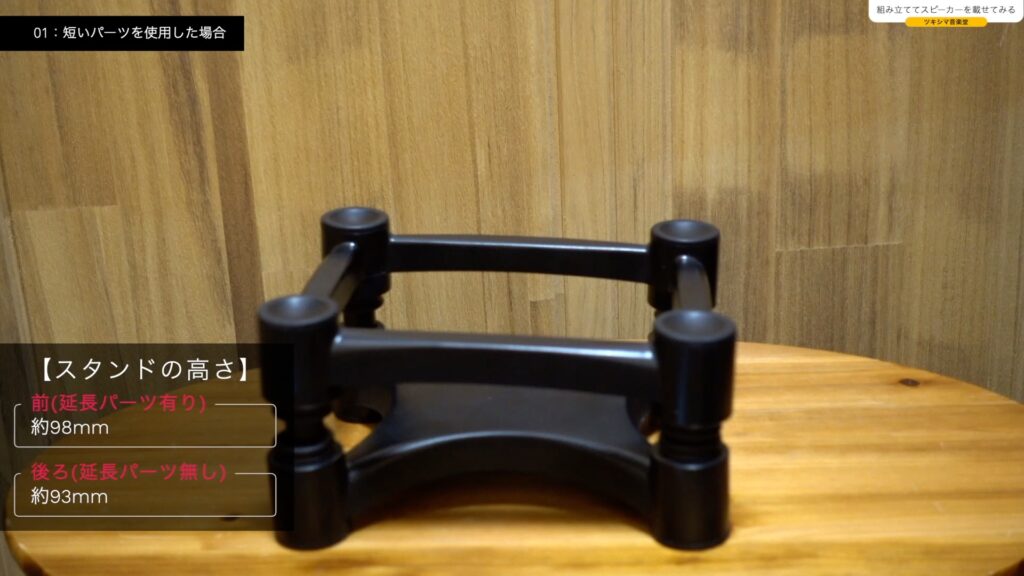
| 項目 | 数値 |
|---|---|
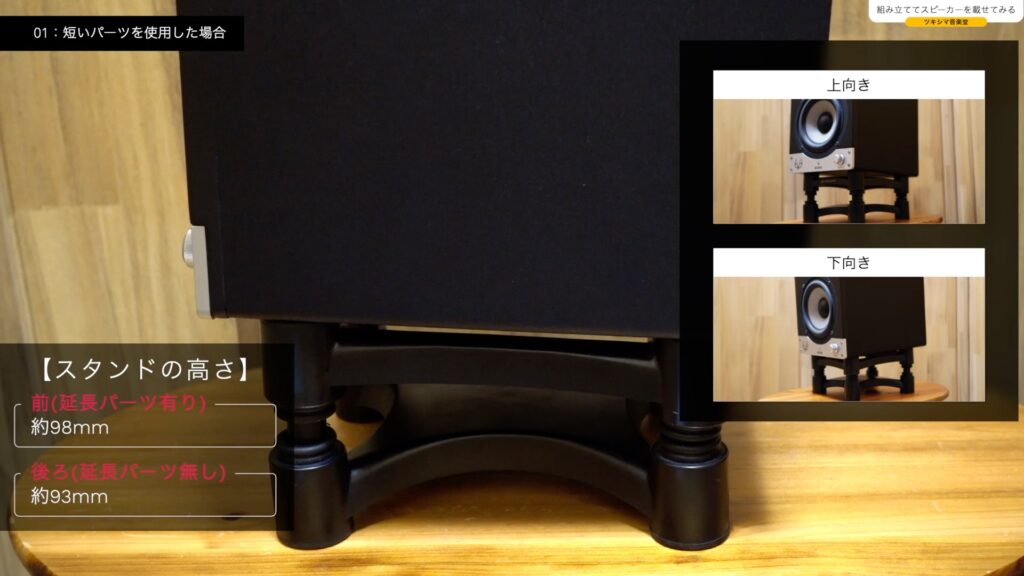
| 前(延長パーツ有り) | 約98mm |
| 後ろ(延長パーツ無し) | 約93mm |
スピーカーを載せてみると、下画像のように、高さに違いが出ています。また、スピーカーを下に向けたい場合は、スタンドを反対側にして設置します。
長いパーツを使用した場合
長いパーツを使用して、スタンドを組み立ててみたいと思います。

同じように組み立てていきます。

出来ました。

| 項目 | 数値 |
|---|---|
| 前(延長パーツ有り) | 約104mm |
| 後ろ(延長パーツ無し) | 約93mm |
スピーカーを載せてみます。

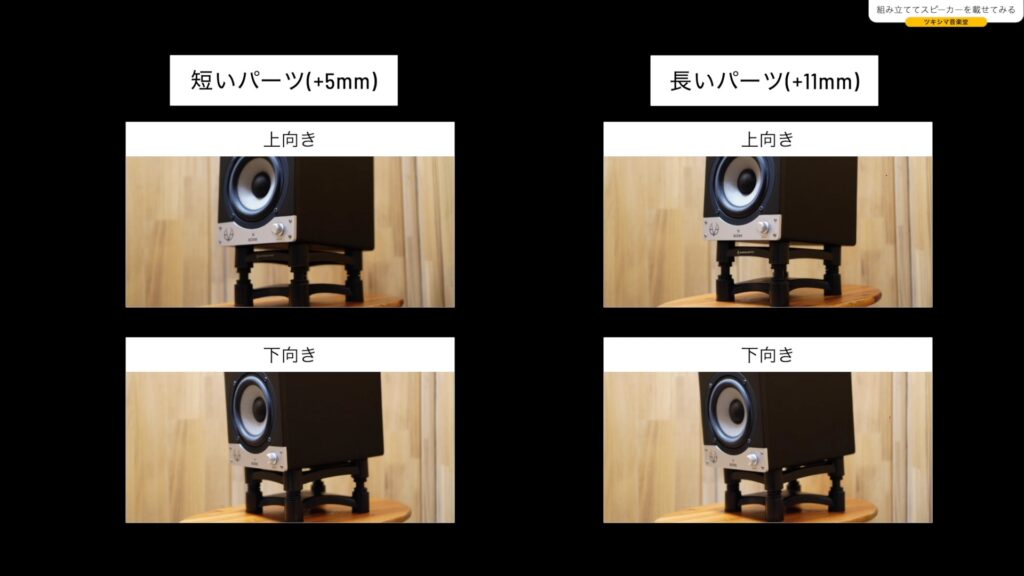
短いパーツと長いパーツを使用したときの比較画像です。
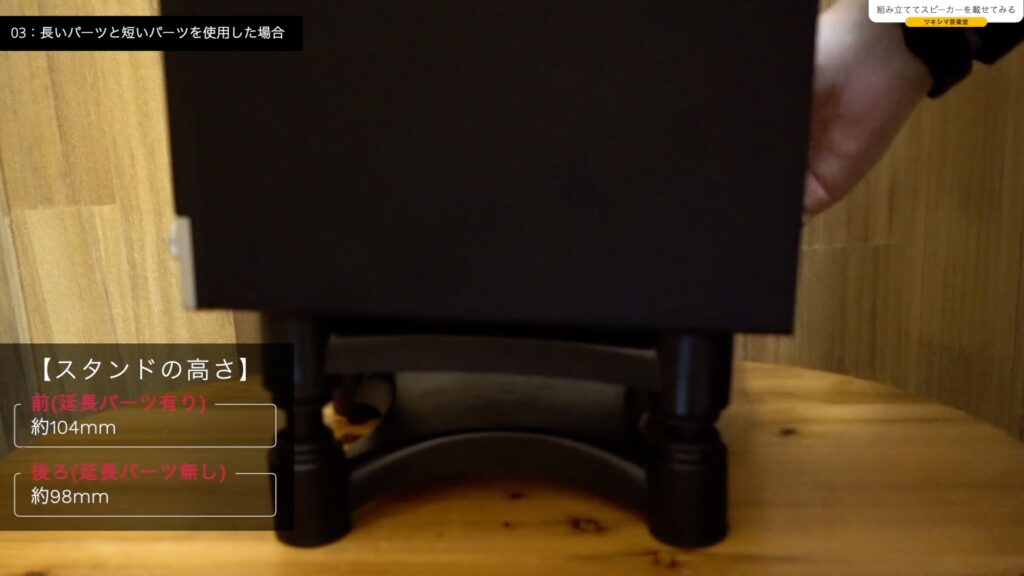
長いパーツと短いパーツを使用した場合
長いパーツと短いパーツを両方使用して、スタンドを組み立ててみます。
前側に長いパーツ。
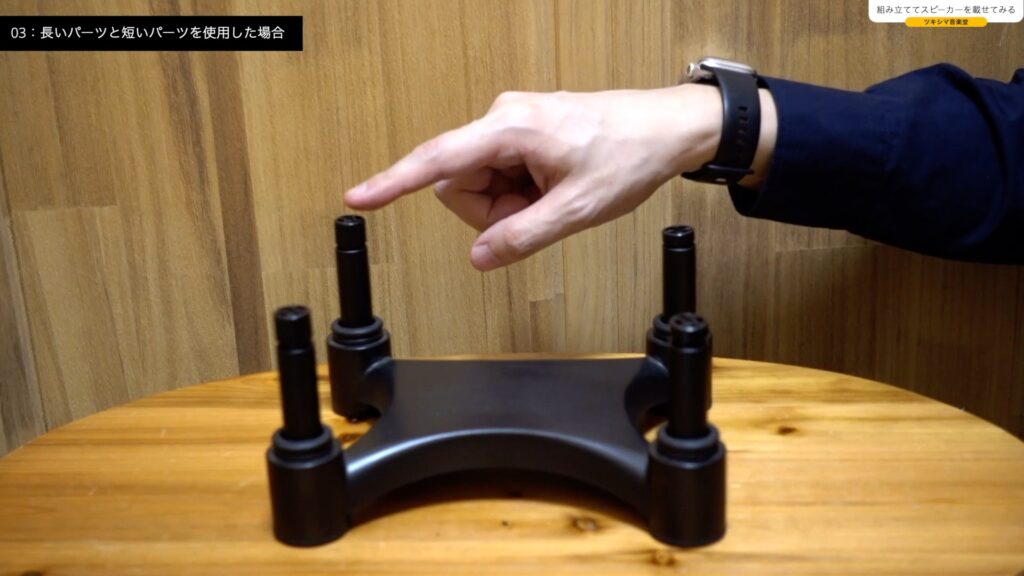
後ろ側に短いパーツを使用してみました。
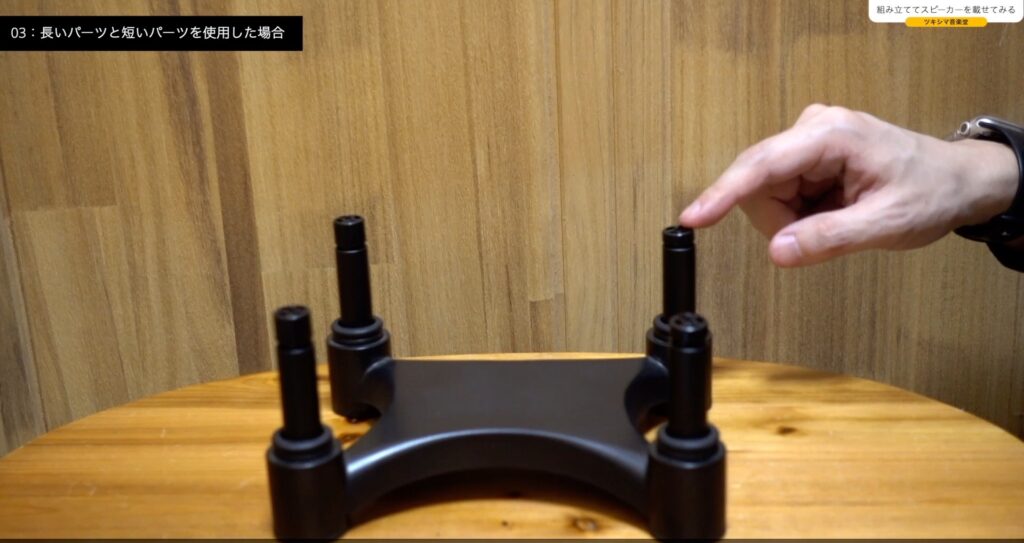
組み立てます。
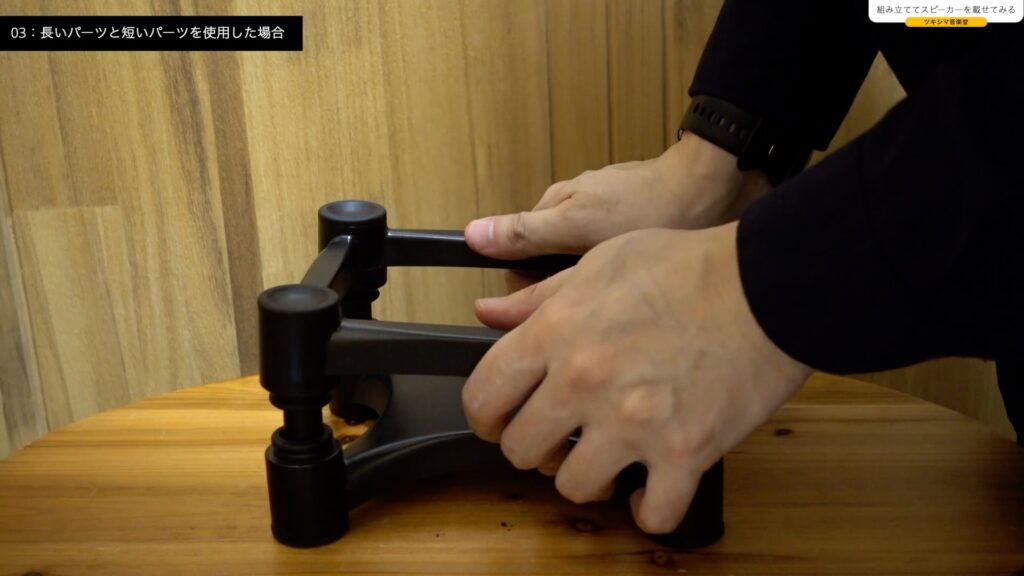
出来ました。高さを出しつつ角度を付けています。
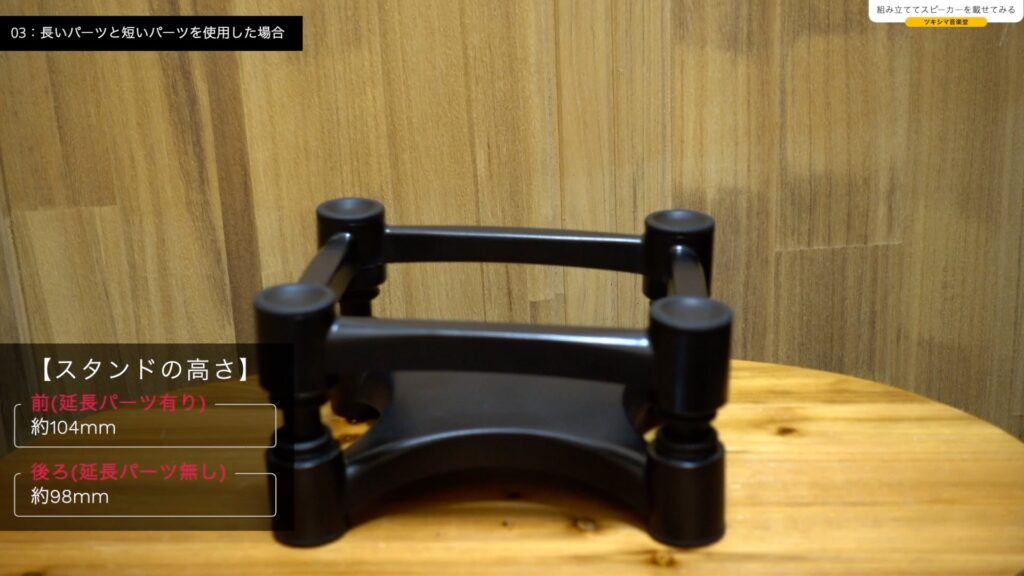
| 項目 | 数値 |
|---|---|
| 前(延長パーツ有り) | 約104mm |
| 後ろ(延長パーツ無し) | 約93mm |
スピーカーを載せてみると、下画像のような感じになります。
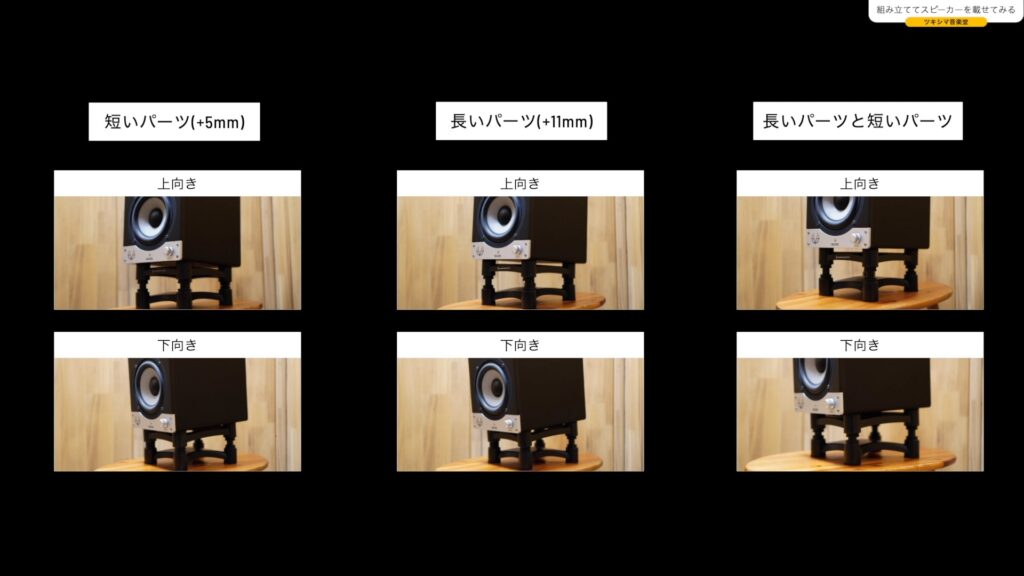
3つのパターンの比較画像です。それぞれのケースに合わせて組み合わせを変えつつ、スタンドを使用することが出来ます。
ツキシマ
次は、まとめと次回予告です。
まとめと次回予告
まとめ
このスタンドを使用すると、耳の位置に合わせていくつかのパターンの中から、スタンドの高さや向きを変えることか出来ます。
また長い支柱を使用している場合は、角度をつけ過ぎると、倒れるリスクが出てきて危険な感じがします。
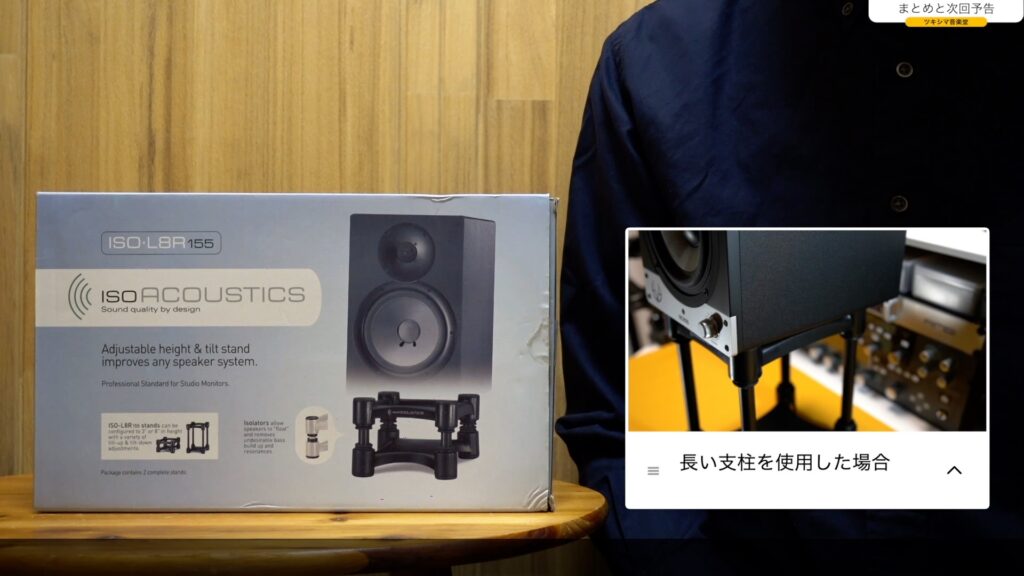
そういった場合は高さ調整できる、床に置くタイプのスピーカースタンドを検討した方が安全だと思います。
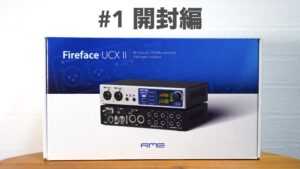
次回予告
次回音楽堂では、音楽制作のメインで使用している「RME FIREFACE UCX」を新しいものに買い替えましたので、開封レビューをしたいと思います。オーディオインターフェイスを買い替えるのは9年か10年ぶりです。
また次回の動画やブログ記事を観て頂けたら嬉しいです。

次回のブログ記事↓
ツキシマ
それでは、最後までご視聴ありがとうございました。