ご挨拶

ツキシマ
こんにちは、ツキシマです。
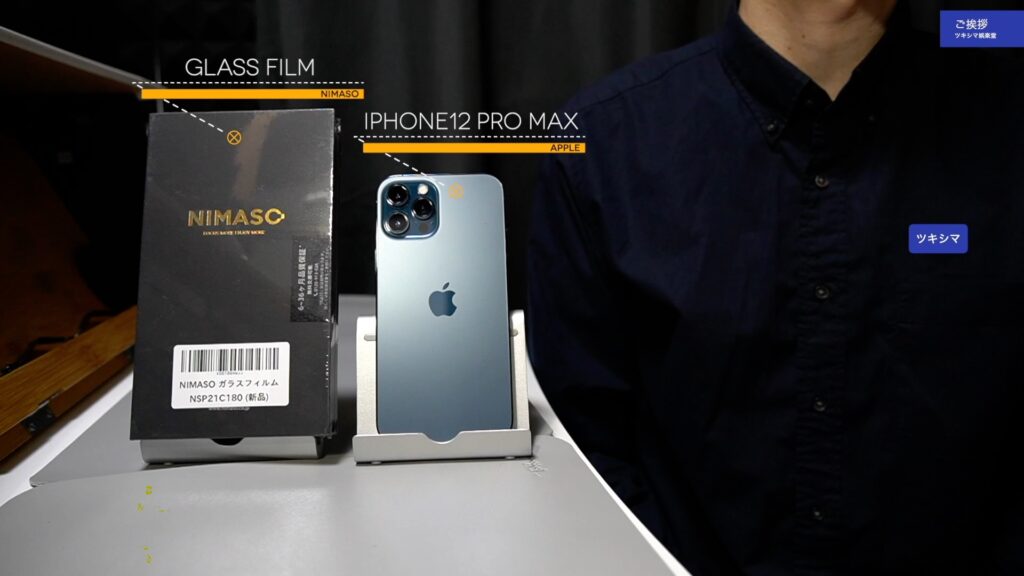
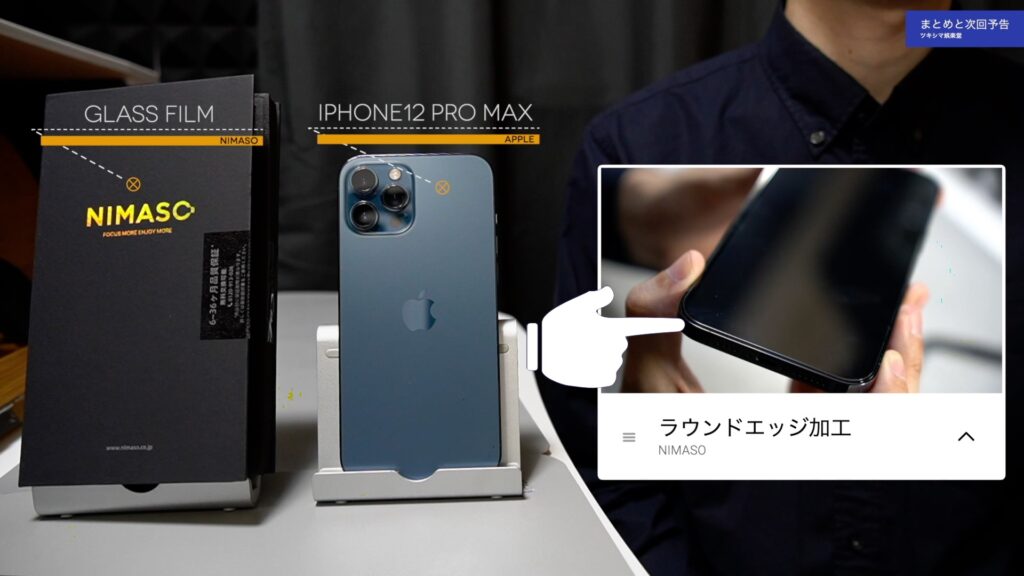
「iPhone12 Pro Max」用に、「NIMASO」の液晶保護ガラスを購入しました。
以前使用していた下画像の黄色いケースは、液晶面も含めた全面をカバーするケースです。そのために、「iPhone12 Pro Max」を購入時に、貼り付けた液晶保護ガラスを剥がして使用していました。
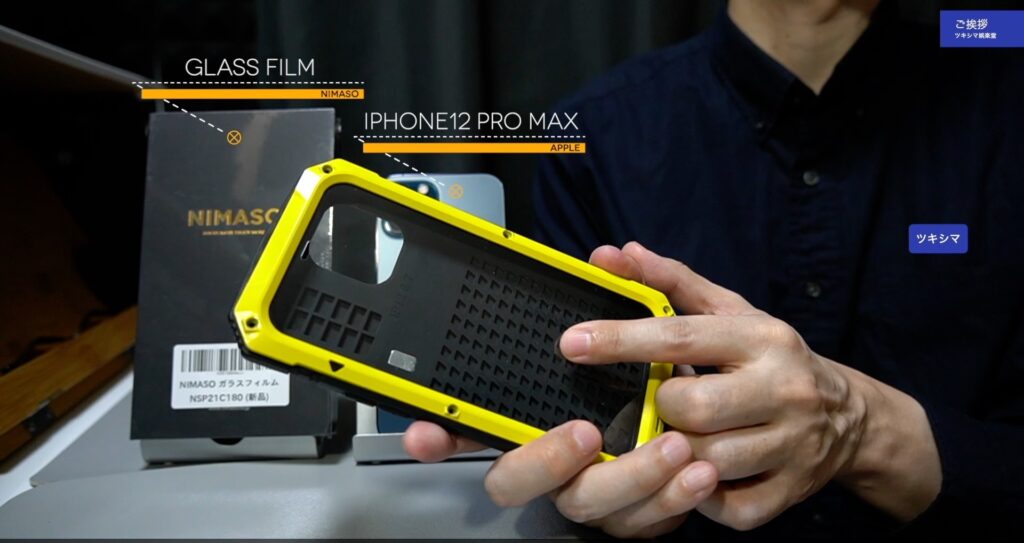
アルミケースのブログ記事↓
今後は、また別のTPUケースを使用するつもりですので、今回はiPhone12 Pro Maxに、新しく液晶保護ガラスを貼り付けていきたいと思います。
ツキシマ
それでは、開封していきたいと思います。
開封と内容物の確認
開封
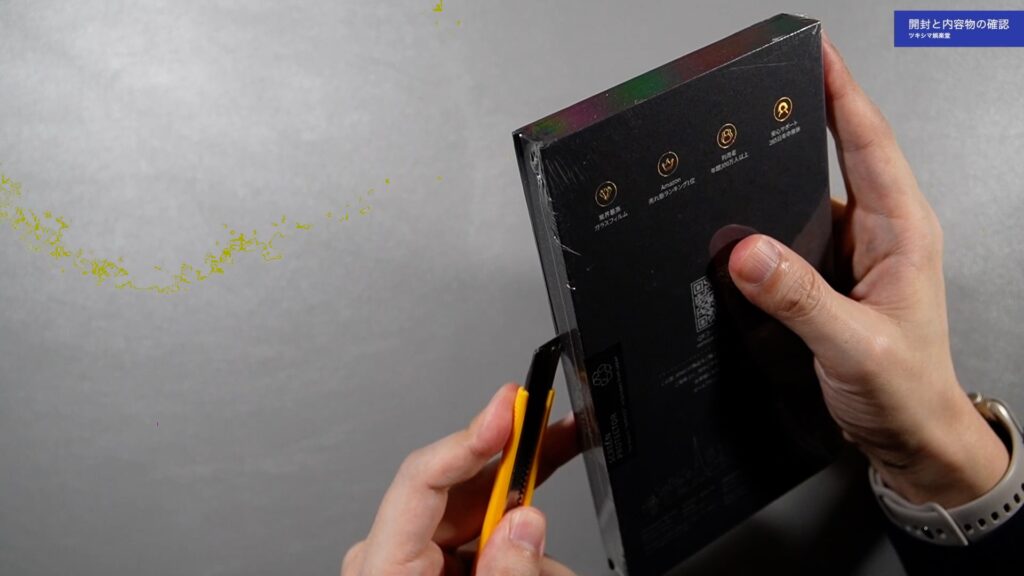
パッケージは、黒色でクールなデザインです。

カッターでビニールに切れ込みを入れます。
フタを開けると、下画像のような感じで内容物が入っています。
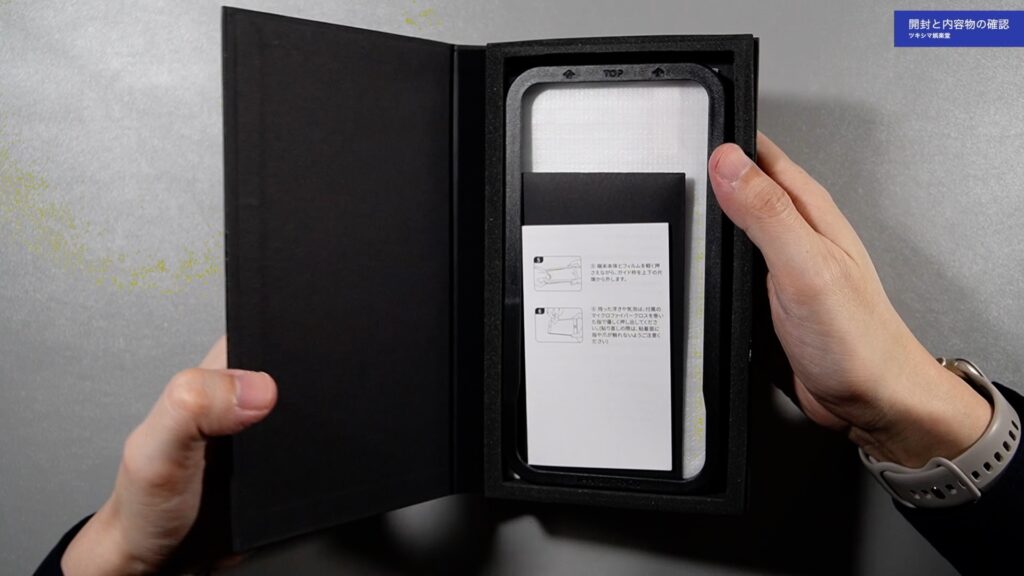
内容物の確認
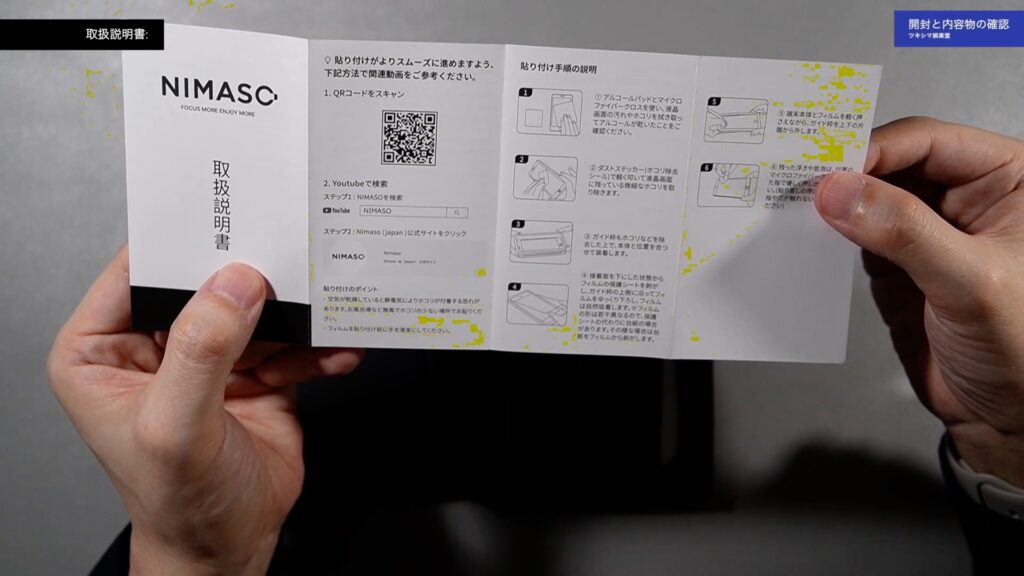
まず取扱説明書です。
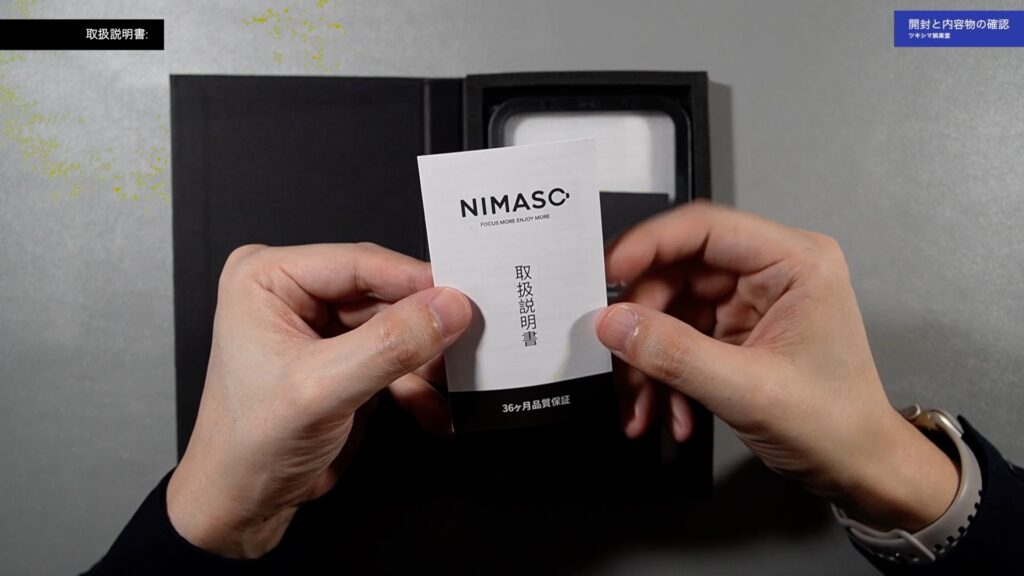
日本語に対応しています。
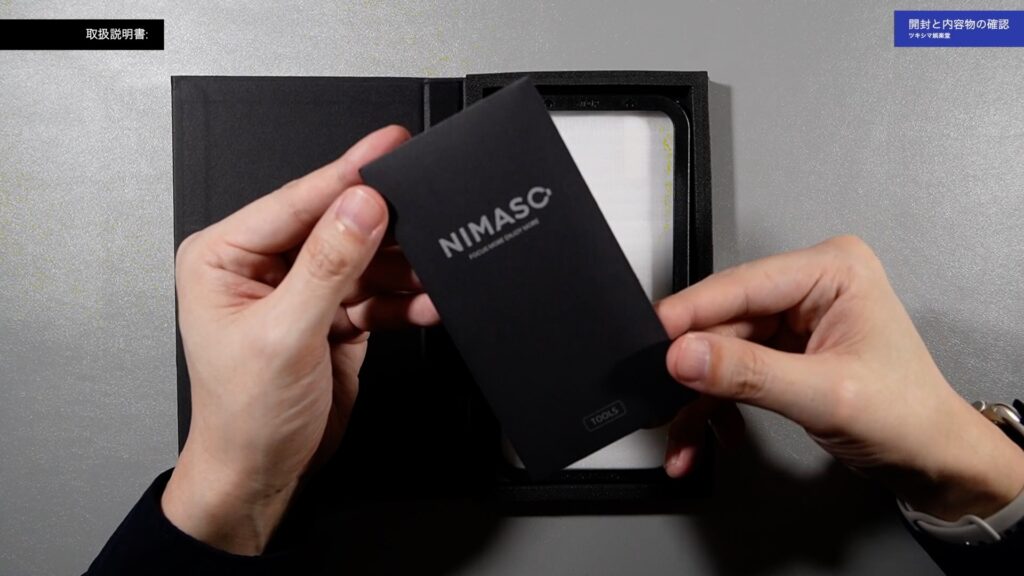
「TOOLS」という袋です。
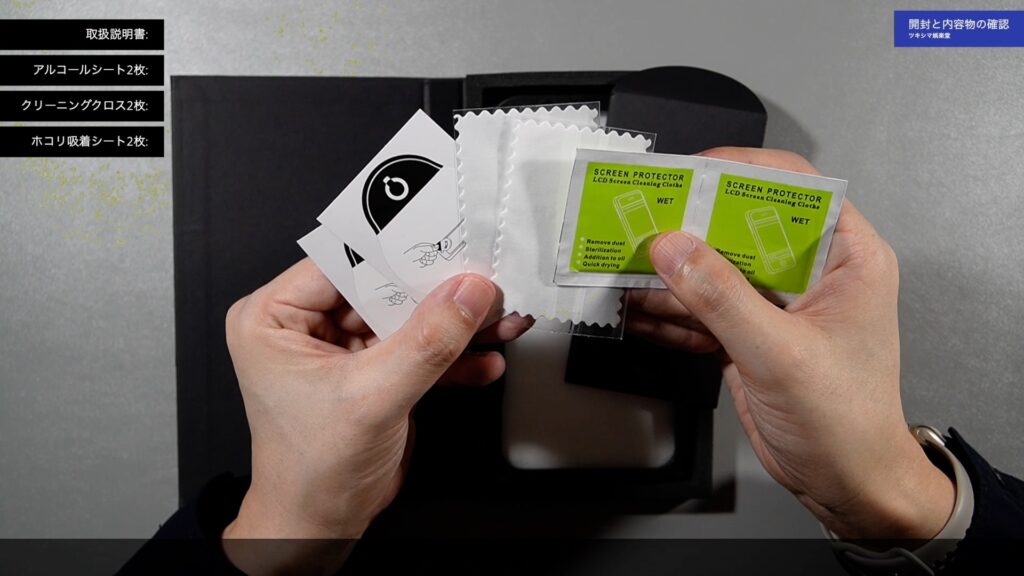
「アルコールシート・クリーニングクロス・ホコリ吸着シート」が各2枚入っています。
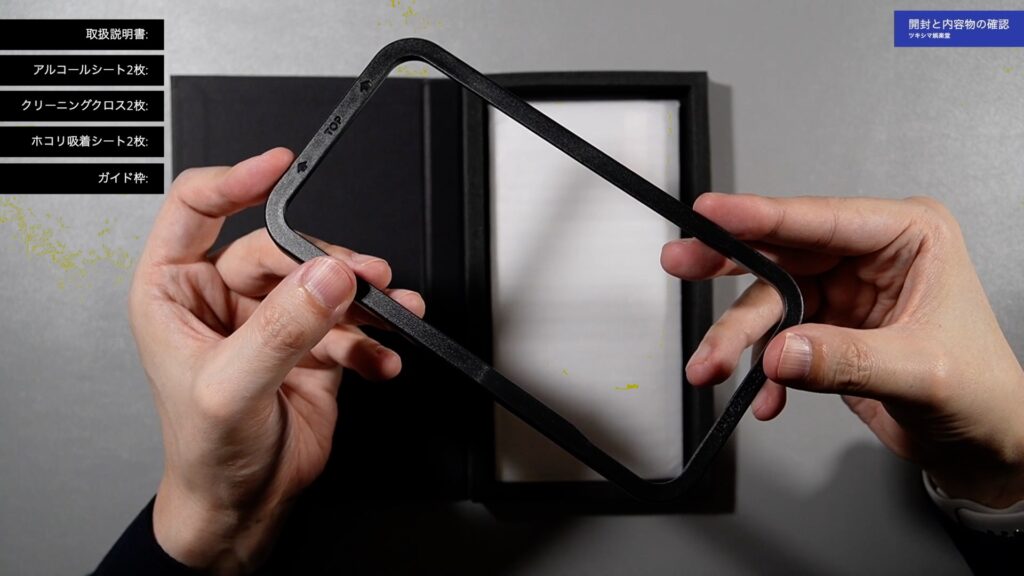
ガイド枠です。
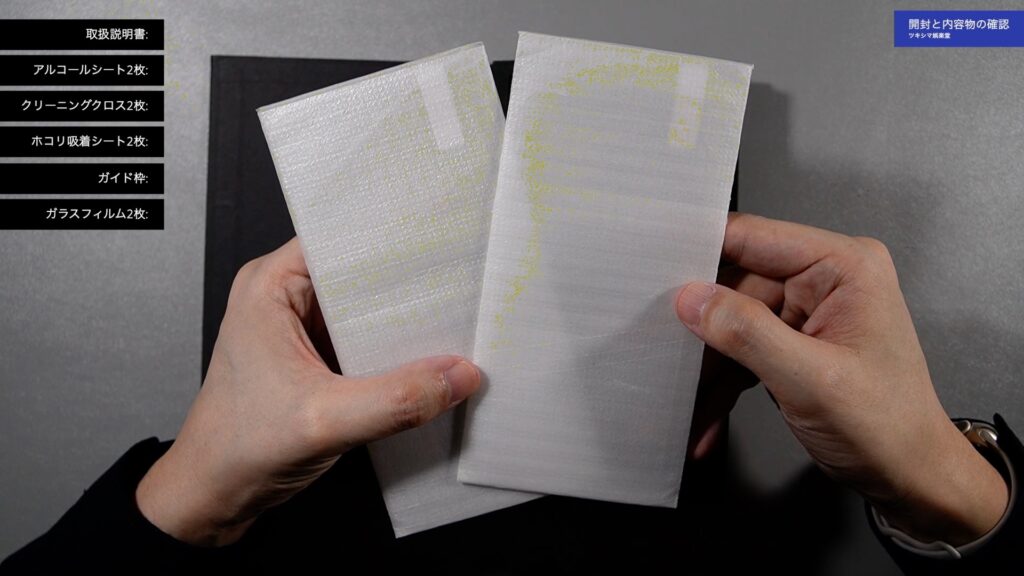
液晶用のガラスフィルムが2枚です。
内容物は以上になります。
- ガラスフィルム2枚
- ガイド枠
- アルコールシート
- ホコリ吸着シート
- クリーニングクロス
- 日本語取扱説明書
ツキシマ
次は、液晶保護ガラスを実際に貼り付けていきたいと思います。
液晶保護ガラス貼り付け
貼り付け
Step 1: iPhoneの画面をクリーニングする
アルコールシートで拭いた後に、クリーニングクロスで水分を拭き取ります。
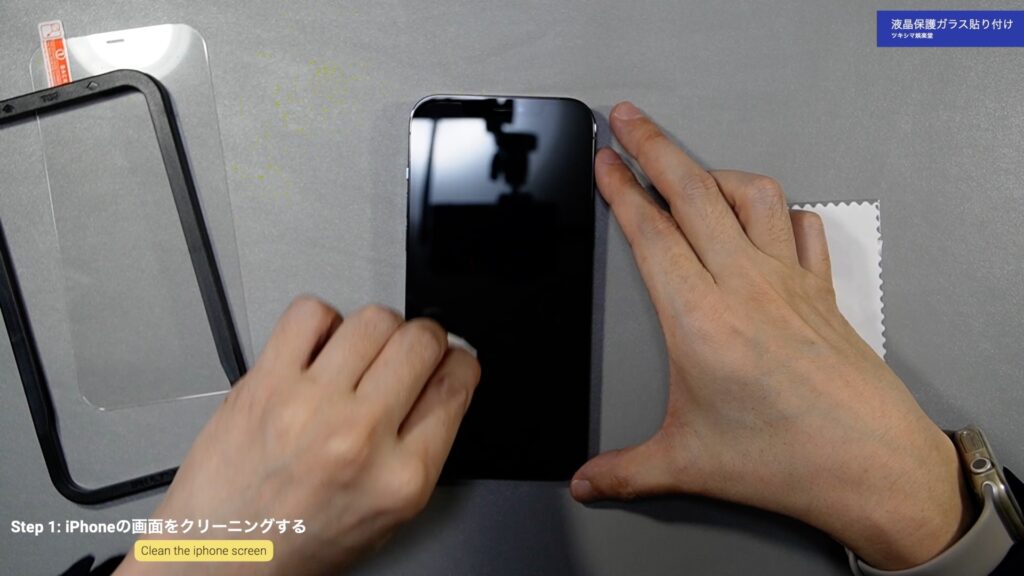
ホコリ吸着シートで、液晶面のホコリを取り除きます。

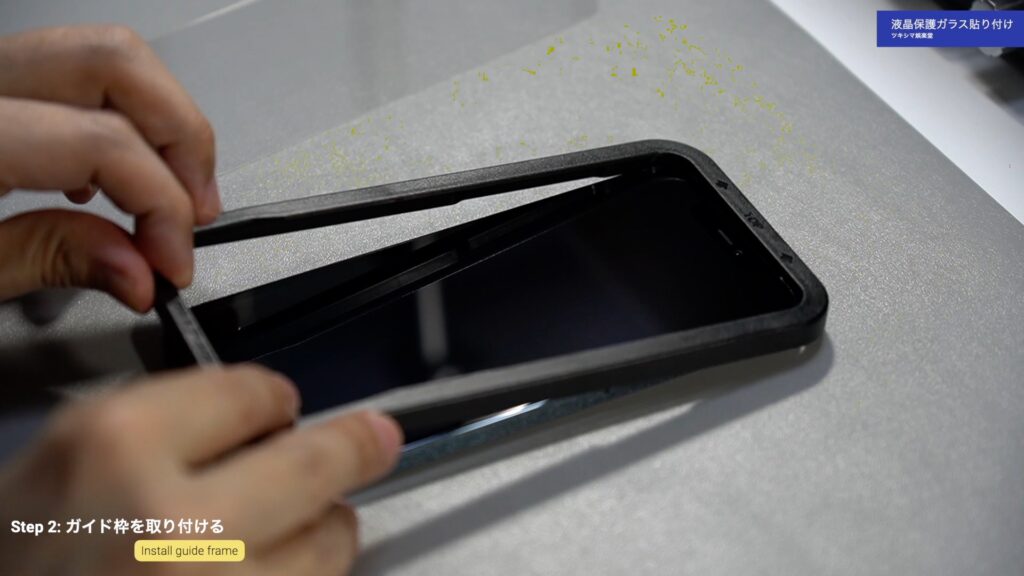
Step 2: ガイド枠を取り付ける
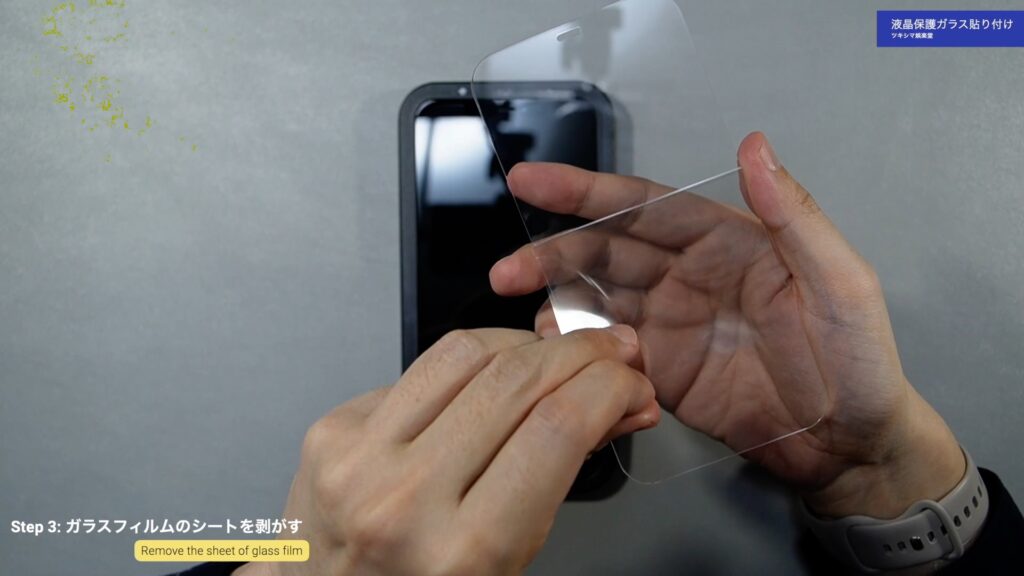
Step 3: ガラスフィルムのシートを剥がす
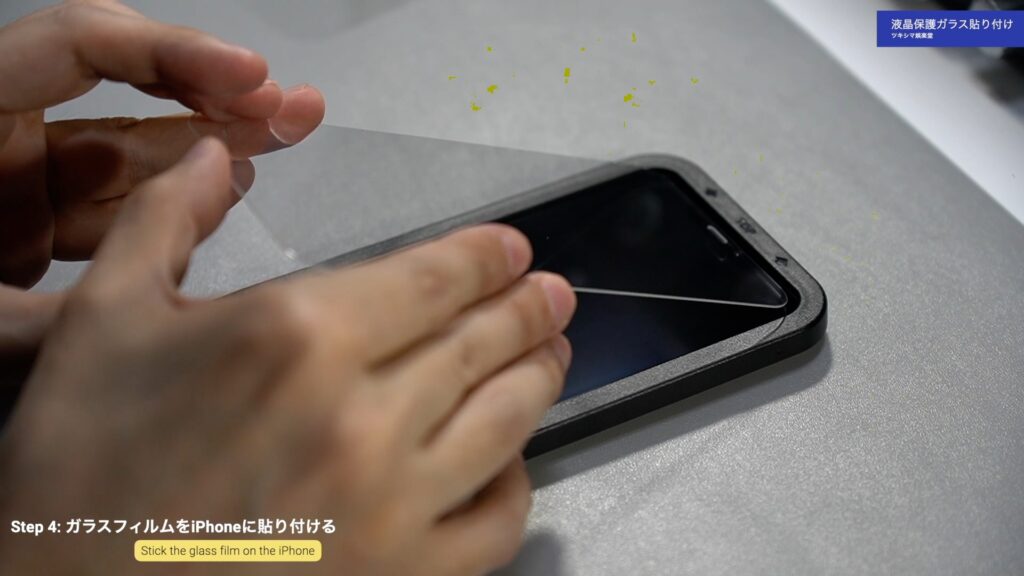
Step 4: ガラスフィルムをiPhoneに貼り付ける
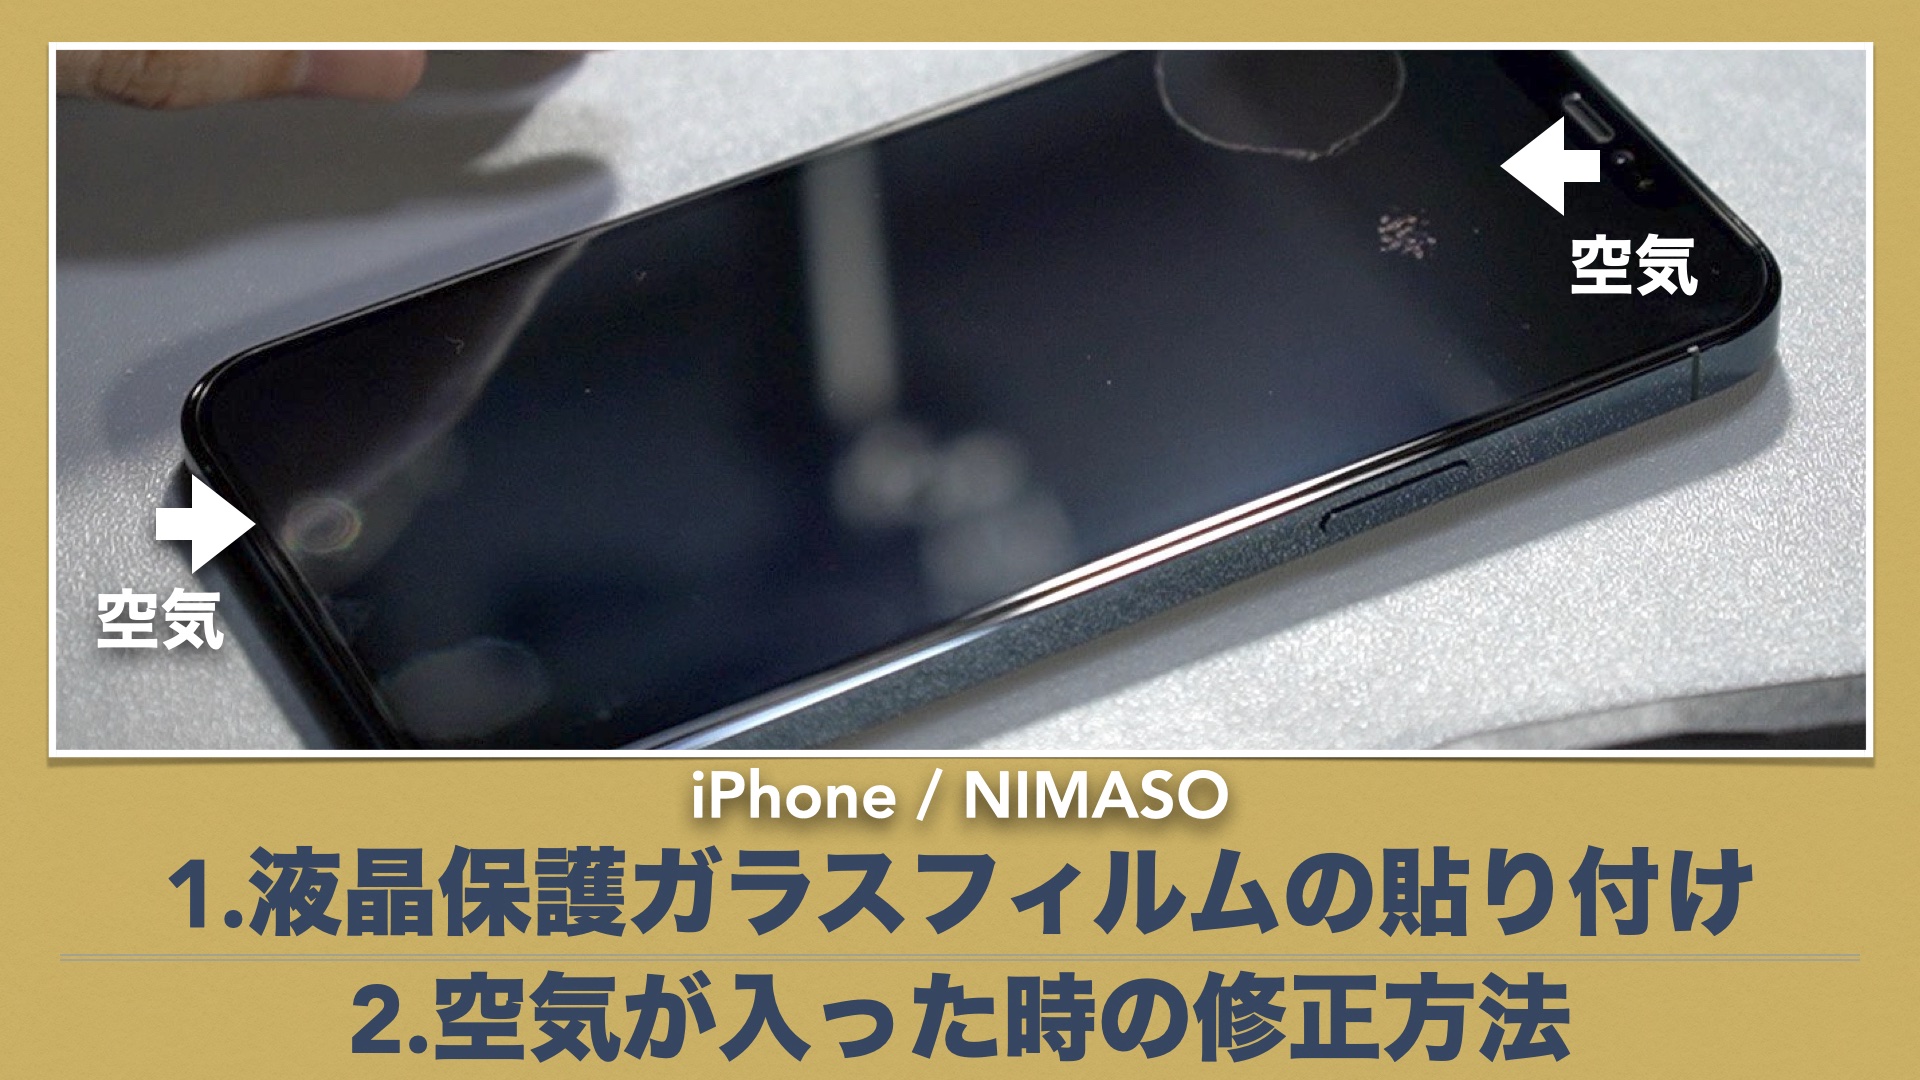
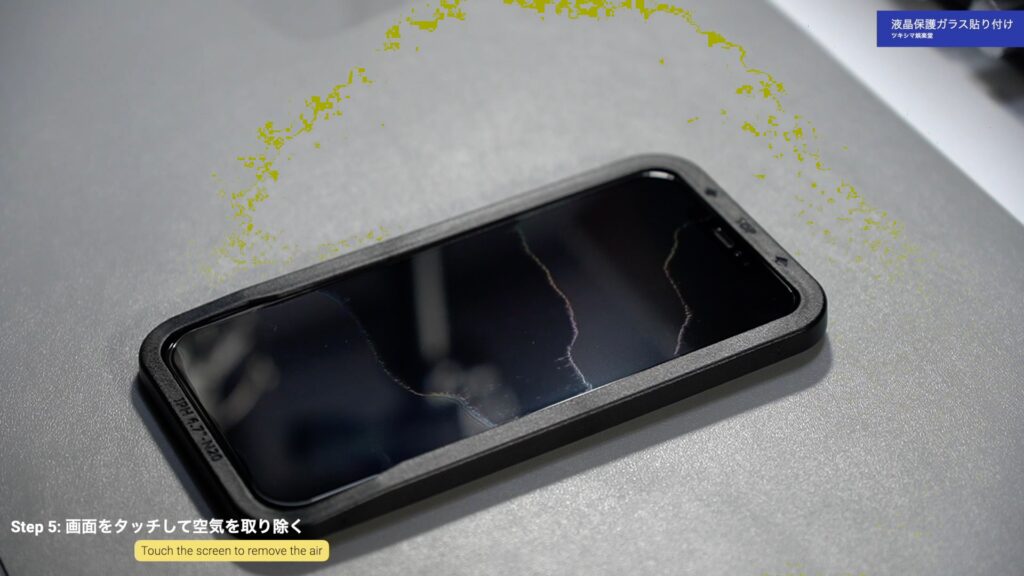
Step 5: 画面をタッチして空気を取り除く
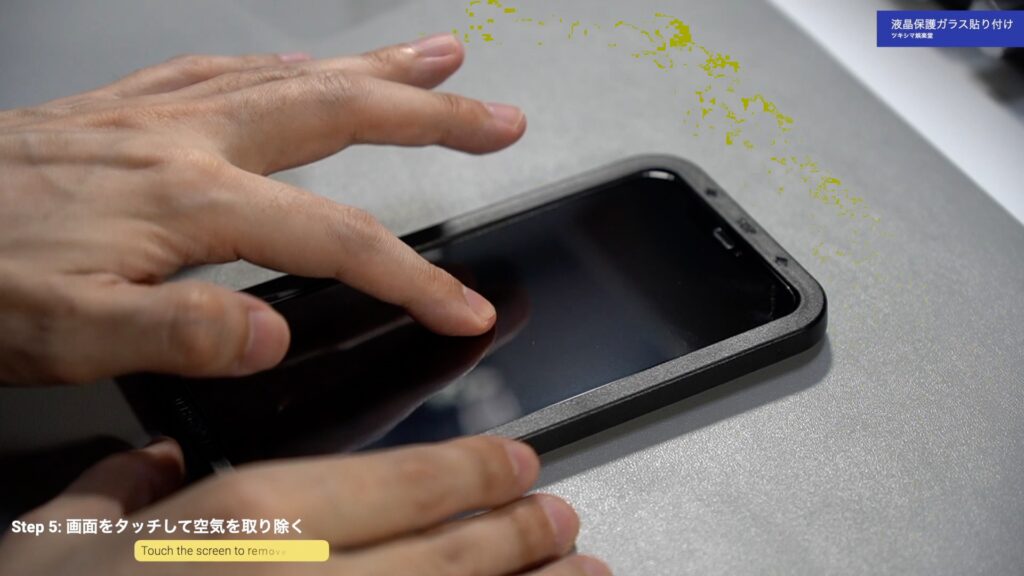
画面の中心をタッチすると、ジワーっと空気が抜けていき、ガラスフィルムが貼り付いていきます。
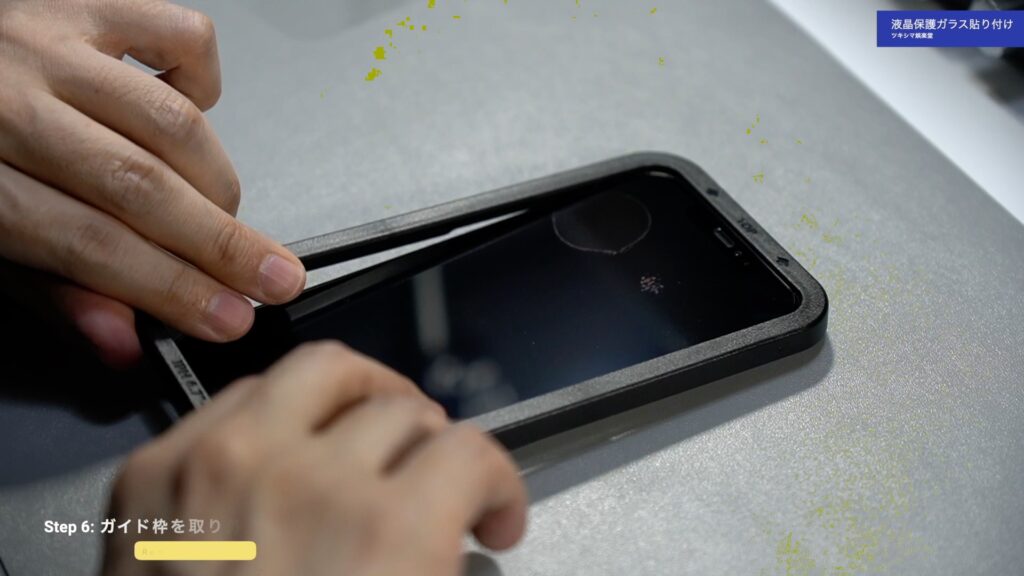
Step 6: ガイド枠を取り外す
リカバー(修正)
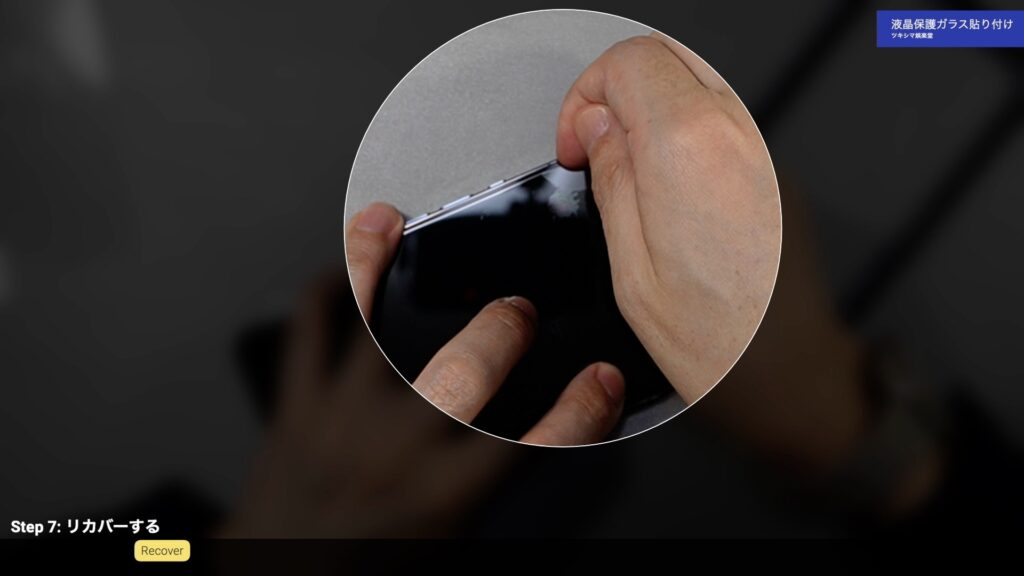
フィルムと「iPhone」の液晶面の間に空気が入ってしまい、指では押し出しきれない気泡がたくさん出来てしまいましたので、リカバーしていきたいと思います。
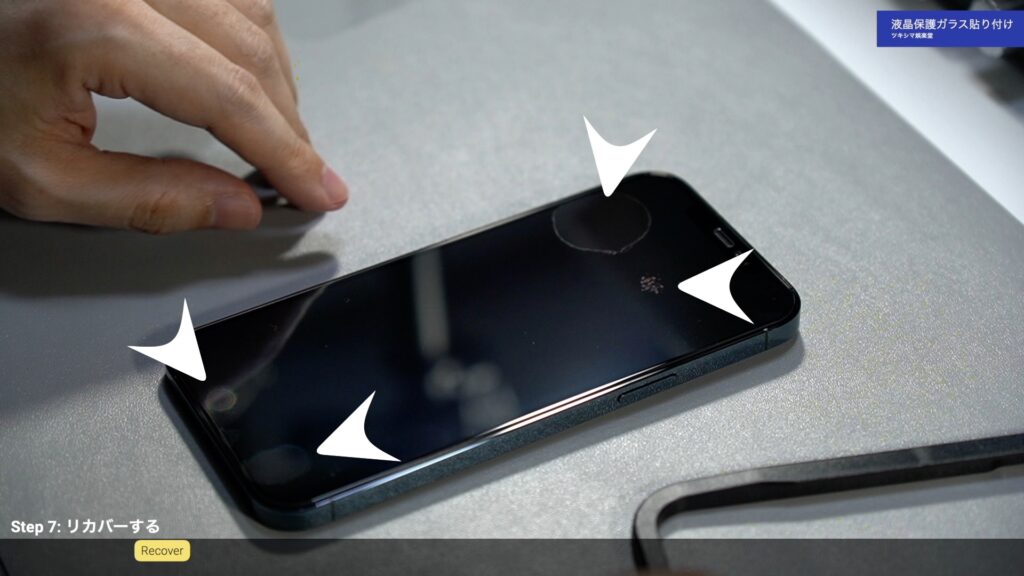
Step 7: リカバー(修正)する
リカバー方法は、貼り付けた保護ガラスフィルムの端を少しだけ持ち上げて空気を逃がします。
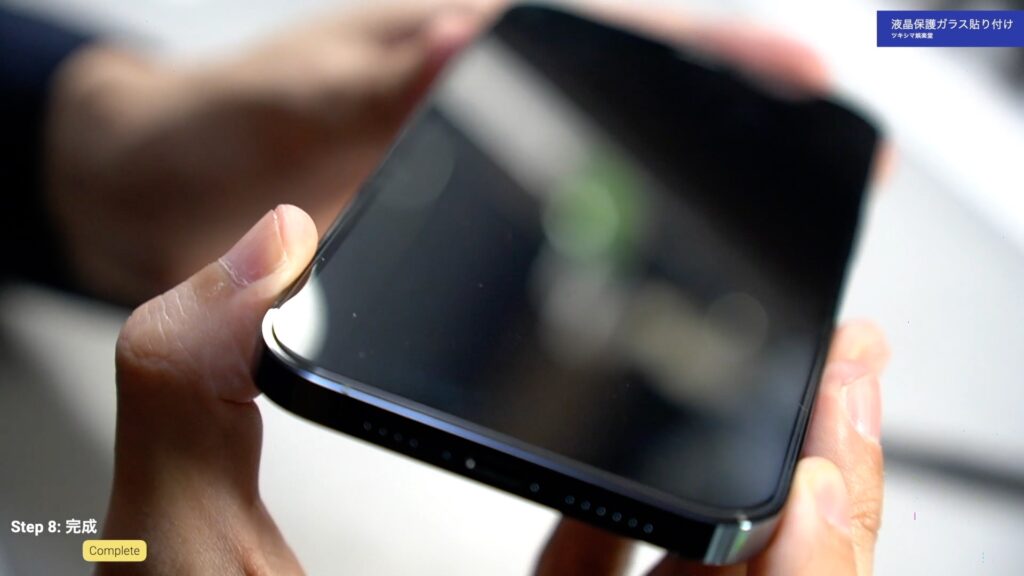
Step 8: 完成
修正も上手くいき、綺麗に貼り付けられたと思います。
ツキシマ
次は、まとめと次回予告です。
まとめと次回予告
まとめ
「NIMASO」の液晶保護ガラスは、安定の品質だと思いますし、私自身何回も購入しています。ガラスの淵の部分はラウンドエッジ加工が施されていて、丸みが付けられています。貼り付けもスムーズに出来ますし、タッチ操作も問題無いです。
次回予告
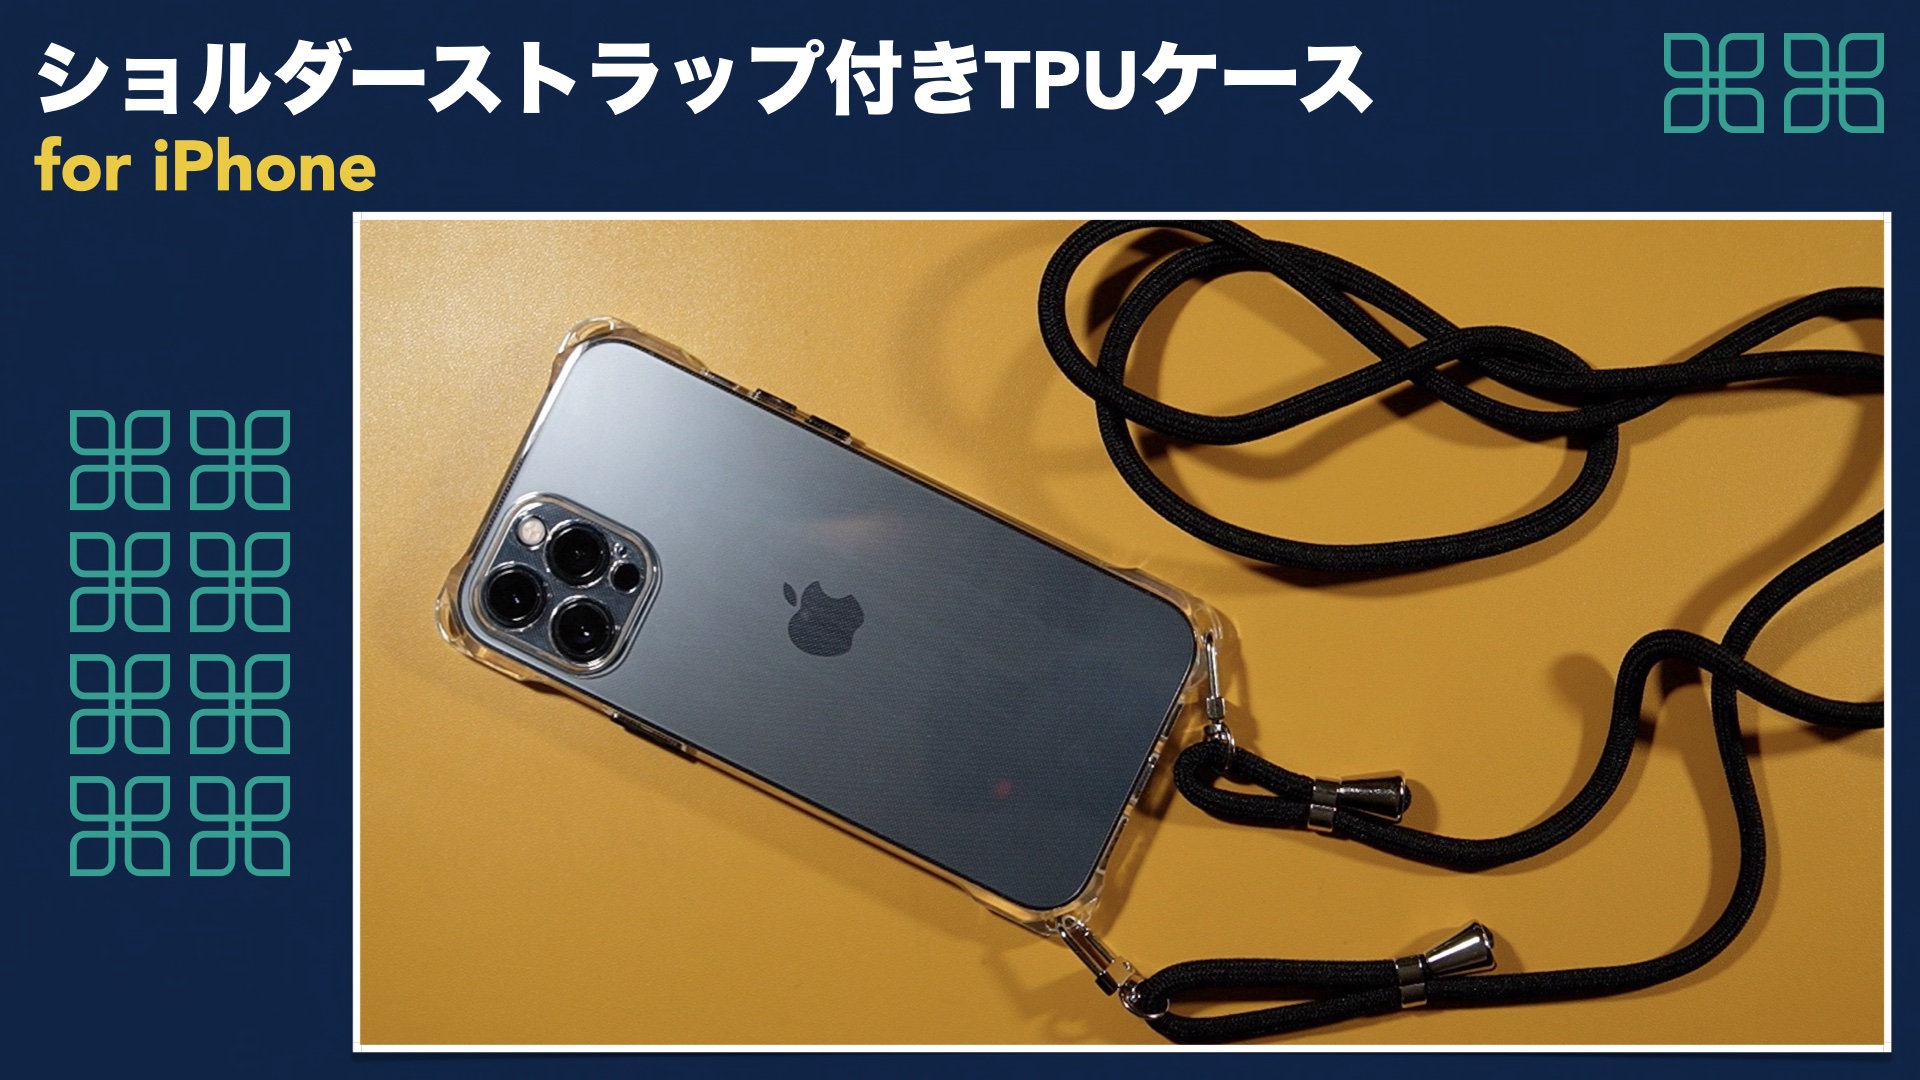
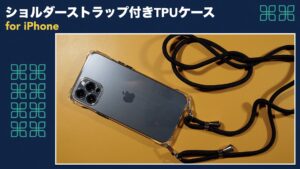
次回の娯楽堂では、「iPhone12 Pro Max」用に購入したショルダーストラップ付きTPUケースを開封レビューしていきたいと思います。
また次回の動画やブログ記事も観て頂けたら嬉しいです。

次回のブログ記事↓
ツキシマ
それでは、最後までご視聴ありがとうございました。