ご挨拶

ツキシマ
こんにちは、ツキシマです。
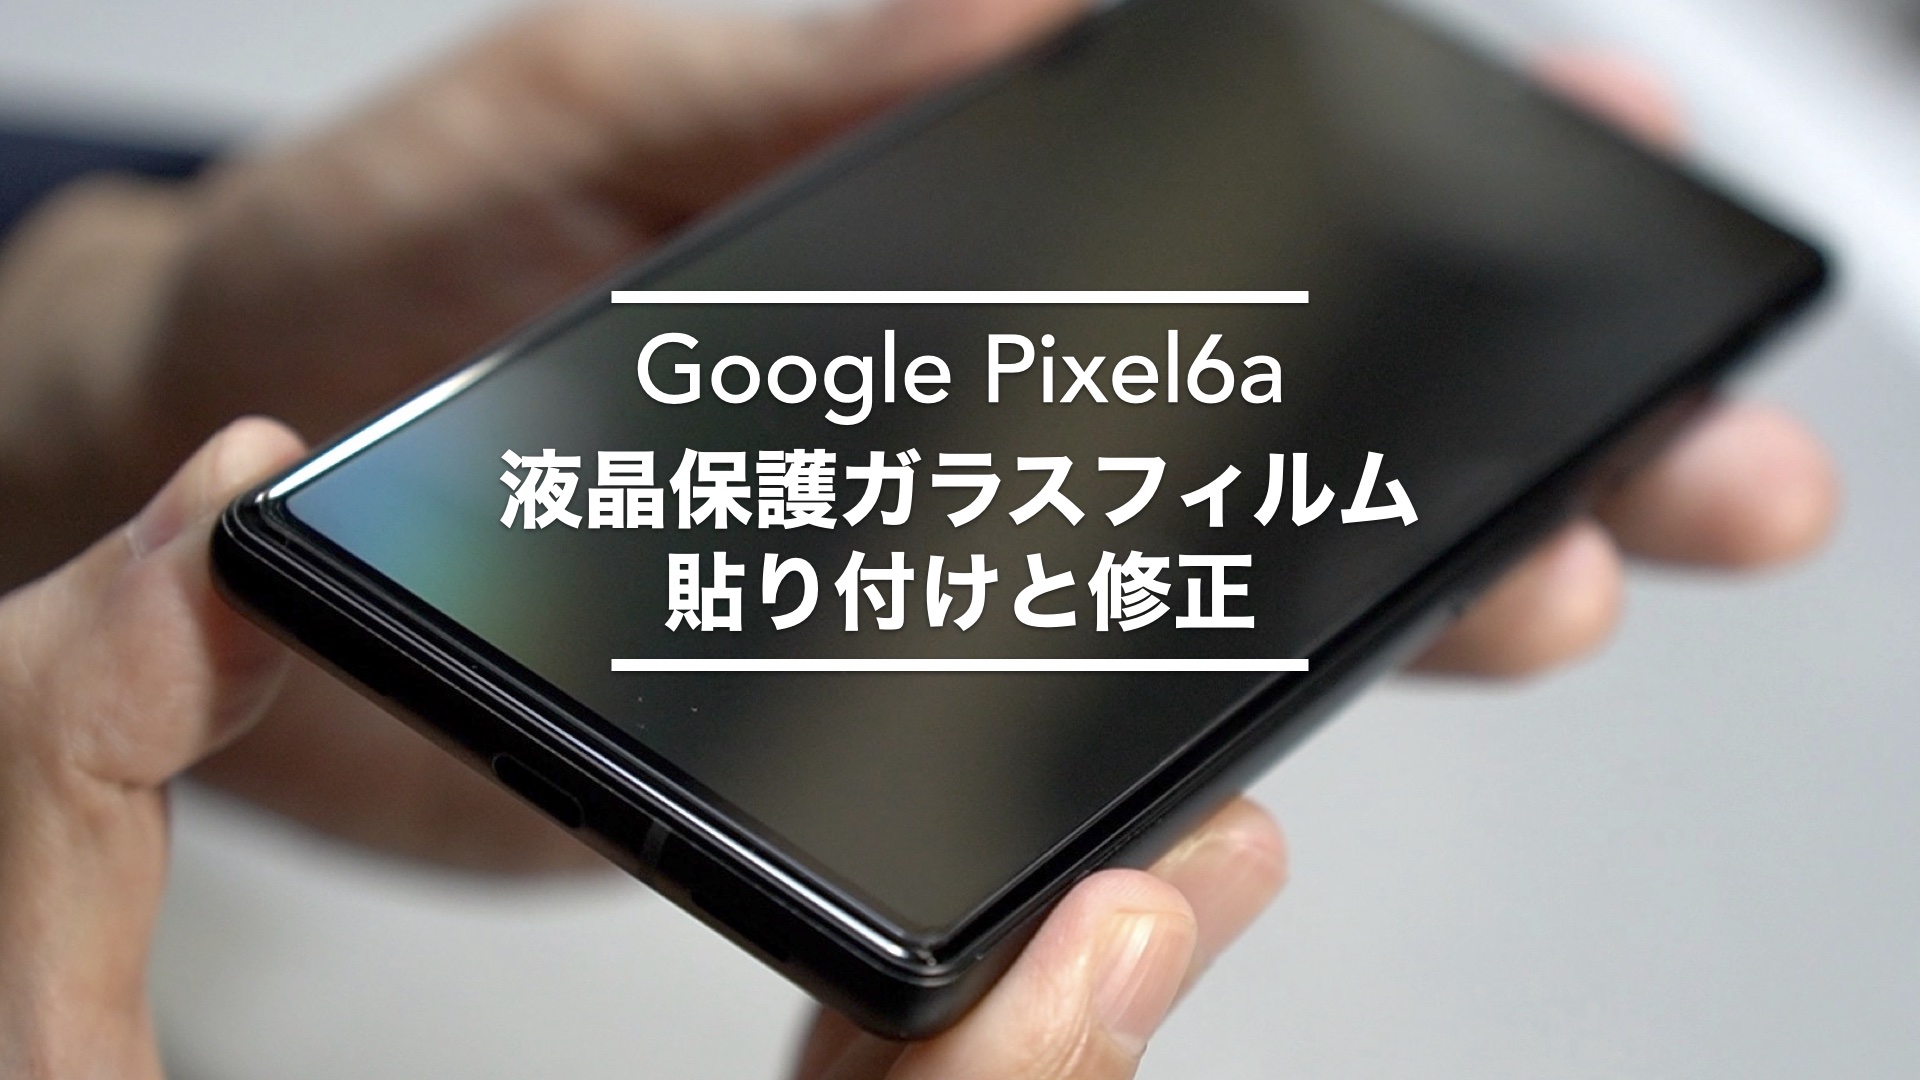
今回は、「Google Pixel 6a」用に購入した液晶保護ガラスを、スマホ本体に貼り付けしていきたいと思います。

ツキシマ
それでは、開封して内容物を確認していきたいと思います。
開封と内容物の確認
開封
パッケージに封はされていませんでした。
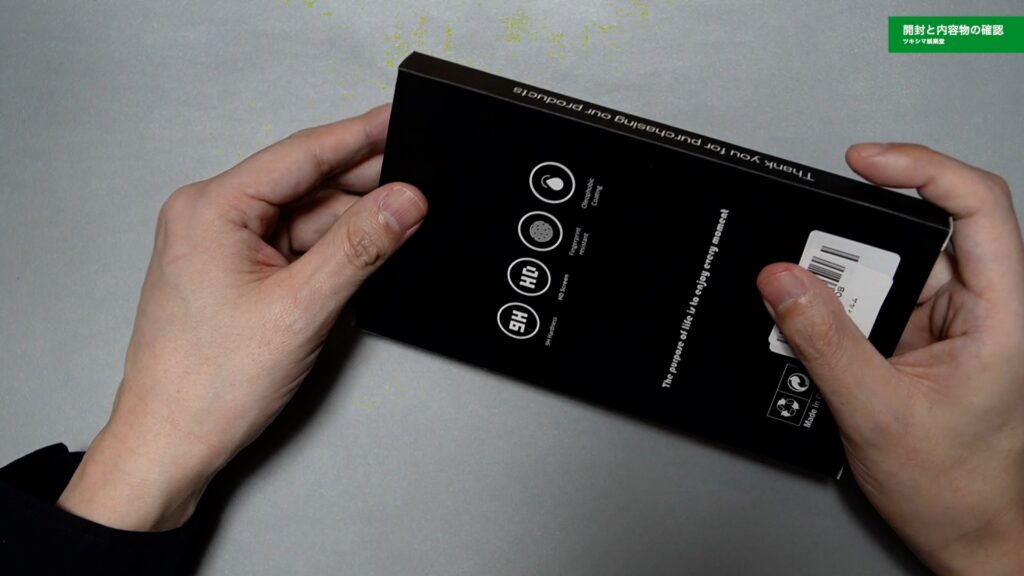
中身はすぐに取り出せます。
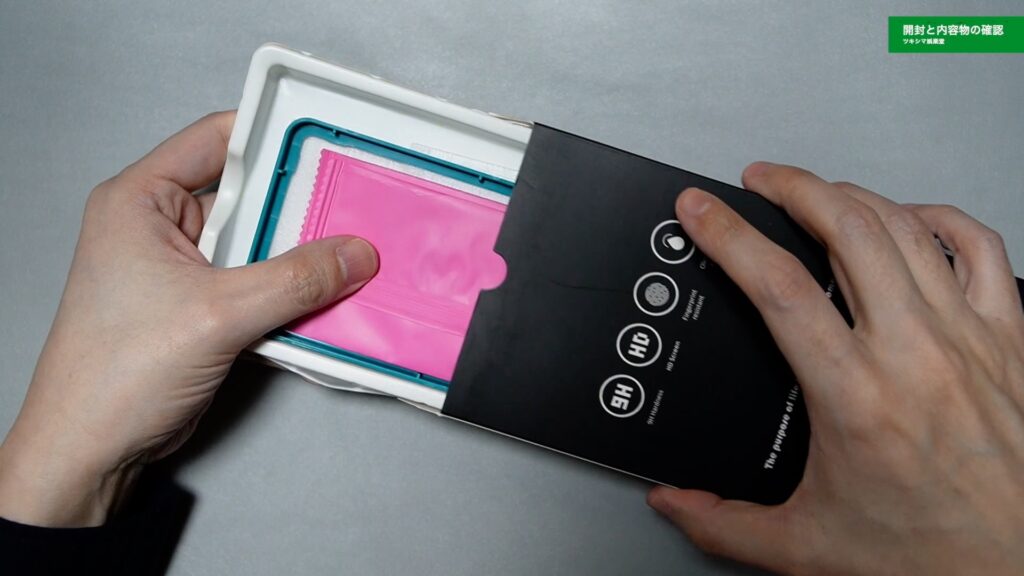
内容物の確認
インストール用のツールということで、ピンク色の袋が2枚入っています。

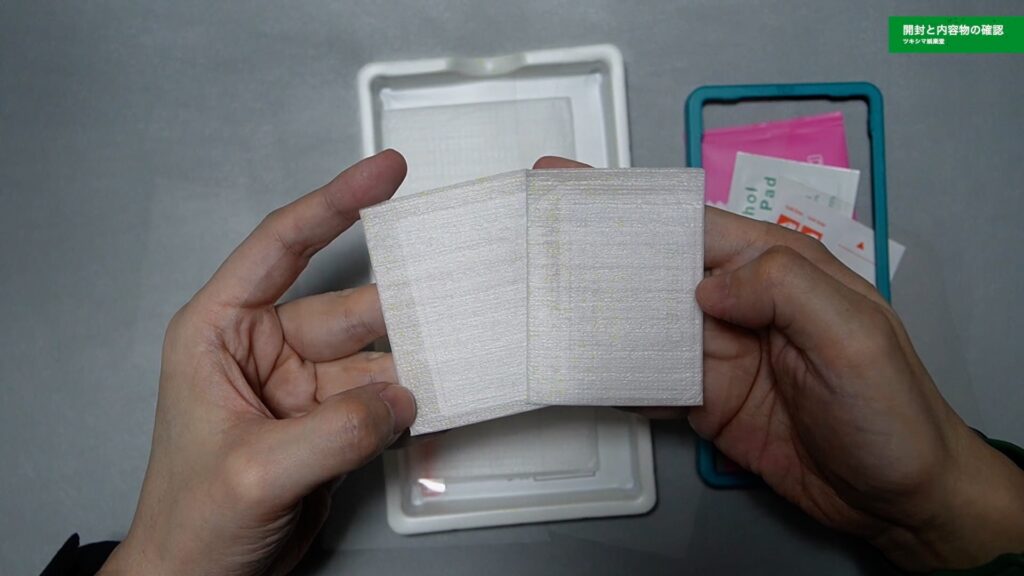
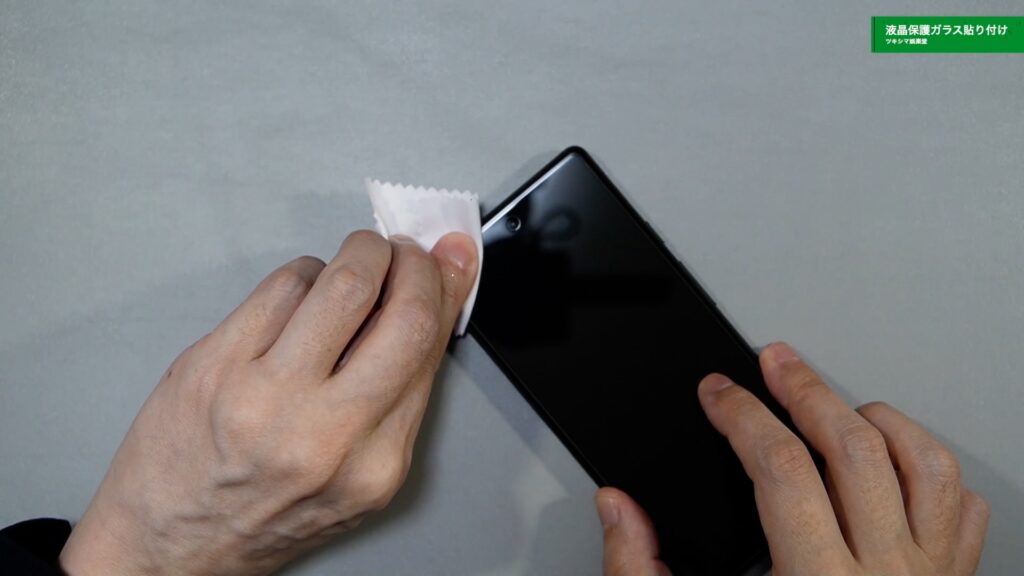
中には「クリーニングクロス」と「アルコールシート」と「ホコリ吸着シート」が入っています。
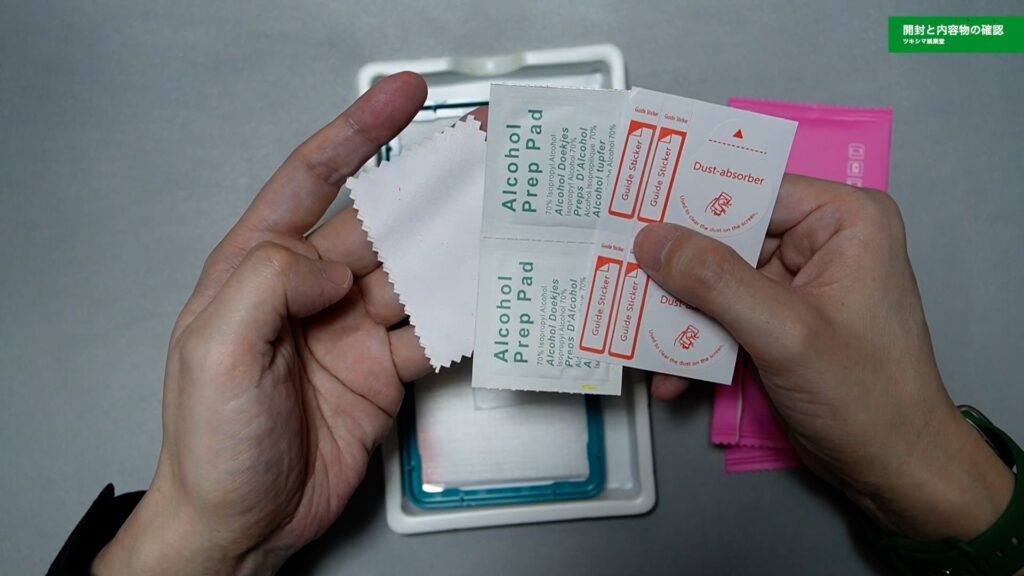
ガイド枠です。ちゃんと「Pixel 6a」と刻印されています。
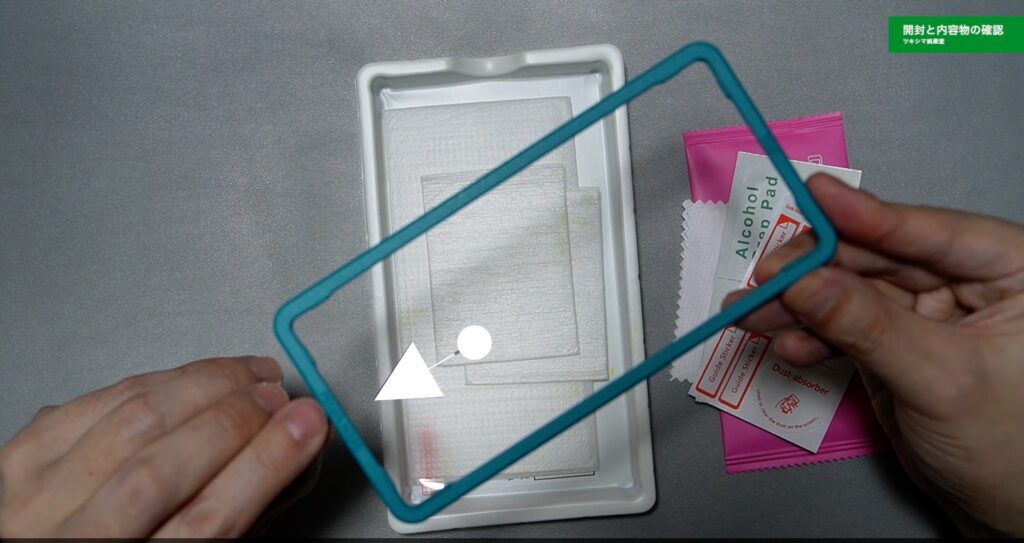
カメラ部分の保護フィルム2枚です。
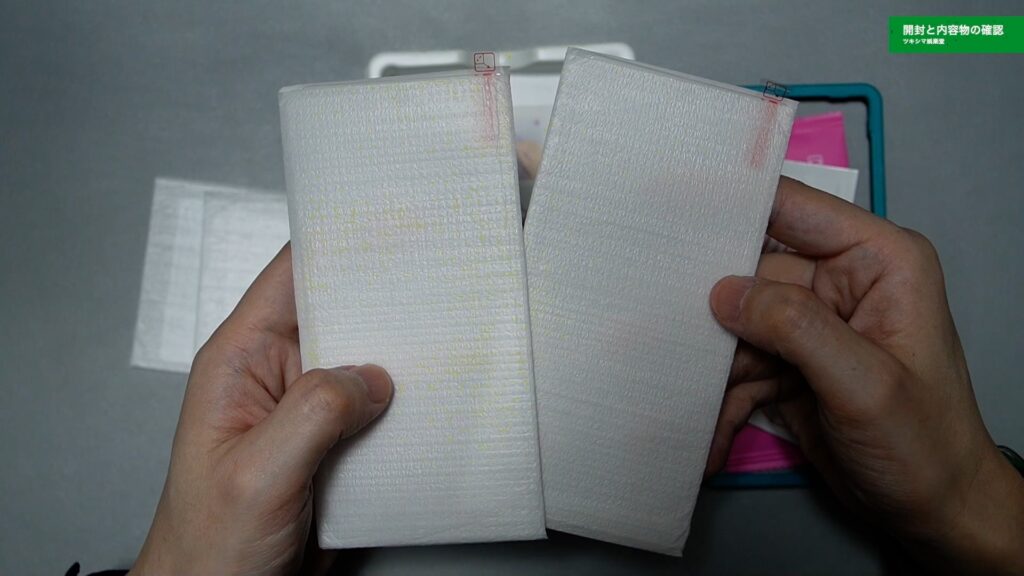
液晶面のガラスフィルム2枚です。
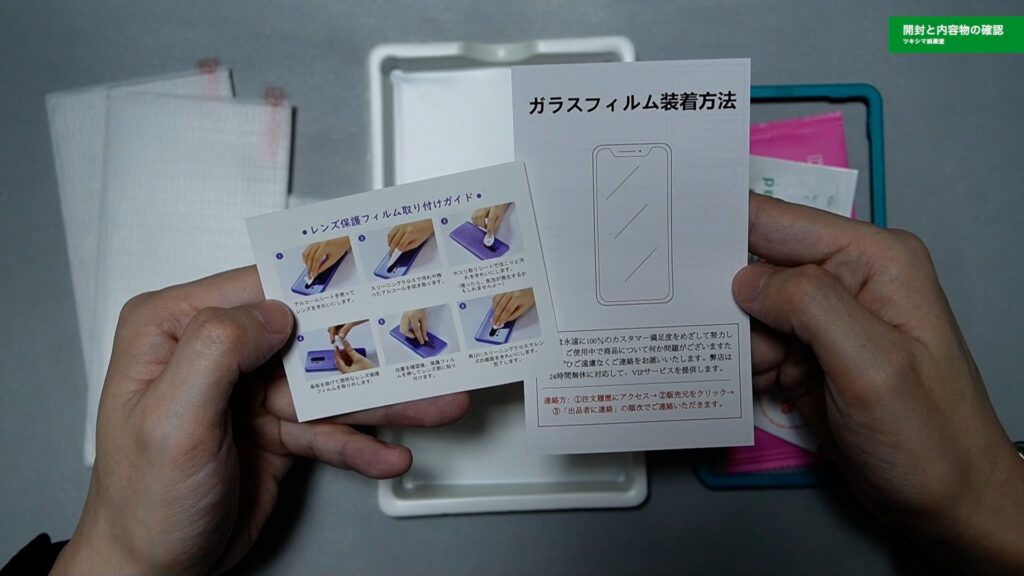
日本語の取扱説明書です。
- 液晶用ガラスフィルム2枚
- カメラ保護フィルム2枚
- ガイド枠
- アルコールシート2枚
- ホコリ吸着シート2枚
- クリーニングクロス2枚
- 日本語取扱説明書
ツキシマ
次は、液晶保護ガラスフィルムを貼り付けていきたいと思います。
液晶保護ガラス貼り付け
貼り付け
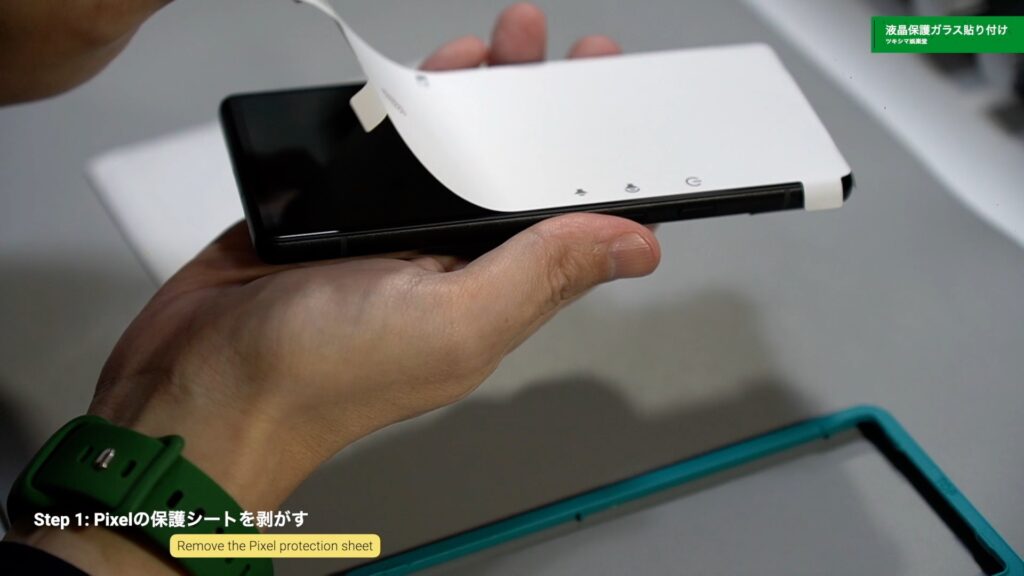
Step 1: Pixelの保護シートを剥がす
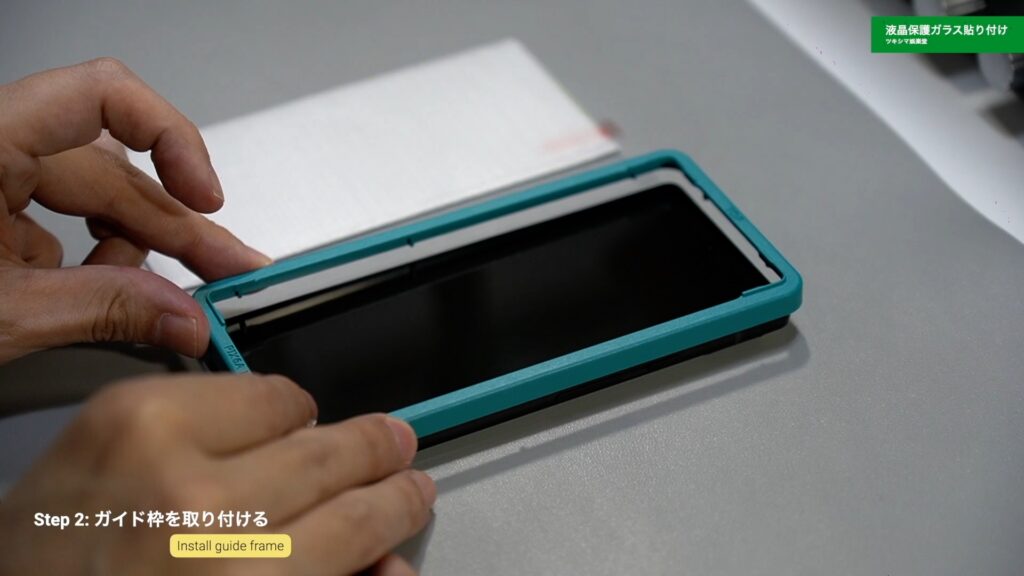
Step 2: ガイド枠を取り付ける
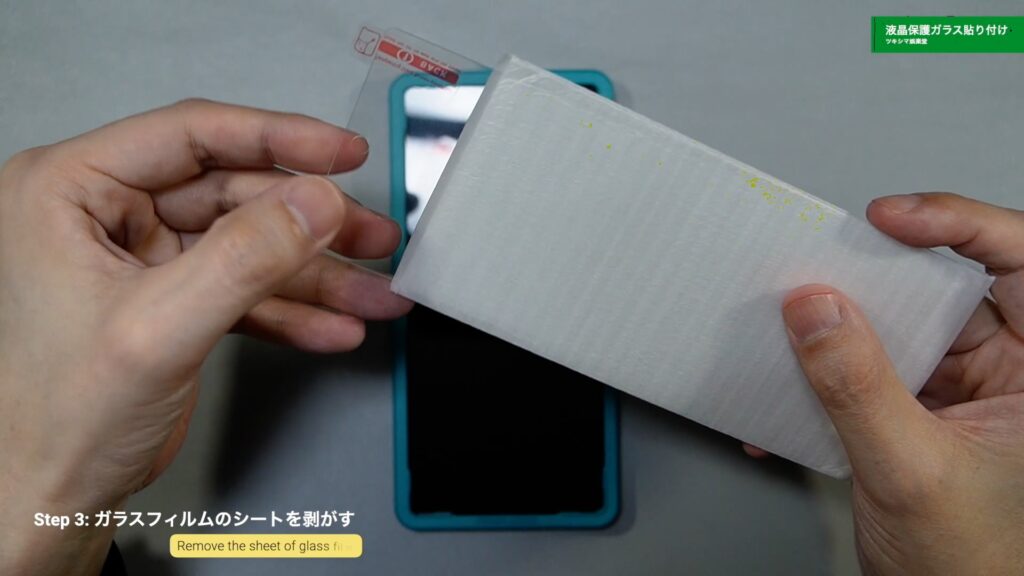
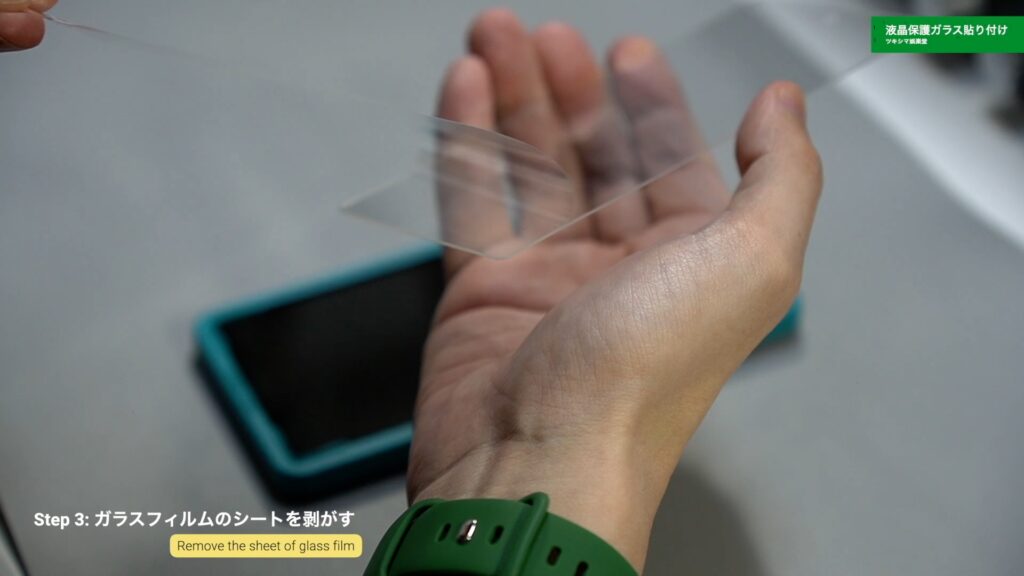
Step 3: ガラスフィルムのシートを剥がす
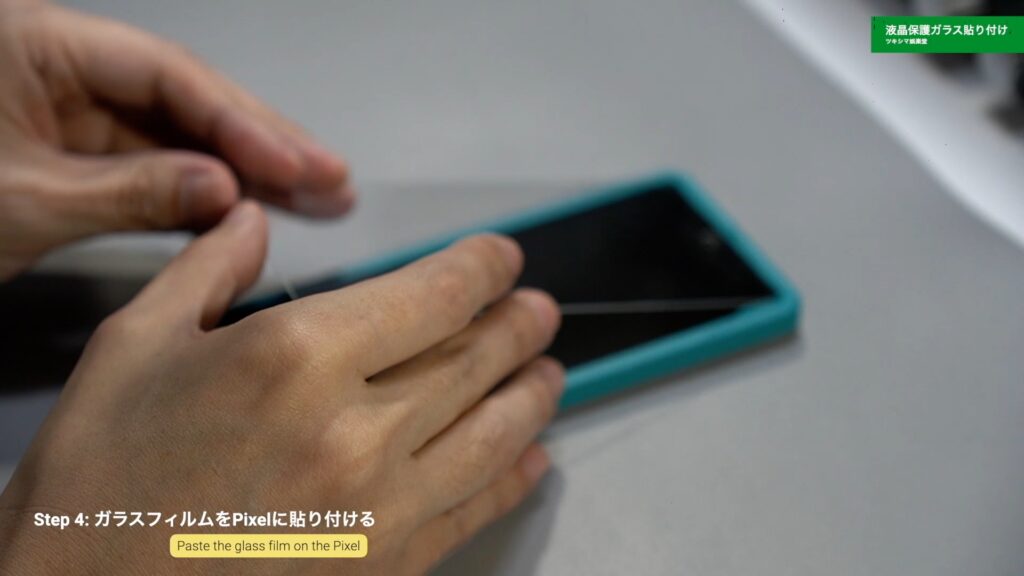
Step 4: ガラスフィルムをPixelに貼り付ける
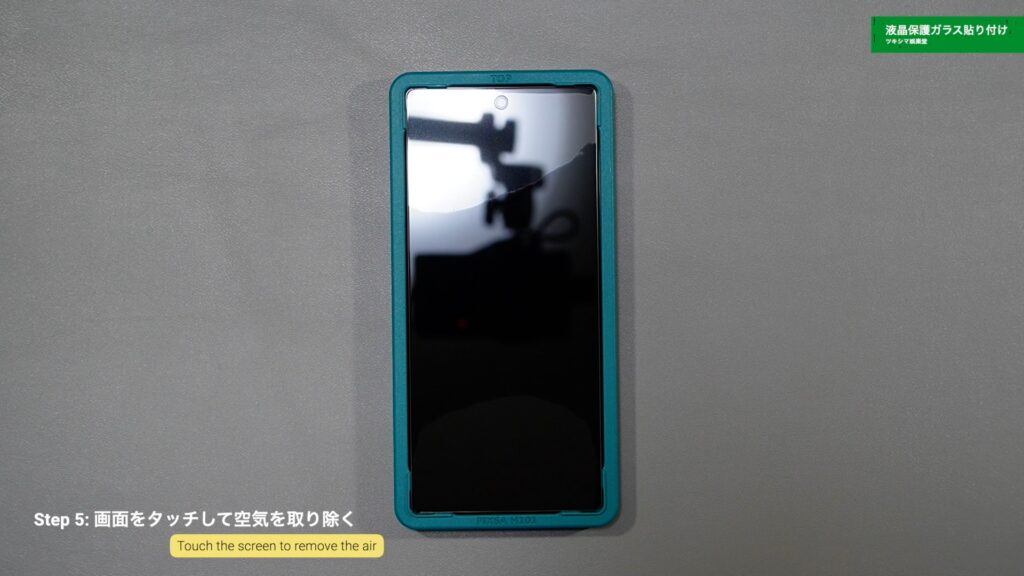
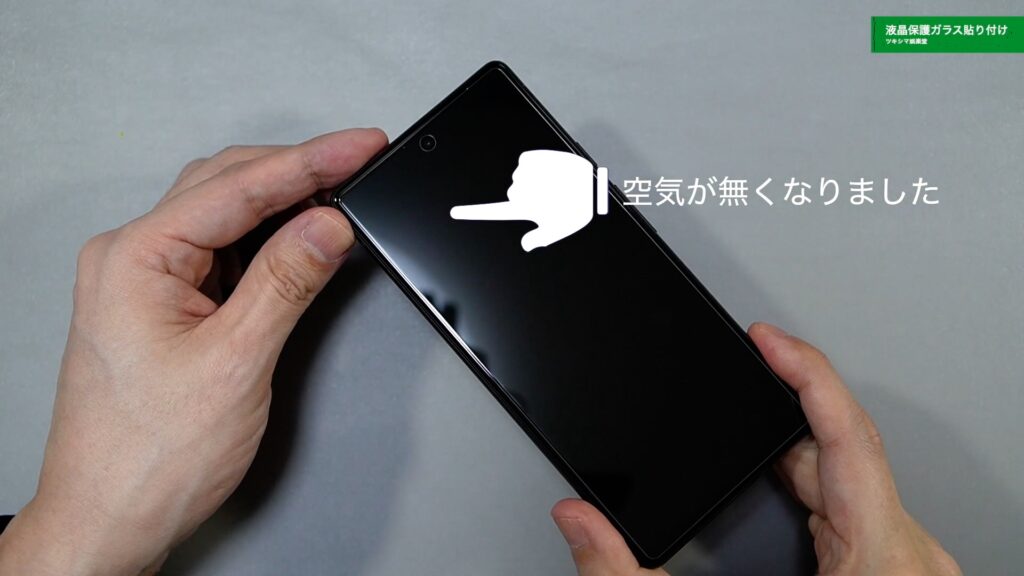
Step 5: 画面をタッチして空気を取り除く
画面の中央を軽く押すと、ジワーっと空気が抜けていきガラスフィルムが貼り付いていきます。
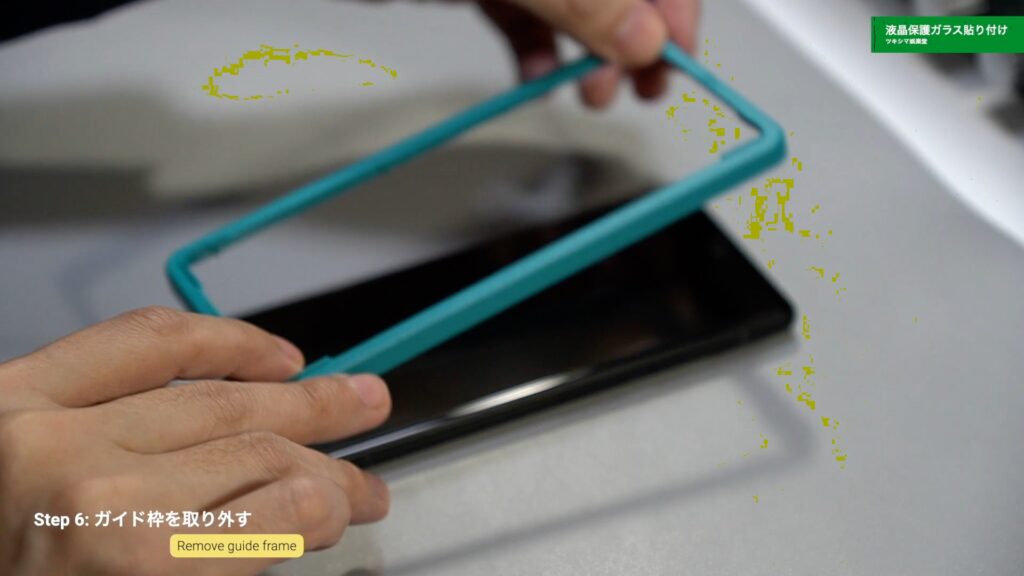
Step 6: ガイド枠を取り外す
リカバー(修正)
液晶面左上の部分に空気が残ってしまいましたので、修正したいと思います。
修正する箇所は左上の端の1箇所のみでしたので、貼り付けた保護ガラスフィルムの端を少しだけ持ち上げて空気を逃がします。
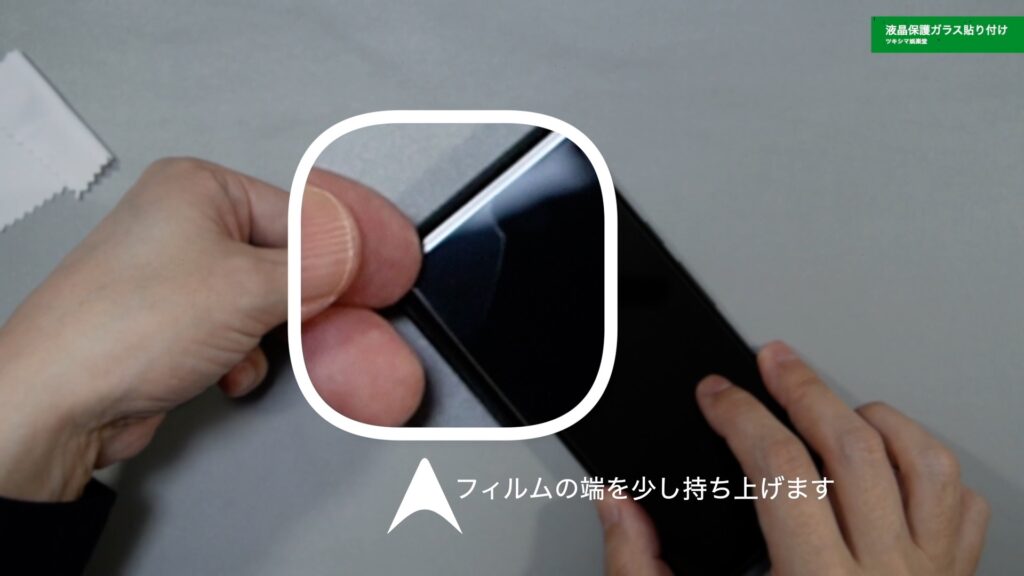
持ち上げた後はすぐにフィルムを元に戻し、空気を押し出します。
修正も上手くいき、綺麗に貼り付けることが出来ました。
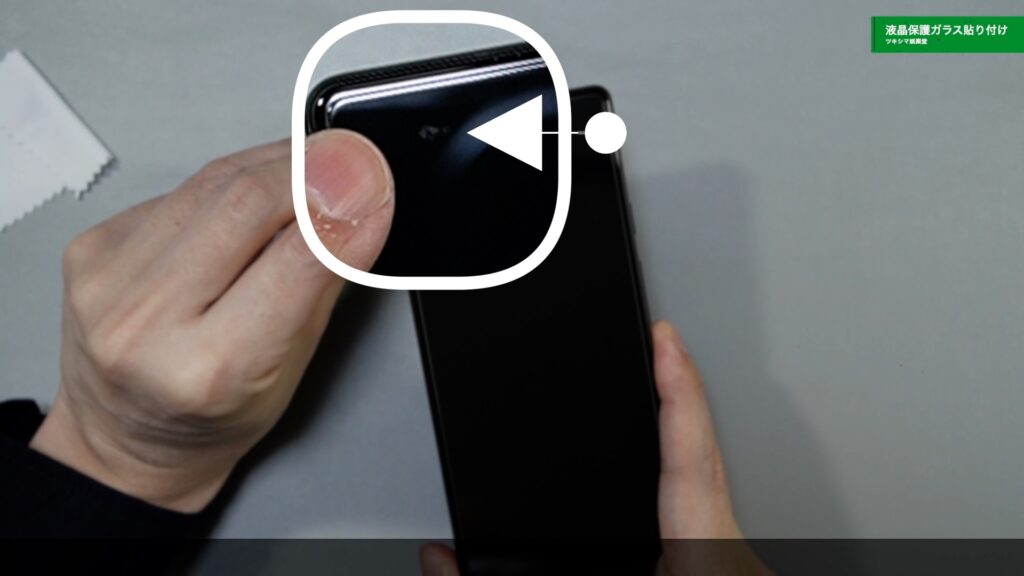
指紋認証の確認
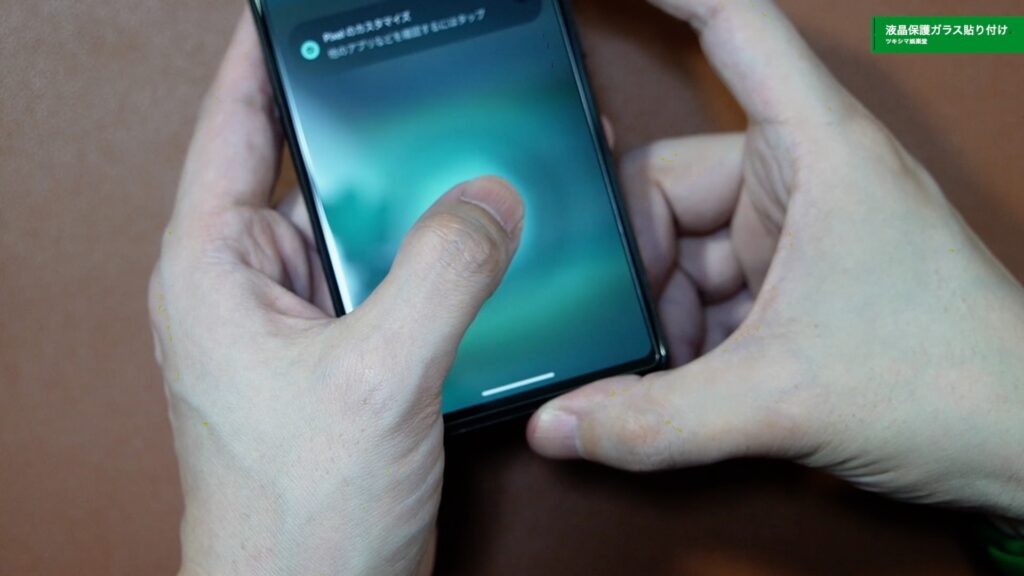
液晶保護ガラスフィルムを貼り付けた状態で、指紋認証が正確に機能するのか試してみたいと思います。

特に問題なく認証できて、ロックが解除されました。
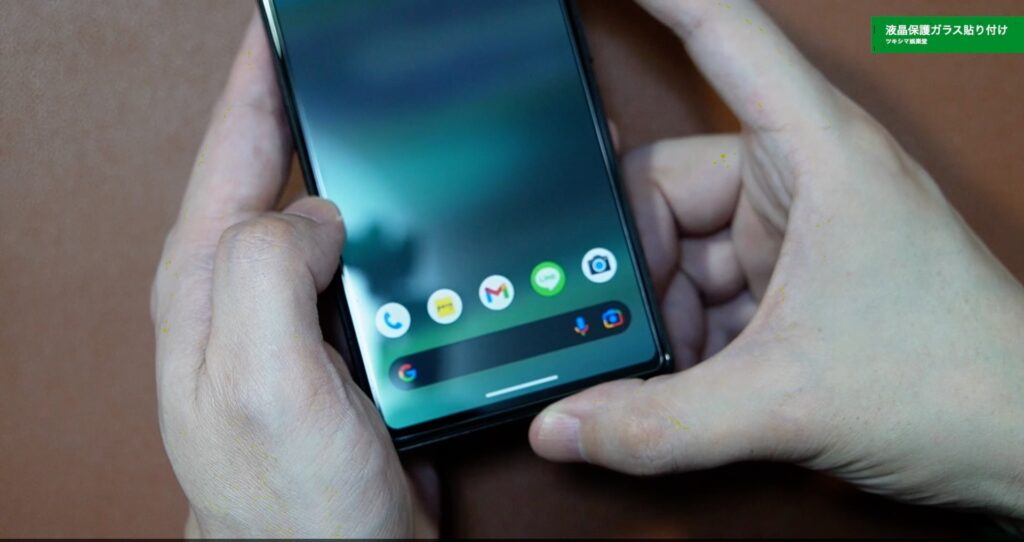
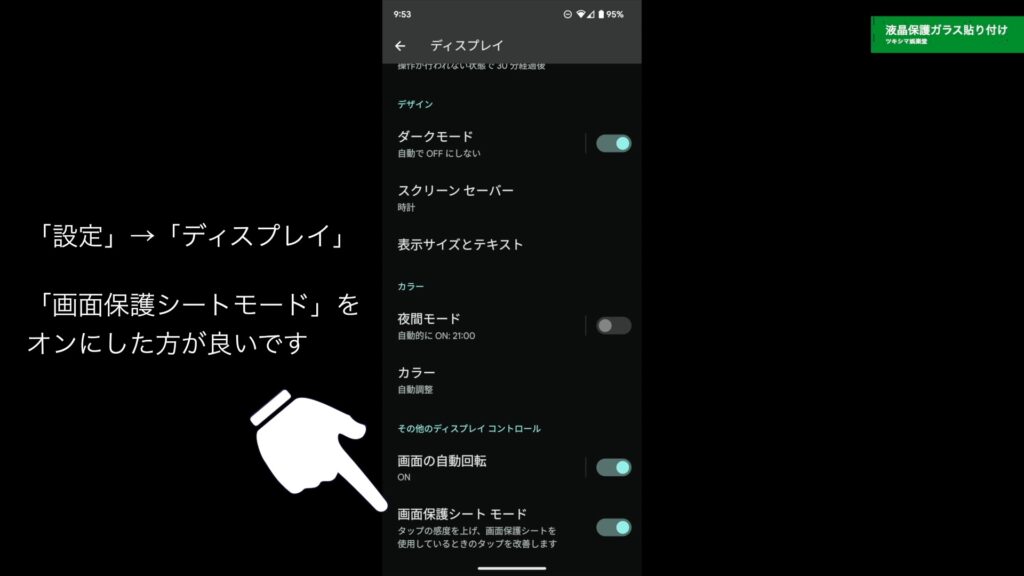
また、「設定」→「ディスプレイ」と進んだページで「画面保護シートモード」をオンにした方が、反応が良いです。
ツキシマ
次は、まとめと次回予告です。
まとめと次回予告
まとめ
初めて購入するメーカーのガラスフィルムでしたが、スムーズに貼り付けが出来ました。貼り付け後に、1カ所空気が入ってしまいましたが、問題なく修正出来ましたので良かったです。
ガラスの縁の部分もラウンドエッジ加工がされていて、丸みが付けられています。
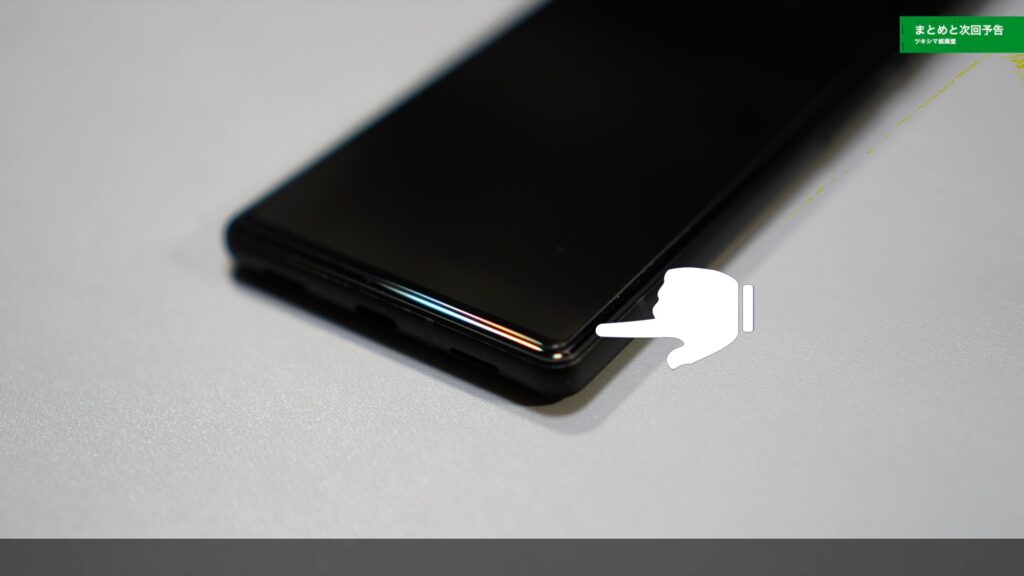
タッチ操作も問題は無いようです。
次回予告
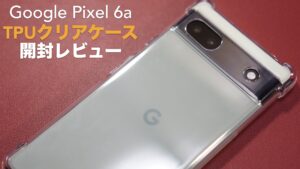
次回の娯楽堂では、「Pixel 6a」用に購入した「TPUケース」を開封レビューしていきたいと思います。私は「Pixel」のデザインが気に入っていますので、透明なケースを選択しました。
また次回の動画やブログ記事を観て頂けたら嬉しいです。

次回のブログ記事↓
ツキシマ
それでは、最後までご視聴ありがとうございました。

